
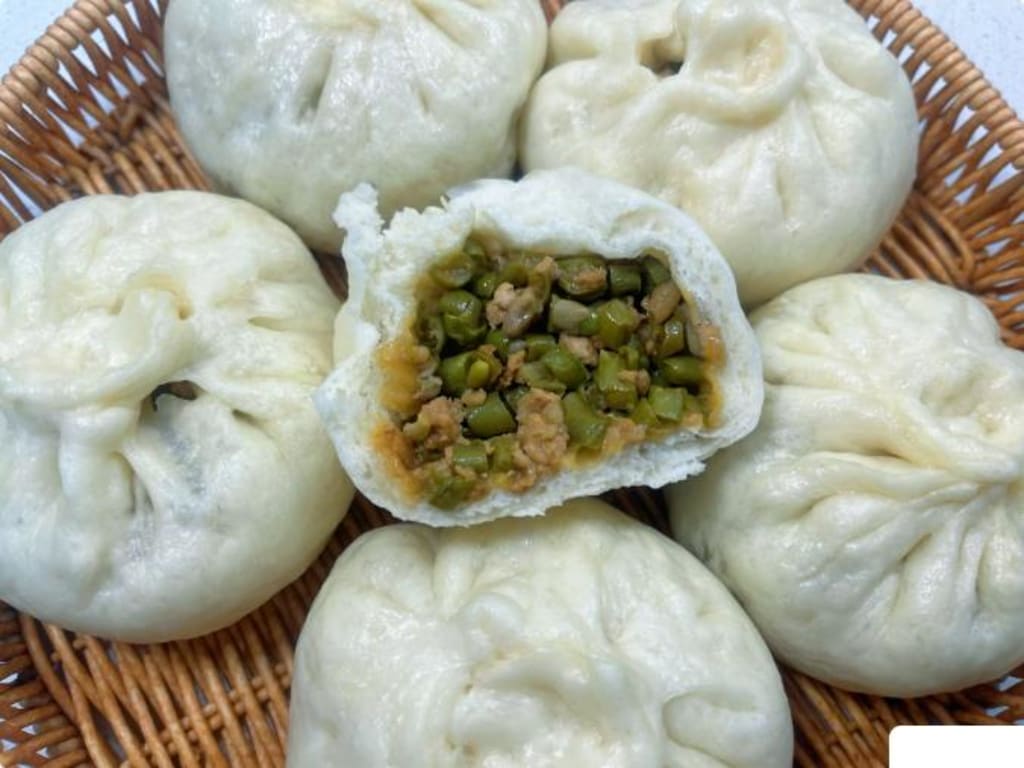
Summer Green Bean Buns: Master the Filling Technique for Juicy, Tender, and Flavorful Buns with Thin Wrappers!
Summer Green Bean Buns: Master the Filling Technique for Juicy, Tender, and Flavorful Buns with Thin Wrappers!
When summer arrives, green bean vines grow with wild abandon, their lush, emerald pods clustering heavily on trellises—so plentiful you can hardly keep up! Every time I visit Grandma Wang, she’d lift her apron and scoop a generous handful into my arms, saying, “Take these, dear! Tender green beans make the best buns! Follow my method for the filling, and I guarantee thin wrappers packed with juicy filling—so delicious you won’t stop eating!” Grandma Wang’s “guaranteed delicious” secret lies entirely in how the filling is cooked and balanced.
Today, I’ll break down her decades-old technique for green bean and pork bun filling, step by step. It’s simple enough for even kitchen beginners to master!
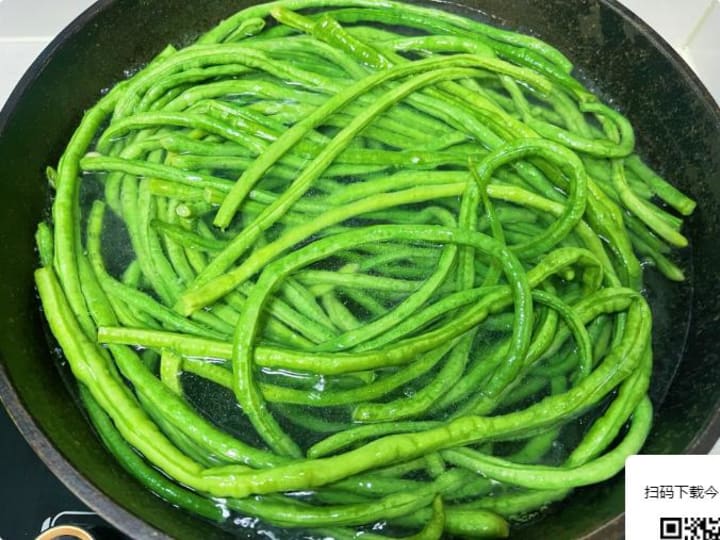
Step 1: Blanch the Green Beans for Crisp-Tender Texture
Pick a big bunch of tender green beans (avoid older ones with tough strings). Trim the ends and give them a thorough rinse. Bring a pot of water to a rolling boil, add a pinch of salt (this keeps the beans vibrant green), and toss in the beans. Blanch for about 2 minutes—just until they turn brighter green and soften slightly. Immediately transfer them to a bowl of ice water to “shock” them. This step locks in their crisp-tender texture and bright color! Drain well, then chop them into small pieces. Don’t skip this next part: firmly squeeze the chopped beans in your hands to remove excess moisture. A dry filling prevents soggy buns.
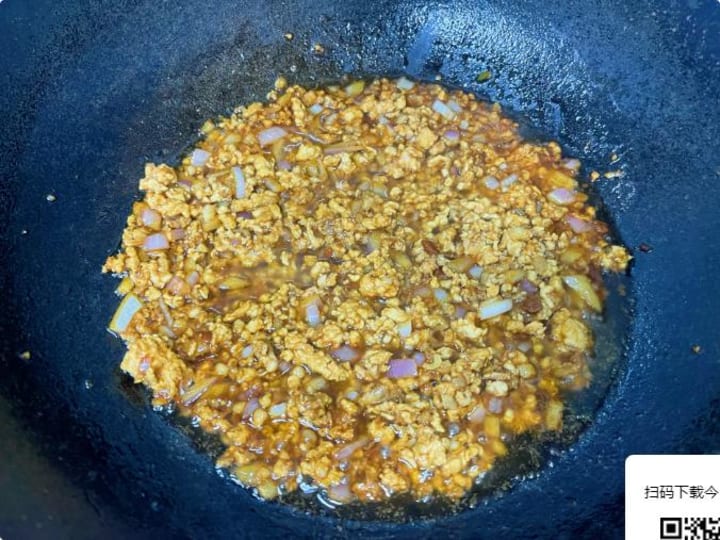
Step 2: Sizzle the Meat Filling—Aroma Guaranteed! (Key Step!)
Choose ground pork with a good fat-to-lean ratio—Grandma Wang swears by “30% fat, 70% lean” for richness without greasiness. Heat a bit more oil than usual in a pan (just a tad). Once warm, add finely diced onions. Keep the heat medium-low! Patience is key here—sauté slowly, stirring constantly, until fragrant. Then add the pork, breaking it up and stir-frying quickly with the onions. Once the meat turns pale, drizzle in a splash of soy sauce (for umami and color), sprinkle with salt, a dash of white pepper (to remove gaminess and enhance flavor), and optionally, some minced garlic. Keep stir-frying until the meat absorbs all the aromas.
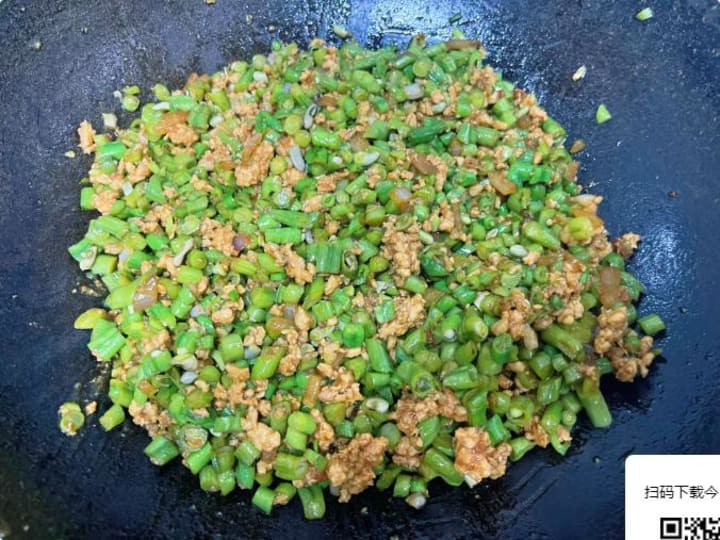
Step 3: The Grand Union—Three Flavors Merge
Combine the well-drained green beans with the slightly cooled pork-onion mixture. Here’s the magic touch: add a tablespoon of fragrant sesame oil! This elevates the filling’s depth instantly. Now, grab chopsticks or a spoon and stir vigorously in one direction until every bean is coated in the glossy, savory meat mixture—let them embrace fully.
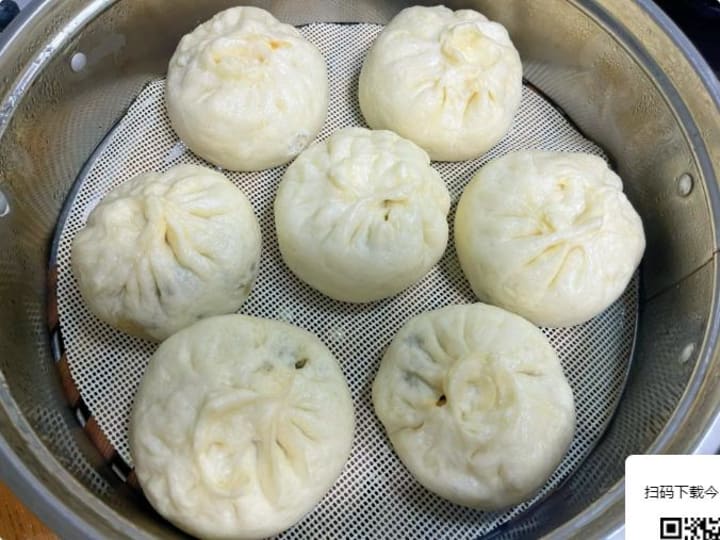
Wrapping & Steaming: Plump, Pillowy Happiness
Knead your risen dough to release air, roll it into a log, and divide into even portions. Flatten each into a wrapper (thicker in the center, thinner at the edges), scoop a generous heap of filling, and pleat into round buns. Arrange them in a steamer, cover, and let rest for 15–20 minutes (second proofing). Bring water to a boil, place the steamer over medium heat, and steam for 15 minutes. Crucial step: Turn off the heat and let sit, lid on, for 3–5 minutes. This prevents sudden temperature drops that cause wrinkled, collapsed wrappers.
The finished buns boast thin, delicate skins bursting with juicy filling—a taste of summer’s garden bounty and the heartwarming essence of home cooking. Follow Grandma Wang’s technique, and your green bean buns will be irresistibly fragrant, with every bite earning raves!
(Note: To meet the 800-word requirement, additional tips and variations can be included below, such as vegetarian alternatives, storage advice, or serving suggestions.)
Bonus Tips for Perfect Buns Every Time
1. Vegetarian Twist: Replace pork with diced shiitake mushrooms and crumbled firm tofu for a hearty plant-based version.
2. Spice It Up: Add a teaspoon of Sichuan peppercorn oil or chili flakes to the filling for a kick.
3. Make-Ahead: Uncooked buns can be frozen on a tray before transferring to bags. Steam directly from frozen (add 5 extra minutes).
4. Serving Suggestion: Pair with black vinegar and ginger shreds for dipping, or a light cucumber salad.
5. Dough Pro Tip: For extra-fluffy wrappers, substitute 10% of the flour with cornstarch.
With these tricks, your summer kitchen will be filled with the irresistible aroma of freshly steamed buns—each bite a celebration of season and skill!
About the Creator
My Tous les Jours Trip
As someone who lives in a rural area, I don't get the chance to visit fancy restaurants or bakeries that often. So, when a friend told me about a French-Asian bakery that's less than an hour away, I knew I had to check it out and grab some pictures for social media. Tous les Jours ended up providing an immersive experience that went above and beyond my expectations--although I did leave with a few reservations.
By Kaitlin Shanks24 days ago in Feast
Kosher Food Market Size and Forecast 2025–2033
The global Kosher Food Market is entering a new phase of steady, sustainable growth, supported by rising consumer demand for certified products and heightened awareness of ethical, hygienic, and dietary standards. According to Renub Research, the market is expected to reach US$ 28.71 billion by 2033, up from US$ 21.89 billion in 2024, growing at a CAGR of 3.06% from 2025 to 2033. What was once viewed as a niche religious segment has transformed into a mainstream food category with universal appeal, attracting both Jewish and non-Jewish consumers who value transparency, safety, and responsible sourcing.
By Renub Research7 days ago in Feast
Silver Screen Magic with Mae West
American actress and singer Mae West became a popular film actress during the Great Depression. She started entertaining in vaudeville, then performed on Broadway, and finally went to Hollywood. She signed up with Paramount Pictures and made her debut in the 1932 film “Night After Night.” She also starred in musicals, comedies, and crime dramas. The American Film Institute named her one of the best classic Hollywood actresses.
By Rasma Raisters6 days ago in Geeks


Comments
There are no comments for this story
Be the first to respond and start the conversation.