
A Step-by-step process for tron token creation
In this blog, we’ll walk you through a step-by-step process for TRON token creation
The TRON blockchain has become one of the most popular platforms for launching custom tokens, due to their scalability, high throughput, and low transaction fees. Whether you are planning to launch your cryptocurrency, build a decentralized application (dApp), or tokenize assets for fundraising, creating a token on TRON can be an excellent choice. TRON supports many token standards like TRC10, TRC20, TRC721, and many more. TRC20 is the go-to standard for smart contract-based tokens, functioning similarly to Ethereum's ERC-20.
In this blog, we’ll walk you through a step-by-step process for TRON token creation—ideal for entrepreneurs, developers, and blockchain enthusiasts.
Step 1: Define Your Token Objectives
Before diving into development, the first step is to clearly define the purpose of your token. Ask yourself:
- What is the use case for your token? (Utility, governance, fundraising, etc.)
- Who is your target audience?
- Will your token be part of a dApp ecosystem?
- What are tokenomics (supply, distribution, rewards)?
Having clear answers to these questions will help guide the development process and ensure your token aligns with your business goals.
Step 2: Choose the Token Standard – TRC10 vs TRC20
TRON offers two main types of token standards:
1. TRC10: TRC-10 tokens are simpler to create as they do not require smart contracts, making them suitable for basic token functionalities—though they come with limited features. It works well for simple tokens but lacks advanced functionality.
2. TRC20: Requires smart contract development and is ideal for complex applications such as dApps, DeFi projects, and NFTs.
For most use cases that demand automation, interoperability, and programmability, TRC20 is the better option. If you want to know how to create a TRC20 token read this blog post and give more information about how to make it.
Step 3: Set Up the Development Environment
A well-configured development environment is essential for building a TRC20 token. Here’s what you need:
- TRONLink is a browser extension wallet that enables seamless interaction with the TRON blockchain.
- TRC20 tokens are built using Solidity, the smart contract programming language also used on Ethereum.
- Install these tools and create a workspace on your local machine to begin coding your token.
Step 4: Write the Smart Contract Code
The foundation of every TRC20 token is its smart contract. Below is a basic example of how a TRC20 smart contract is structured in Solidity.You can customize the token name, symbol, decimals, and initial supply based on your project requirements.
Step 5: Test Your Smart Contract
Thorough testing on the TRON Shasta Testnet is crucial before going live on the mainnet. This allows you to identify and resolve potential issues at an early stage.You can:
- Use TRONBox to compile and deploy your smart contract during the testing phase.
- Use TRONLink to connect your wallet and interact with your TRC20 token on the testnet environment.
- Run test transactions to verify that transfers, approvals, and balances work as expected
- Testing helps you avoid critical errors that could result in loss of funds or project failure.
Step 6: Deploy on the TRON Mainnet
Once you’re confident your smart contract is error-free and functioning well on the testnet, you can deploy it on the TRON mainnet. To do this:
- Connect your TRONLink wallet to the mainnet.
- Use TRONBox to deploy the contract.
- Pay the deployment fees using TRX (TRON’s native currency).
- Once deployed, your contract address will be live, and your TRC20 token will be publicly accessible.
Step 7: Verify and Promote Your Token
Once your token is live on the TRON mainnet, it’s important to verify your contract on TRONScan, the official blockchain explorer for TRON, to build trust and increase visibility.Token verification improves trust and visibility. To do this:
- Search your contract address
- Submit a request for verification with details like name, symbol, logo, and website
- Additionally, promote your token through social media, websites, communities, and listing platforms to attract users and investors.
- Manage and Scale Your Token
- Once your token is live, ongoing management is key. This includes:
- Providing liquidity on decentralized exchanges (DEXs)
- Creating staking or reward mechanisms
- Regularly auditing the smart contract
- Updating your community and investors
- Integrating your token into new dApps or partnerships
As your project grows, you may also consider upgrading to more advanced features such as cross-chain compatibility or Layer-2 solutions.
Creating a TRON token is a powerful way to step into the blockchain world, whether for a startup idea, fundraising project, or decentralized ecosystem. While platforms like TRON make token creation more accessible, the technical complexity of smart contracts, testing, and deployment still demands expertise.
If you lack technical knowledge or want to avoid common pitfalls, partnering with a TRON token development company is a wise option. These experts can handle end-to-end development, ensure code security, and help you launch a robust, feature-rich token without the hassle.By following this step-by-step guide, you’re well on your way to bringing your blockchain vision to life with TRON.
About the Creator
Keep reading
More stories from Raquel Valentina and writers in The Chain and other communities.
Understanding ERC Token Standards: A Comprehensive Guide
In blockchain technology, Ethereum is the most important blockchain network due to its reputation and reliability. If you want to perform any crypto-related work, you first need crypto tokens. This blockchain has multiple ERC standards for all types of crypto token creation. The ERC token standards play a vital role in improving the usability of Ethereum-based tokens. So it is more advantageous for startups or entrepreneurs looking to level up their crypto business with renowned Crypto token development services. These ERC standards have many benefits including interoperability, simplified development, increased liquidity, compliance, and security, etc.
By Raquel Valentinaabout a year ago in The Chain
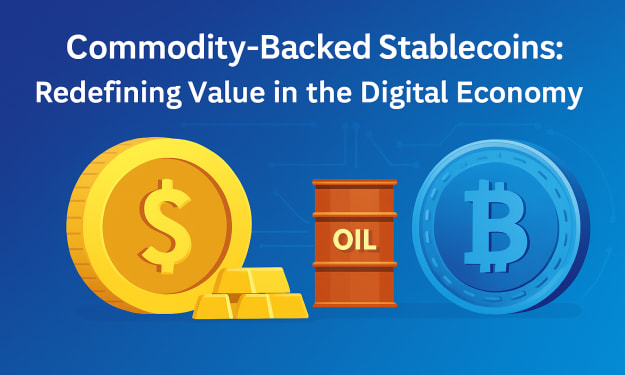
Commodity-Backed Stablecoins: Redefining Value in the Digital Economy
The cryptocurrency market has consistently evolved to address volatility, scalability, and trust. Among the innovations reshaping this ecosystem, commodity-backed stablecoins have emerged as a critical bridge between blockchain technology and traditional asset classes. Unlike purely algorithmic or fiat-backed models, these tokens derive value from tangible commodities such as gold, silver, oil, or even agricultural products. This asset-collateralized approach not only mitigates market instability but also offers institutional-grade trust for investors seeking transparency and sustainability in digital finance.
By Siddarth D8 days ago in The Chain
How Stablecoins Are Created: A Deep Dive Into The Future of Digital Finance
The evolution of digital finance is reshaping how we think about money, and at the heart of this revolution lies a seemingly simple yet incredibly powerful innovation: the stablecoin. Designed to offer the best of both worlds—blockchain’s speed and decentralization with the stability of traditional currencies—stablecoins are quickly becoming integral to both individual transactions and global financial systems. But how are these digital assets actually brought to life? What lies beneath their perceived simplicity? Let’s take a deep dive into how stablecoins are created, and what it takes to build a currency that must remain stable in a volatile digital world.
By Siddarth D8 days ago in The Chain


Comments
There are no comments for this story
Be the first to respond and start the conversation.