
The Ultimate Guide to Rendering Perfect Lard: Three Must-Adds and Three Strict Avoidances for White, Fragrant, and Pure Results
The Ultimate Guide to Rendering Perfect Lard: Three Must-Adds and Three Strict Avoidances for White, Fragrant, and Pure Results
When I was a child, my grandmother would lift the lid of that small, gleaming black clay pot on the stove, and the snowy white lard inside would release a warm, comforting aroma. A spoonful mixed into a bowl of freshly steamed rice—the rich fat coating each grain—was the simplest yet most cherished delicacy of my childhood. Nowadays, however, many people frown at the mention of lard: "Isn’t it unhealthy? Too much cholesterol!" This is only half true. Modern nutrition science has shown that lard is rich in monounsaturated fatty acids and vitamin D. When consumed in moderation, it is not the health-destroying monster it’s often made out to be. What really gives lard its "unhealthy" reputation is often the unpleasant gamey odor resulting from improper rendering—poor technique not only ruins the flavor but also perpetuates misunderstandings about its nutritional value.
To render a jar of snow-white, fragrant, and long-lasting lard, the secret lies in the folk wisdom of "three adds and three avoids." If you’ve ever ended up with a pot of dark, bitter, and pungent-smelling oil, you likely missed these critical steps.
The First Hurdle: Selecting and Preparing the Ingredients
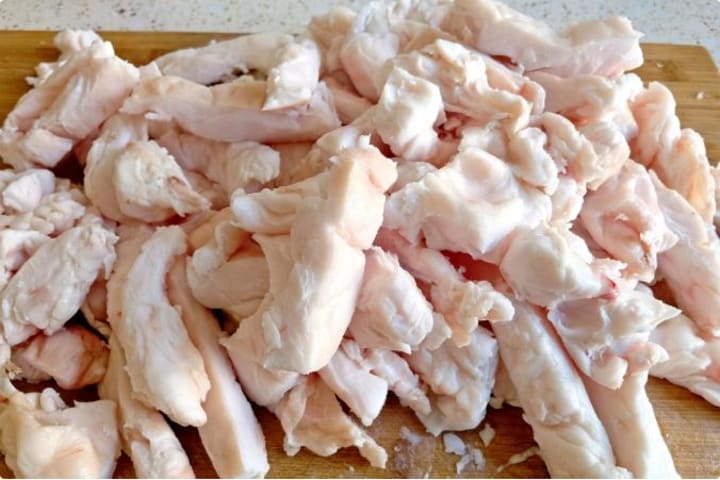
Choosing the Right Fat: Pork leaf fat (caul fat) yields the highest amount of oil and has a pure texture, resulting in exceptionally white and smooth lard. Pork back fat is the second best option; it carries a meatier aroma but may produce slightly darker oil. Whichever you choose, ensure it is fresh and free of any off-putting odors.
Cleaning with Care: Avoid rinsing with boiling water! Gently wash the fat in warm water to remove blood and impurities. Over-washing can strip away its natural fragrance.
Cutting Techniques: Cut the fat into uniform small cubes or thin slices (2-3 cm squares are ideal). Large pieces will render too slowly, while pieces that are too small can easily burn and turn bitter.
The Rendering Process: The "Three Adds" That Make All the Difference
1. Start with a Bowl of Water (Key to Preventing Burning):
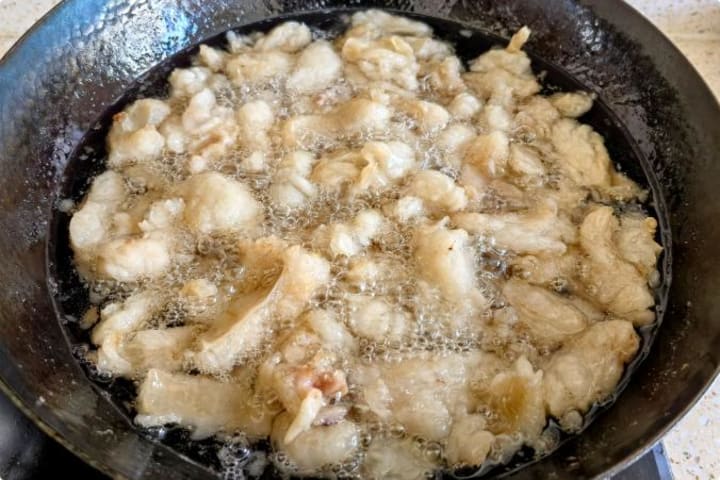
Place the fat cubes into a cold pot and immediately add a small bowl of water (enough to cover about one-third of the fat). This is the secret to preventing the fat from burning and turning bitter when exposed to high heat. As the water heats up, the fat melts gradually and evenly, resulting in pure, snow-white oil without any browned impurities.
2. Add Ginger Slices to Eliminate Gamey Odors:
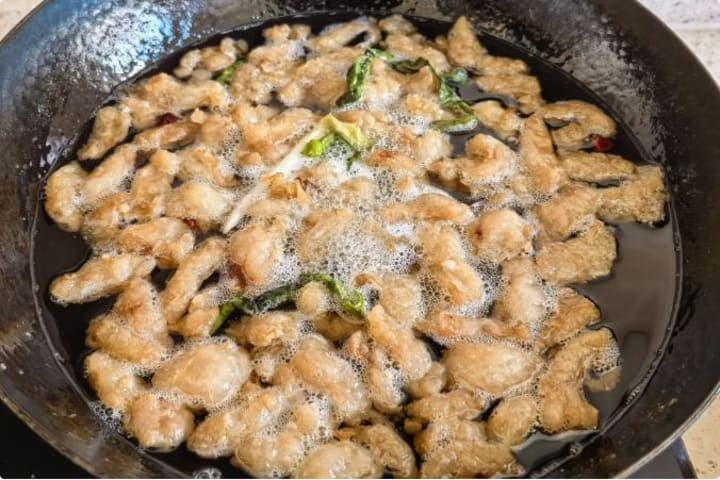
As the water evaporates and the oil begins to appear, add a few slices of old ginger. Ginger, with its warm and pungent properties, is a natural remedy for neutralizing the inherent gamey taste of pork, resulting in a cleaner and more balanced flavor.
3. Finish with Sichuan Peppercorns for a Subtle Fragrance:
When the cracklings (rendered fat pieces) begin to turn slightly yellow and shrink noticeably, add a small pinch of dried Sichuan peppercorns (about 10 grains). The unique aromatic compounds in the peppercorns are released when heated, imparting an indescribable yet essential complexity to the lard. This step significantly enhances the aroma while eliminating unwanted odors. Remember to add the peppercorns when the oil is hot enough to fully release their fragrance, and remove them before the cracklings turn completely yellow to avoid bitterness.
Critical Avoidances: The "Three Avoids" to Steer Clear Of
1. Never Use Green Onions (The Culprit of Discoloration):
Many are accustomed to adding ginger and green onions together, but this is a major mistake when rendering lard! Green onions easily turn black and carbonize when simmered in oil for too long, not only clouding the oil and darkening its color but also producing an unpleasant rancid smell that can ruin the entire batch.
2. Avoid Salt at All Costs (The Enemy of Shelf Life):
Salt is a friend to moisture but a foe to fat preservation. Any residual salt can accelerate oxidation and rancidity, significantly shortening the shelf life of lard. Seasoning should be left for the cooking stage, not during rendering.
3. Use Strong Spices Like Star Anise and Cinnamon Sparingly (They Overpower the Flavor):
Strong spices can easily dominate and掩盖 the温和醇厚 natural flavor of lard. If you aim for pure, white, and authentic-tasting lard, avoid heavy spices altogether.
Finishing Touches and Storage Tips
Perfect Timing to Turn Off the Heat:
When the cracklings turn a beautiful golden yellow and shrink in size, immediately turn off the heat. The residual heat will continue to draw out the remaining oil without burning the cracklings.
Filtering for Clarity:
Prepare a clean, heat-resistant container (a glass jar is ideal). Slowly pour the hot lard through a fine-mesh strainer or cheesecloth to remove any cracklings and tiny impurities.
Pro Tips for Whiteness and Preservation:
When the lard is almost solidified but still slightly warm, add a few washed and dried soybeans or a teaspoon of white sugar to the jar. The lecithin in soybeans and the sugar help the lard solidify into a whiter, smoother texture while delaying oxidation.
Don’t Waste the Cracklings:
Sprinkle the golden cracklings with salt and pepper for a crispy snack, or chop them up to add to stir-fried vegetables or stuffed buns—they’re a flavor powerhouse!
Waiting for the Magic to Happen:
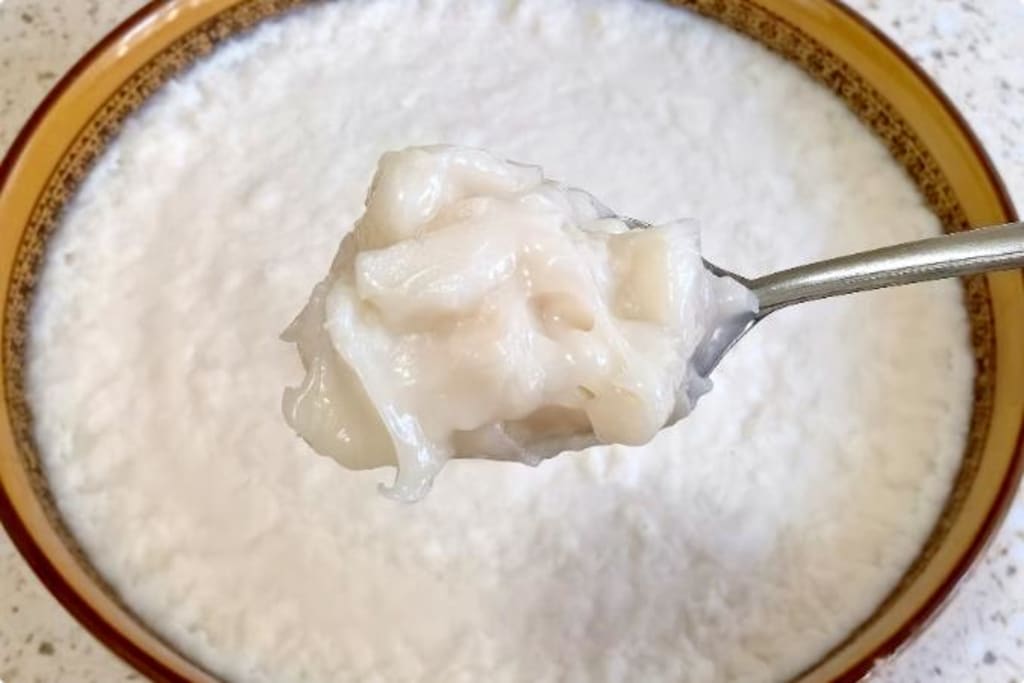
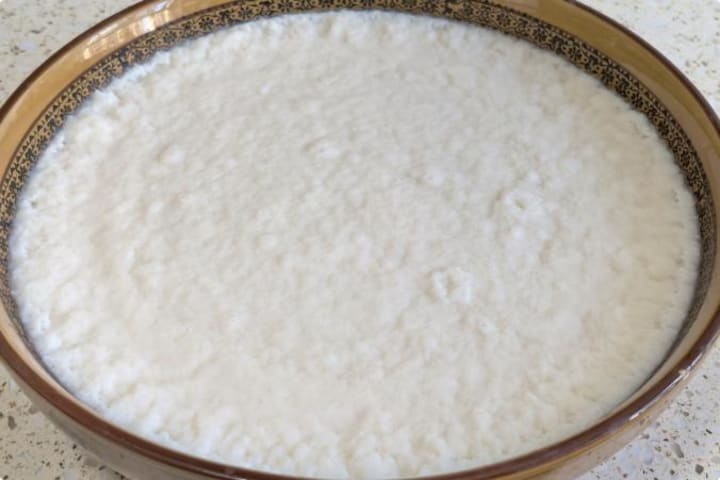
Let the filtered lard cool naturally in a shady place. When you open the lid, you’ll be greeted with a creamy, jade-white substance as pure as fresh winter snow. Bring it close, and you’ll smell only the inviting,温和 aroma of pure fat—the dreaded gamey odor has been completely eliminated by the wisdom of "three adds and three avoids."
Next time you render lard, remember this six-word mantra: "three adds and three avoids." Let that jar of white jade-like treasure from your memories shine once again in your kitchen.
Additional Tips for Perfect Lard Every Time
• Low and Slow: Patience is key. Rendering lard over low heat ensures that the fat melts evenly without burning. Rushing the process over high heat will only lead to bitterness and discoloration.
• Storage Matters: Always store lard in airtight containers to prevent exposure to air and light, which can cause rancidity. For longer shelf life, keep it in the refrigerator or a cool, dark pantry.
• Versatility of Lard: Beyond cooking, lard can be used in baking for flakier pastries and pie crusts. It’s also a traditional ingredient in many cuisines worldwide, valued for its flavor and texture-enhancing properties.
• Health Notes: While lard has been vilified in the past, it’s worth noting that it contains no trans fats and is lower in saturated fat than butter. When sourced from well-raised pigs and rendered properly, it can be part of a balanced diet.
• Experiment with Flavors: For subtly infused lard, try adding a sprig of rosemary or a clove of garlic during the rendering process (remember to remove them before storage). This can create a versatile cooking fat with a hint of aromatic complexity.
By following these guidelines, you’ll not only achieve perfect lard but also gain a deeper appreciation for this traditional ingredient. Happy rendering!
About the Creator
My Tous les Jours Trip
As someone who lives in a rural area, I don't get the chance to visit fancy restaurants or bakeries that often. So, when a friend told me about a French-Asian bakery that's less than an hour away, I knew I had to check it out and grab some pictures for social media. Tous les Jours ended up providing an immersive experience that went above and beyond my expectations--although I did leave with a few reservations.
By Kaitlin Shanks22 days ago in Feast
Miss Persephone's Manual to a Seemingly Ordinary Life
Miss Persephone was found at the dining table, her blue eyes swollen, her tears arriving and retreating like the tides of the ocean. Earlier that day, her family had visited her in the retirement home where she had lived for eight years. It was her eightieth birthday.
By Imola Tóth2 days ago in Fiction


Comments
There are no comments for this story
Be the first to respond and start the conversation.