
Enhancing Your Space: Creative Ways to Incorporate Wall Hangings in Your Room
Transforming Walls into Artistic Statements for a Cozy and Stylish Living Environment
In this comprehensive step-by-step guide, we will explore the process of creating your own tapestry art for wall decor. Whether you're a seasoned artist or a beginner eager to dive into the world of tapestry weaving, this project allows you to unleash your creativity and add a personal touch to your living space. With a few basic materials and a little patience, you'll transform your walls into captivating artistic statements. Let's dive in!
Materials Needed:
Tapestry loom or embroidery hoop: Choose the appropriate size for your desired tapestry dimensions. Looms provide more versatility, while hoops are simpler to use.
Warp threads: These strong and sturdy threads will form the foundation of your tapestry, providing structure and support.
Weft threads: Select a variety of colored threads to bring your design to life. Consider different textures and thicknesses to add visual interest.
Tapestry needle: This large-eyed needle is specifically designed for tapestry weaving and will help you pass the weft threads through the warp threads.
Scissors: Essential for cutting and trimming threads during the weaving process.
Optional: Beads, ribbons, or other decorative elements to add texture, embellishments, and personal flair to your tapestry.
Step 1: Choose a Design
Begin by selecting a design for your tapestry. You can find inspiration from various sources such as nature, geometric shapes, cultural motifs, or even your own original artwork. Consider the size and complexity of your design based on your skill level and the desired outcome. Sketch or visualize the design to have a clear reference during the weaving process.
Step 2: Set Up the Loom
If you're using a tapestry loom, assemble it according to the manufacturer's instructions. Looms come in various types, including frame looms, table looms, and floor looms. Choose the one that suits your needs and space availability. Alternatively, you can use an embroidery hoop by tightening the inner ring onto the outer ring. Ensure the loom or hoop is stable and the threads can be tensioned evenly.
Attach the warp threads vertically along the loom or hoop, ensuring they are evenly spaced. These warp threads will serve as the foundation for your tapestry, providing a structure for the weft threads to be woven through. Secure the ends of the warp threads to the top and bottom of the loom or hoop, ensuring they are taut. This step creates a sturdy base for your weaving.
Step 3: Start Weaving
Tie one end of the weft thread to the bottom-left corner of the loom or hoop. This will be your starting point. You can choose to either weave from left to right or right to left, depending on your preference. If you're using multiple colors, start with the lightest or background color.
Begin weaving the weft thread over and under the warp threads, following your chosen design. Use a tapestry needle to pass the weft thread through the warp threads, gently pushing it into place. As you progress, make sure to maintain an even tension and avoid pulling the weft too tightly, which can cause the tapestry to warp. If needed, use a comb or your fingers to press the weft rows down firmly.
Continue weaving row by row, ensuring each row is pushed tightly against the previous one to avoid gaps. If you need to change colors or create intricate patterns, simply cut the weft thread and tie a new one, leaving a small
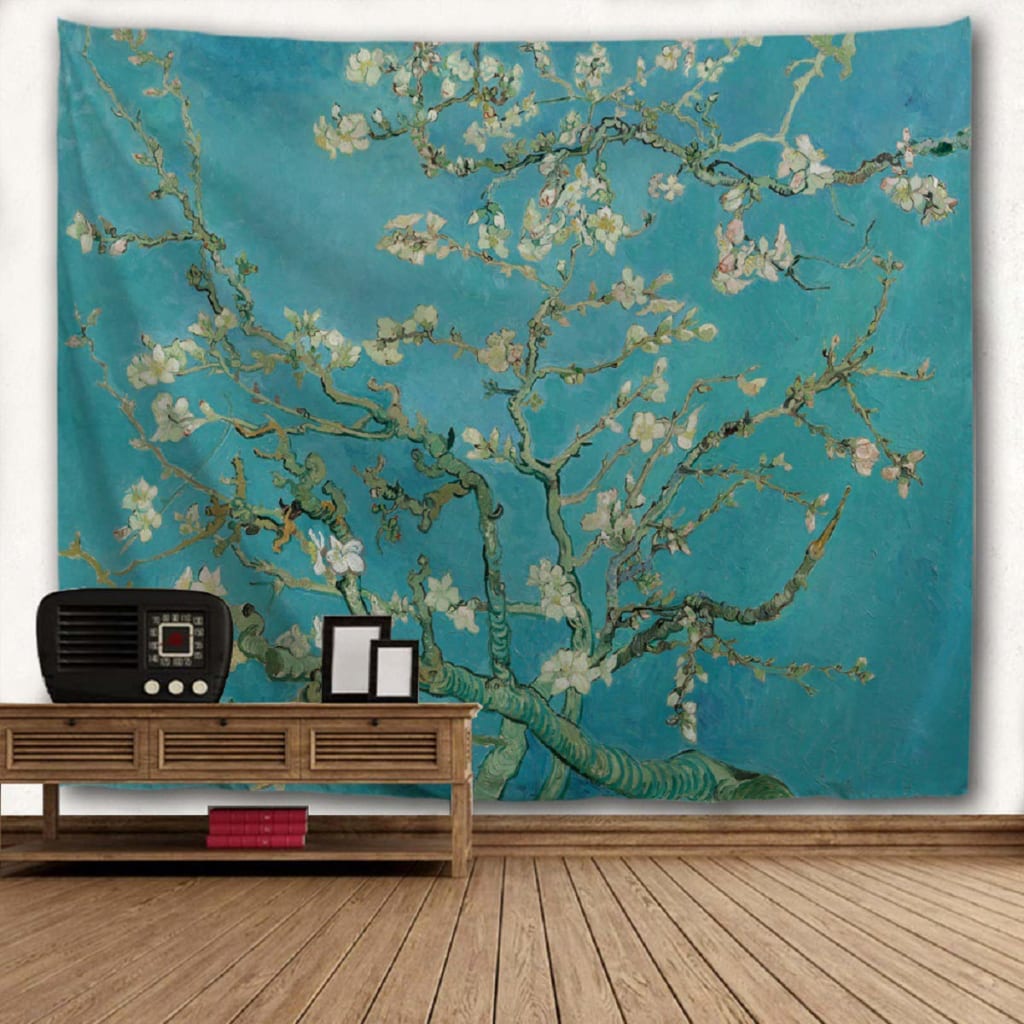
Click on the link to see Van Gogh tapestry models on amazon

About the Creator
Keep reading
More stories from writers in Motivation and other communities.


Comments
There are no comments for this story
Be the first to respond and start the conversation.