
[Viral Recipe] Korean Dakgalbi Made in a Skillet! Master the Crispy, Caramelized Magic with Temperature Control Hacks
Korean Dakgalbi Made in a Skillet!
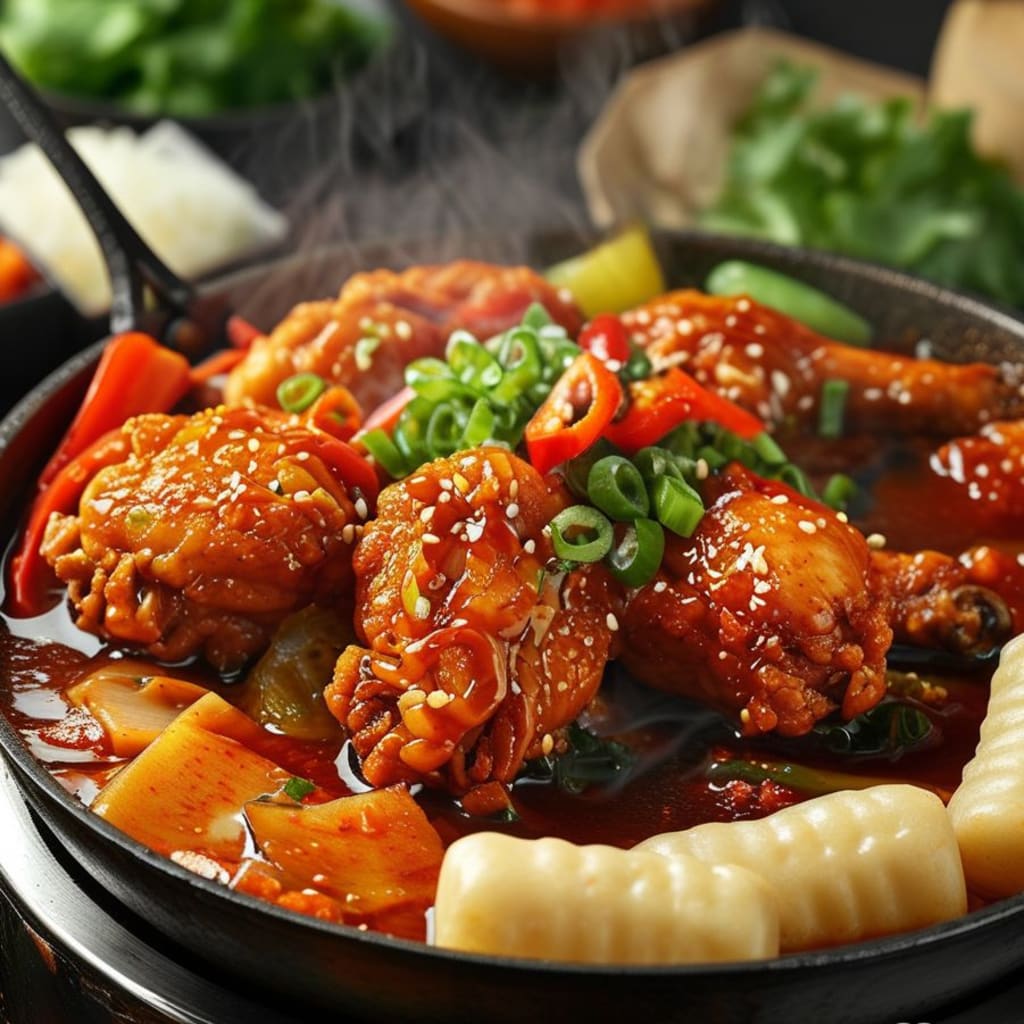
If I close my eyes, I can still smell the sizzling aroma of Dakgalbi wafting through that tiny Seoul eatery. The memory of crispy-edged chicken clinging to glossy, spice-kissed sauce had me obsessively recreating this dish in my home kitchen for months. After burning batches, undercooking meat, and endless tweaks, I finally cracked the code to achieving that iconic Korean stir-fry using nothing but a regular skillet. Today, I’m revealing every secret – from scientifically optimized marinating to the 3-stage heat control method that guarantees restaurant-quality results every time.
The Soul of Dakgalbi: Where Rustic Meets Refined
Originating from Chuncheon (hence "Chuncheon-style chicken"), this dish transforms humble ingredients through fiery alchemy. Traditionally cooked on a dome-shaped "ddukbaegi" grill, the magic lies in the layered caramelization – chicken skin crisping like crackling, sweet potatoes developing a smoky crust, and gochujang (Korean chili paste) melding into a glossy, addictive glaze. While specialty equipment helps, I’ve engineered a skillet technique that outperforms most restaurant versions. The key? Understanding Maillard reaction dynamics and embracing strategic laziness (yes, you’ll ditch constant stirring!).
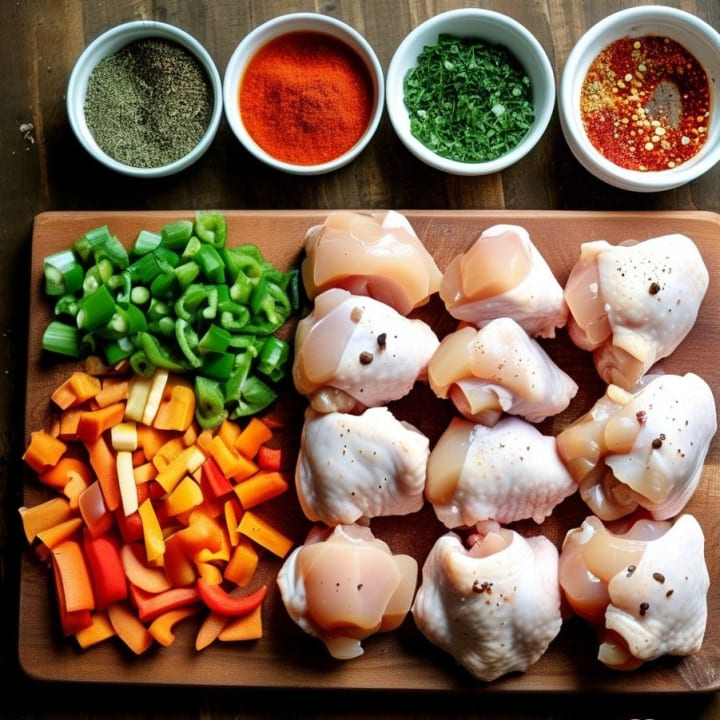
Ingredients: The Foundation of Flavor
Protein & Veg:
• 500g skin-on chicken thighs (bone-in for juiciness, deboned for convenience)
• 200g Korean rice cakes (soak 20 mins if using dried; substitute with udon for chewiness)
• 1 medium sweet potato (1cm cubes – starch content aids caramelization)
• ½ cabbage (rough chunks to withstand cooking)
• 1 onion (wedges, root intact to prevent disintegration)
• 1 carrot (matchsticks for quick cooking)
The Umami Bomb Marinade:
• 3 tbsp gochujang (Korean red chili paste – not Thai chili paste!)
• 1.5 tbsp doenjang (fermented soybean paste – secret depth booster)
• 1 tbsp raw sugar (balances heat; honey works)
• 2 tbsp minced garlic
• 1 tbsp grated apple (natural tenderizer – no joke!)
• 1 tbsp mirin (or ½ tbsp sugar + ½ tbsp vinegar)
• 1 tsp toasted sesame oil
• ¼ tsp black pepper
Pro Tip: Skip breast meat – thigh fat renders into the sauce, creating self-basting moisture. Vegetarian? Use king oyster mushrooms + extra tofu.
The 72-Hour Marinating Myth (Spoiler: 90 Minutes Works)
Many recipes insist on overnight marinating, but here’s the truth: Acidity and enzymes matter more than time. My apple-enhanced marinade penetrates meat in 90 minutes flat. Mix all marinade ingredients first, then massage into chicken until sticky – this emulsifies the sauce. Let it rest at room temp for 30 mins before refrigerating 1 hour. Why? Cold meat seizes in the pan; brief tempering prevents this.
Skillet Mastery: The 3-Stage Fire Dance
Equipment Note: Use a 12-inch cast iron or carbon steel skillet. Non-stick pans can’t achieve proper fond (those crispy browned bits = free flavor!).
Stage 1 – Nuclear Sear (3 mins):
Blast heat to max. Add 1 tsp oil. Arrange chicken skin-side down – DO NOT TOUCH. This initial sear at 400°F+ triggers instant Maillard reactions. After 2 mins, flip. When edges blacken slightly (not burn!), remove chicken.
Stage 2 – Veggie Orchestra (6 mins):
Reduce to medium. Cook sweet potatoes and carrots in rendered chicken fat 3 mins. Add onions, cabbage stems. Toss once. Here’s the kicker: Sprinkle 1 tsp sugar over veggies. The sugar accelerates caramelization, mimicking the ddukbaegi’s intense heat.
Stage 3 – Symphony (5 mins):
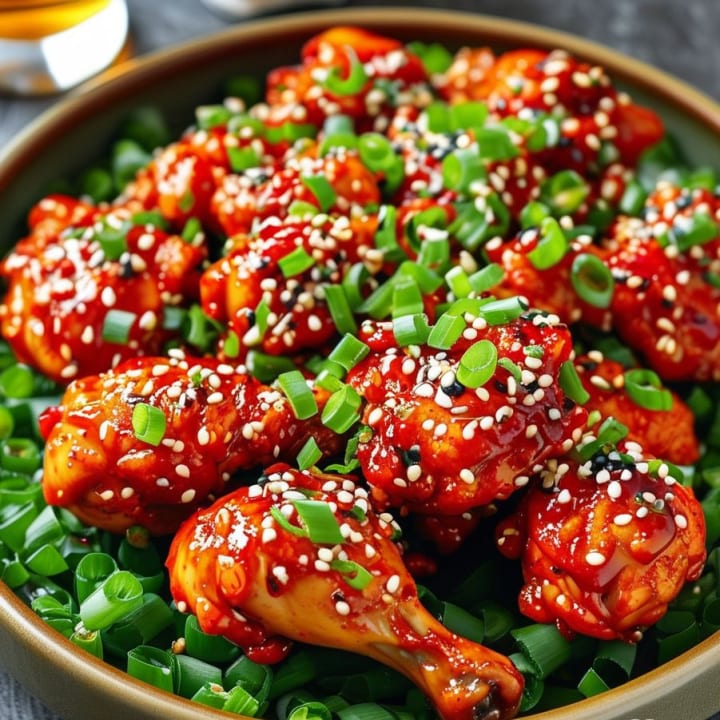
Return chicken. Pour marinade over. Add rice cakes. Reduce heat to low. Cover. Let steam work its magic 3 mins. Uncover, crank to medium-high. Toss violently – this coats every nook with thickened sauce. Final flourish: Drizzle 1 tsp sesame oil, scatter scallions.
Pro Hacks They Won’t Teach You in Seoul
• Crispy Rice Cake Trick: Pan-fry rice cakes separately in 1 tsp oil before adding – creates crackly exterior.
• Heat Adjustment: Too spicy? Stir in 1 tbsp peanut butter. Need brightness? Squeeze lime post-cooking.
• Second-Day Magic: Leftovers + fried rice + cheese = "Dakgalbi Bokkeumbap" – the ultimate midnight snack.
Why This Beats Takeout
Unlike gloppy, oversauced versions, this method gives TEXTURE – crackling chicken skin, snappy veggies, chewy-tender rice cakes. It’s a textural symphony that’ll make you swear off mediocre Korean joints. Best part? The entire process takes <40 mins once marinated.
So, will you take the Dakgalbi challenge? Trust me – that first bite of crispy-sticky-spicy bliss? Worth every second. And when your friends beg for the recipe, just send them here. 😉
P.S. For video tutorials on the "violent tossing" technique and more, check my IG @SkilletAlchemist!
About the Creator
Cricket powder cinnamon banana bread
I lived in Mexico for some years, many Moons ago, twice. It was there when I saw for the first time fried crispy crickets (known as chapulines in Mexico) tacos seasoned with lime, garlic, salt, and chile. Cricket tacos are a traditional delicacy which is especially popular in the Oaxaca region of Mexico. You can find them as a street food optionat outdoor markets in Mexico (look for chapulines) or at speciality restauants in the U.S. (just make sure the crickets are for human consumption).
By Susan Fourtané about a month ago in Feast
North America Pasta Market Size & Forecast 2025–2033
Introduction Pasta has quietly transformed from a traditional Italian staple into a universal comfort food across North America. Once associated mainly with classic recipes and home cooking, it now appears in gourmet menus, meal kits, microwaveable bowls, and plant-based diets. According to Renub Research, the North America pasta market was valued at US$ 6.23 billion in 2024 and is projected to reach US$ 8.91 billion by 2033, expanding at a CAGR of 4.05% from 2025 to 2033.
By Janine Root 6 days ago in Feast


Comments
There are no comments for this story
Be the first to respond and start the conversation.