
The Ultimate Guide to Washing and Preserving Bayberries: Say Goodbye to Insect Eggs and Pesticides!
The Ultimate Guide to Washing and Preserving Bayberries: Say Goodbye to Insect Eggs and Pesticides!
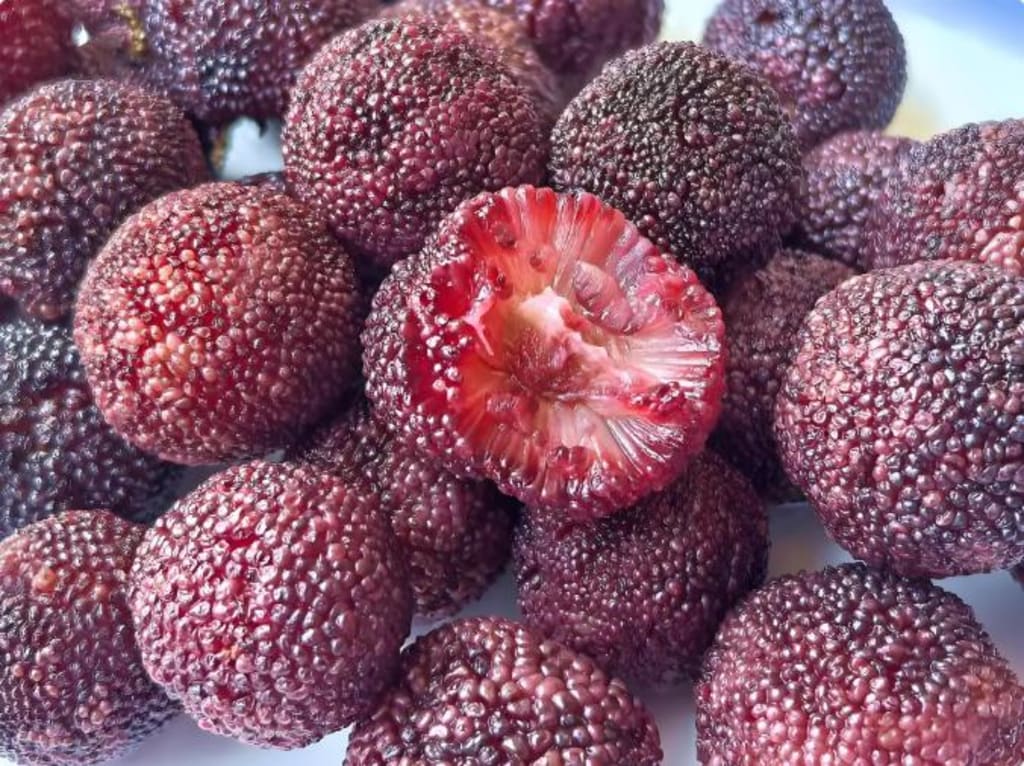
Every May and June, roadside fruit stalls transform into ruby wonderlands with baskets overflowing with glistening bayberries. These jewel-toned fruits, resembling sugar-dusted garnets, tease our taste buds with their tantalizing sweet-tart aroma. Yet behind their luscious appearance lies a cleaning challenge that puzzles many fruit lovers. Having learned ancestral cleaning techniques from my rural aunt, I'm here to reveal why the common saltwater soak is outdated and how to properly eliminate hidden insect eggs, dust, and pesticide residues using an underrated kitchen hero.
Why Standard Methods Fail:
Most people's bayberry cleaning routine stops at saltwater baths, unaware that this only addresses surface contaminants. The real threats - nearly invisible insect eggs wedged in flesh crevices and pesticide residues clinging to the bumpy surface - require strategic intervention. Traditional soaking often results in either drowned berries or surviving contaminants, making proper technique crucial for food safety.
Professional-Grade Cleaning Protocol
Materials Checklist:
• 500g fresh bayberries
• 5g table salt (1 tsp)
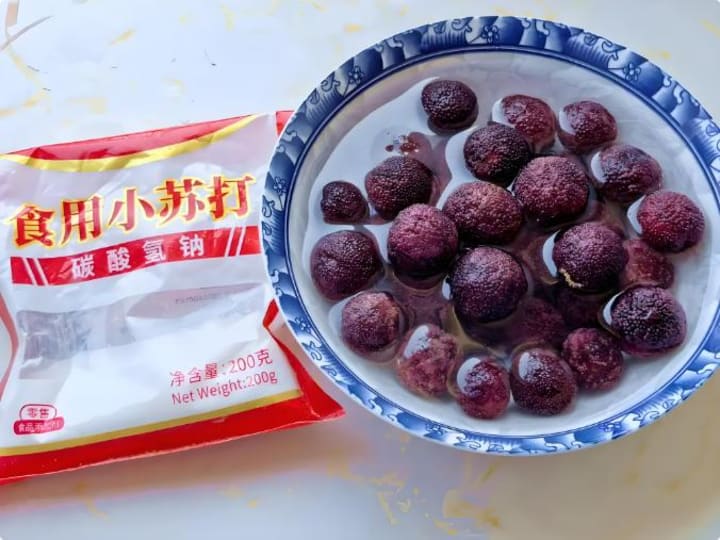
• 5g baking soda (1 tsp)
• 40°C warm water (comfortably warm to touch)
Step-by-Step Deep Clean:
1. Preliminary Rinse
Use a perforated colander under gentle running water. Employ a "soft shower" setting and delicately rotate berries with fingertips. Avoid high-pressure streams that damage delicate flesh - imagine washing newborn peaches rather than scrubbing potatoes.
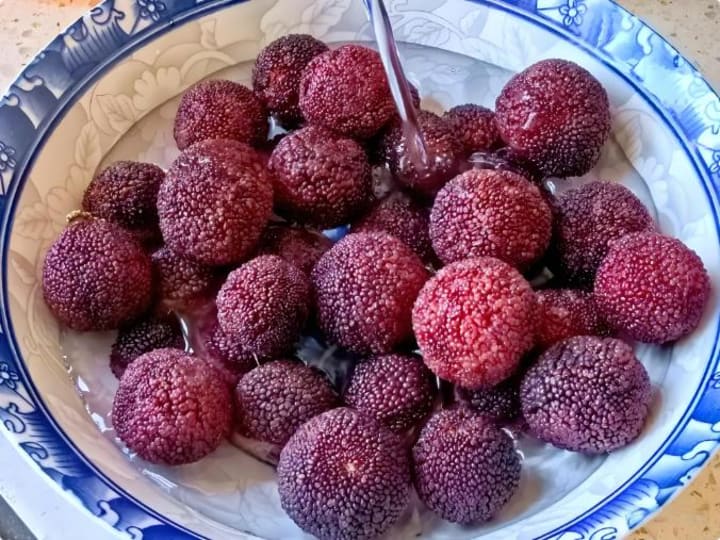
2. Thermal Activation Bath
Submerge berries in 40°C water (test with elbow - should feel like warm baby milk). This strategic temperature:
• Stimulates insect eggs to release grip
• Opens fruit pores without cooking
• Maintains structural integrity
Soak uncovered for 3 minutes - no additives yet!
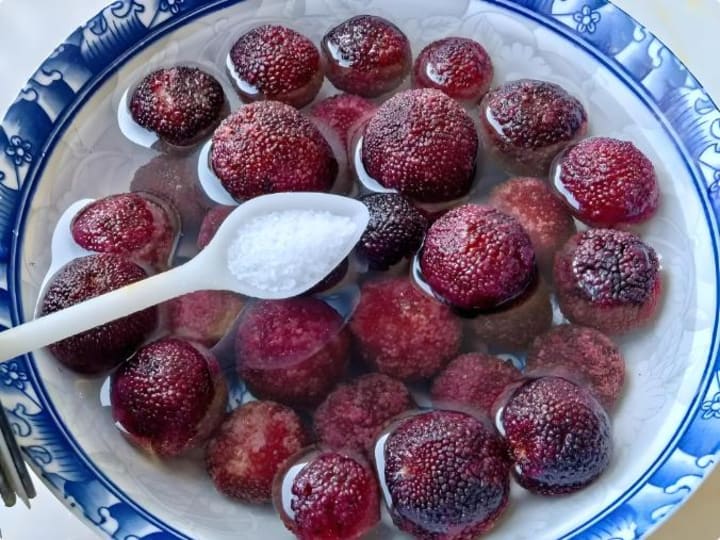
3. Biochemical Treatment
Sprinkle salt and baking soda across water surface. Gently stir with chopsticks for 2 minutes creating slow vortex. The science behind:
• Sodium chloride creates hostile osmotic environment for organisms
• Sodium bicarbonate breaks down wax-based pesticides
• Alkaline solution neutralizes acidic contaminants
Watch as white foam emerges - your visual confirmation of contaminant removal.
4. Final Purge
Transfer berries back to colander. Execute the "chef's toss" technique - rhythmically bounce colander under cold stream. This hydrodynamic cleaning flushes remaining debris from crevices. Properly cleaned berries should exhibit:
• Vibrant color saturation
• Intact velvety texture
• Fresh botanical aroma
Preservation Mastery:
• Immediate drying: Layer on bamboo paper towels
• Refrigeration: Store in breathable glass containers ≤24hrs
• Intensive cleaning: Increase baking soda to 8g for heavily contaminated batches
Artisanal Bayberry Jam Recipe
Ingredients:
• 800g destoned berries (yields 500g pulp)
• 200g rock sugar (substitute erythritol for diabetics)
• ½ lemon (juiced)
• Sterilized glass jar (steam-treated 10 mins)
Crafting Process:
1. Destoning Technique
Wear food-grade gloves. Apply thumb pressure at stem base with twisting motion - the pit releases with satisfying "pop". Pro tip: Simmer pits with ginger and honey for antioxidant-rich tea.
2. Maceration Magic
Combine pulp and sugar in glass bowl. Refrigerate 3 hours until natural pectin emerges as ruby-red syrup. This liquid gold ensures perfect jam consistency without additives.
3. Slow Alchemy
Cook in heavy copper pot over lowest heat. Constant figure-eight stirring prevents scorching. When bubbles resemble "carp eyes" (60°C), add lemon juice. The chemistry:
• Citric acid enhances color retention
• Balances sweetness
• Acts as natural preservative
4. Jarring Ritual
Test viscosity using the "cold plate method". Properly reduced jam should sheet slowly. Fill jars while hot, invert to create vacuum seal. The triumphant "pop" indicates successful preservation. Properly sealed jars maintain quality for 12+ months.
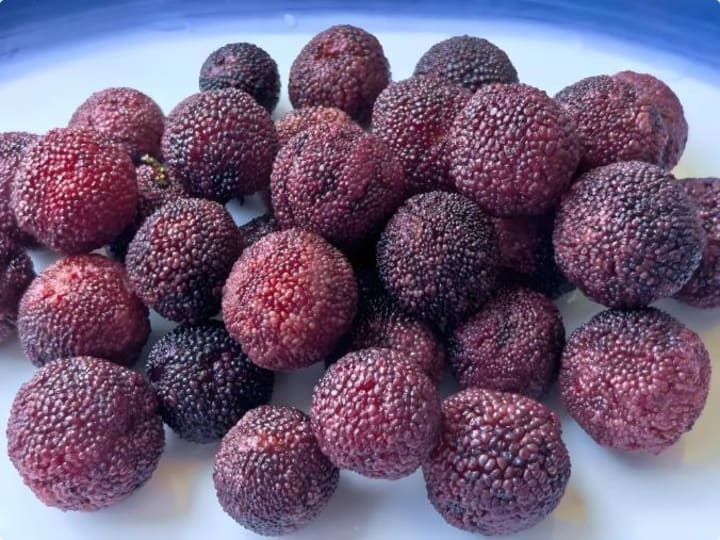
Berry Selection Wisdom:
• Color spectrum: Deep burgundy with rosy blush (peak ripeness) vs dull black (overripe)
• Tactile test: Plump drupelets with springy resilience indicate freshness
• Olfactory check: Bright fruity notes vs fermented alcohol smell
Nutritional Bonus:
Bayberries pack exceptional levels of:
• Vitamin C (surpassing oranges)
• Ellagic acid (cancer-preventive compound)
• Cyanidin (neuroprotective anthocyanin)
Seasonal Strategy:
Maximize your bayberry haul by:
• Morning purchases: Berries retain night-cooled freshness
• Immediate processing: Enzymatic degradation begins rapidly post-harvest
• Dual preservation: Freeze-dry portion for year-round enjoyment
Armed with this comprehensive guide, transform your bayberry experience from risky indulgence to safe culinary adventure. Whether enjoyed chilled, baked in tarts, or savored as winter jam, these techniques ensure every bite encapsulates summer's essence while protecting your health. Remember: Proper preparation unlocks nature's candy at its safest and most delicious!
About the Creator
My Tous les Jours Trip
As someone who lives in a rural area, I don't get the chance to visit fancy restaurants or bakeries that often. So, when a friend told me about a French-Asian bakery that's less than an hour away, I knew I had to check it out and grab some pictures for social media. Tous les Jours ended up providing an immersive experience that went above and beyond my expectations--although I did leave with a few reservations.
By Kaitlin Shanks24 days ago in Feast


Comments (1)
I had no idea the common saltwater soak for bayberries was so ineffective. Your professional-grade protocol makes sense. I'm curious, have you tried this method on other delicate fruits? Also, does the baking soda really help get rid of all those hidden residues? Can't wait to try it next time I see bayberries at the stall.