
Chocolate Mochi Brownies: A Chewy, Chocolaty Fusion You’ll Love
Chocolate Mochi Brownies

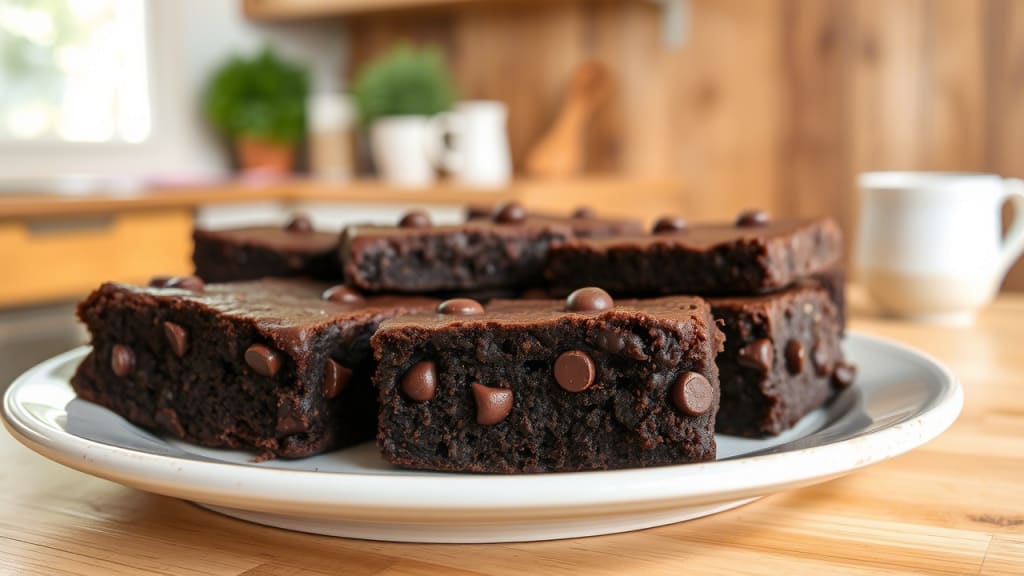
There’s a new dessert on the block, and it’s here to steal the spotlight: Chocolate Mochi Brownies. This chewy, gooey fusion of classic brownies and Japanese mochi offers everything a dessert lover could want — a rich chocolatey flavor wrapped in a delightfully bouncy texture. Whether you’re a mochi fanatic or a brownie purist, this dessert will surprise and delight you.
Let’s explore what makes chocolate mochi brownies so special, how to make them at home, and why they’ve become one of the most sought-after treats in modern baking.
🍫 What Are Chocolate Mochi Brownies?
Chocolate mochi brownies combine two iconic desserts: American-style fudgy chocolate brownies and Japanese mochi, a chewy confection made from glutinous rice flour (also known as mochiko). The result is a brownie that’s a little denser, stretchier, and chewier than the usual cake-like or fudgy versions — in the best possible way.
It’s a gluten-free, textural twist on the brownie that’s become popular in Asian-American kitchens and beyond.
🧾 Ingredients (With Measurements)
Here’s what you’ll need to make a classic batch of Chocolate Mochi Brownies:
Dry Ingredients:
1 cup (130g) mochiko flour (glutinous rice flour)
1/2 cup (45g) unsweetened cocoa powder
1/2 tsp baking powder
1/4 tsp salt
Wet Ingredients:
1/2 cup (115g) unsalted butter (melted and slightly cooled)
1 cup (200g) granulated sugar
2 large eggs
1 tsp vanilla extract
1 cup (240ml) whole milk or full-fat coconut milk (for richness)
Optional: 1/2 tsp espresso powder (to enhance chocolate flavor)
Mix-ins and Toppings:
1/2 cup (90g) semi-sweet chocolate chips or chunks
Optional: flaky sea salt or chopped nuts for garnish
👩🍳 How to Make Chocolate Mochi Brownies (Step-by-Step)
Step 1: Prep the Oven and Pan
Preheat your oven to 350°F (175°C).
Lightly grease or line an 8x8-inch baking pan with parchment paper.
Step 2: Mix the Dry Ingredients
In a large bowl, whisk together:
1 cup mochiko flour
1/2 cup cocoa powder
1/2 tsp baking powder
1/4 tsp salt
Set aside.
Step 3: Mix the Wet Ingredients
In another mixing bowl:
Whisk 2 eggs with 1 cup sugar until light and slightly frothy.
Add 1/2 cup melted butter and 1 tsp vanilla extract.
Stir in the milk (or coconut milk).
If using espresso powder, mix it in now.
Step 4: Combine and Mix
Gradually add the dry ingredients to the wet, mixing until just combined.
The batter will be thinner than traditional brownie batter but thicker than pancake batter.
Step 5: Fold in Chocolate Chips
Stir in 1/2 cup of chocolate chips or chunks.
Step 6: Pour and Bake
Pour the batter into your prepared pan.
Bake for 45 to 55 minutes, or until the center is set and a toothpick inserted comes out with only a few moist crumbs.
Step 7: Cool Before Slicing
Let the brownies cool completely — at least 1 hour — before slicing. Mochi brownies firm up as they cool, giving them their signature chewy texture.
✨ Flavor Variations to Try
Chocolate mochi brownies are incredibly versatile. Try these fun flavor twists:
Matcha-Chocolate: Replace 2 tbsp cocoa with matcha powder.
Peanut Butter Swirl: Drop spoonfuls of peanut butter and swirl before baking.
Sea Salt Caramel: Add a caramel drizzle and a pinch of flaky sea salt.
Vegan Option: Use plant-based butter, coconut milk, and egg replacer (like flax eggs).
🧁 Why Use Mochiko?
Mochiko is made from sweet rice (glutinous rice), which gives these brownies their signature chew. Unlike wheat flour, mochiko has no gluten but forms a stretchy, bouncy structure when baked. It's the same flour used to make mochi, butter mochi, and other chewy Asian treats.
Tip: Regular rice flour won’t work — only glutinous rice flour will give the right texture.
💡 Tips for the Best Mochi Brownies
Don’t overbake: Mochi brownies will feel soft in the center even when done. They firm up as they cool.
Use parchment paper: This helps prevent sticking and makes it easier to lift out and slice.
Let them rest: Wait at least 1 hour before slicing. They’re even better the next day.
🍽️ Serving & Storage Tips
Serve with: Green tea, black coffee, or vanilla ice cream.
Storage: Keep in an airtight container at room temperature for up to 3 days, or refrigerate for 5-6 days.
Freezing: Wrap slices individually and freeze for up to 2 months. Thaw and microwave for 15-20 seconds for that soft chew.
🌏 A Brief Look at Mochi’s Cultural Roots
Mochi originates from Japan, where it’s traditionally pounded rice formed into chewy cakes used in everything from soups to sweets. The texture is a cherished part of East Asian culinary culture, and in recent years, mochi has merged with Western desserts like donuts, waffles, and now — brownies!
Chocolate mochi brownies are a product of cultural fusion — a celebration of heritage and modern creativity.
❓ Frequently Asked Questions (FAQs)
1. Can I use regular flour instead of mochiko?
No — regular flour won’t give the chewy texture. You must use glutinous rice flour (mochiko).
2. Are chocolate mochi brownies gluten-free?
Yes! Mochiko is naturally gluten-free, making this dessert perfect for gluten-sensitive eaters.
3. Why are my brownies too gooey in the middle?
They may just need more time to set. Let them cool completely. If underbaked, try baking 5-10 minutes longer next time.
4. Can I make these with boxed brownie mix?
You can experiment by combining boxed mix with mochiko and reducing the liquid. But it’s best made from scratch for optimal texture.
5. Can I make them less sweet?
Yes, you can reduce the sugar to 3/4 cup, but texture and moisture may be slightly affected.
📝 Final Thoughts
Chocolate Mochi Brownies are a delightful twist on the classic — chewy, rich, and absolutely unforgettable. Whether you're craving something unique or want a gluten-free treat that doesn’t compromise on flavor, these brownies are worth every bite.
So grab that bag of mochiko, preheat your oven, and treat yourself to this East-meets-West dessert masterpiece.
If you’re a fan of soft Pancakes, you might also love these Oatmeal Apple Pancakes, which is another moist and flavorful option.
About the Creator
Freshlymaderecipes
Welcome I'm passionate about creating easy, delicious recipes that bring joy to every table. From quick weeknight meals to delightful treats, flavorful dishes and savor the journey with me! 🌟
Keep reading
More stories from Freshlymaderecipes and writers in Feast and other communities.
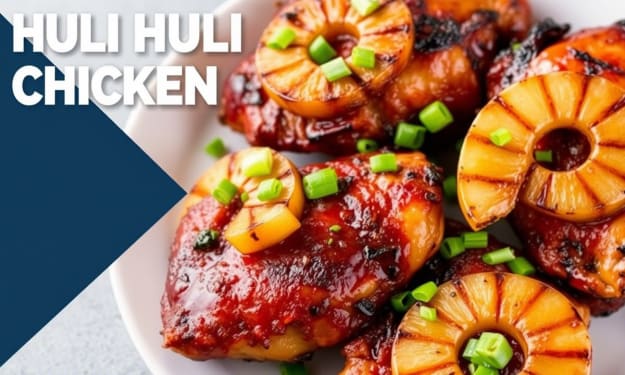
Huli Huli Chicken: The Ultimate Hawaiian BBQ Guide
If you're craving a taste of the Hawaiian Islands, few dishes deliver the flavor and nostalgia quite like Huli Huli Chicken. With its sweet, tangy marinade and smoky grilled finish, this beloved Hawaiian staple is more than just BBQ—it's a celebration of local heritage, island hospitality, and irresistible flavor.
By Freshlymaderecipes7 months ago in Feast
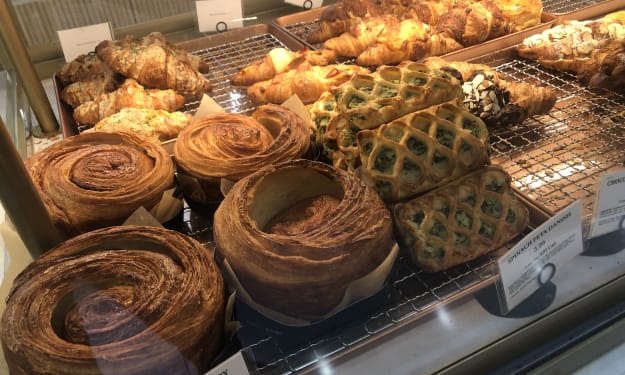
My Tous les Jours Trip
As someone who lives in a rural area, I don't get the chance to visit fancy restaurants or bakeries that often. So, when a friend told me about a French-Asian bakery that's less than an hour away, I knew I had to check it out and grab some pictures for social media. Tous les Jours ended up providing an immersive experience that went above and beyond my expectations--although I did leave with a few reservations.
By Kaitlin Shanks24 days ago in Feast
No-Recipe-Needed Dessert Tutorials
1. Basque Burnt Cheesecake Cream cheese, a few high-quality farm-fresh eggs, heavy cream, and sugar—just mix them together. Sift the mixture into a mold to remove air bubbles. Bake at 180°C (356°F), both top and bottom heat, for 40-50 minutes. Done! It must be completely chilled before slicing. One bite, and you'll be floating on cloud nine... This is so good! It has an incredibly rich, cheesy aroma and melts instantly in your mouth. The key is that this method is just too simple and unbeatable.
By yue . shui3 days ago in Feast


Comments
There are no comments for this story
Be the first to respond and start the conversation.