
Make Your Own Medieval: Belt Pouch
A practical use for needlework


Pockets are a relatively new invention.
Before pockets, people used pouches accessed through slits in the skirt or overtunic, carry bags or baskets of various kinds, or belt-pouches.
In my case, it gives me something to do with the frankly absurd number of embroidery projects I churn out throughout the year. Embroidery keeps my hands busy on my daily bus commute, but there are roughly 300 work days in a year, which is a lot of embroidery. There are also only so many that you can give away before the giftees start to look exasperated.
That said, belt pouches are incredibly useful. At cosplay conventions and Rennessaince Faires, not many people have pockets, but just about everyone is wearing a belt of some kind. Also, by the time they get to my table/stall, they're a bit sick of digging through a bag or hunting down the friend who is carrying everyone's wallets whenever they see something shiny and exciting.
Somewhere to keep the credit card is usually a very welcome sight. Even better if it's pretty or appeals to an interest of some kind.
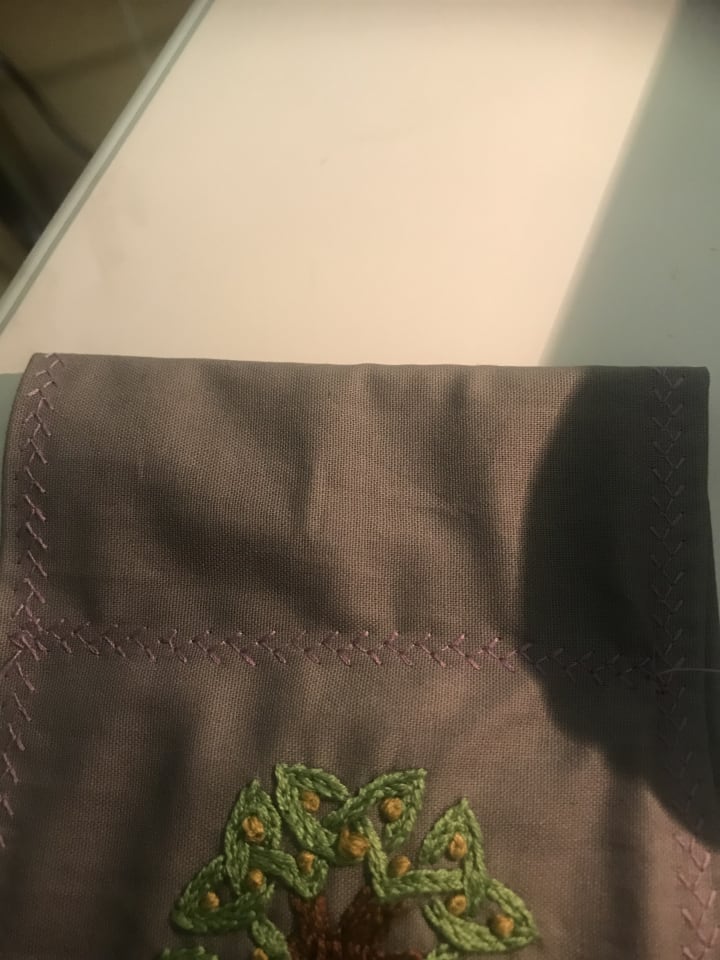
Most of my embroidery is done in split-stitch, which is both one of the easiest stitches to do, extremely flexible in terms of use, and very forgiving if your line ends up wobbling a bit.
Split stitch was developed in the 6th Century, and surviving samples show that it was used for tapestries, church vestiments and alter cloths. It's also a very easy stitch to learn, though like all things, speed and neatness come in time after practice.

You will need...
- A sewing machine. (In theory, you can do it by hand, but I prefer a machine. Anyone close enough to tell the difference is more than close enough to be slapped back out of your personal space.)
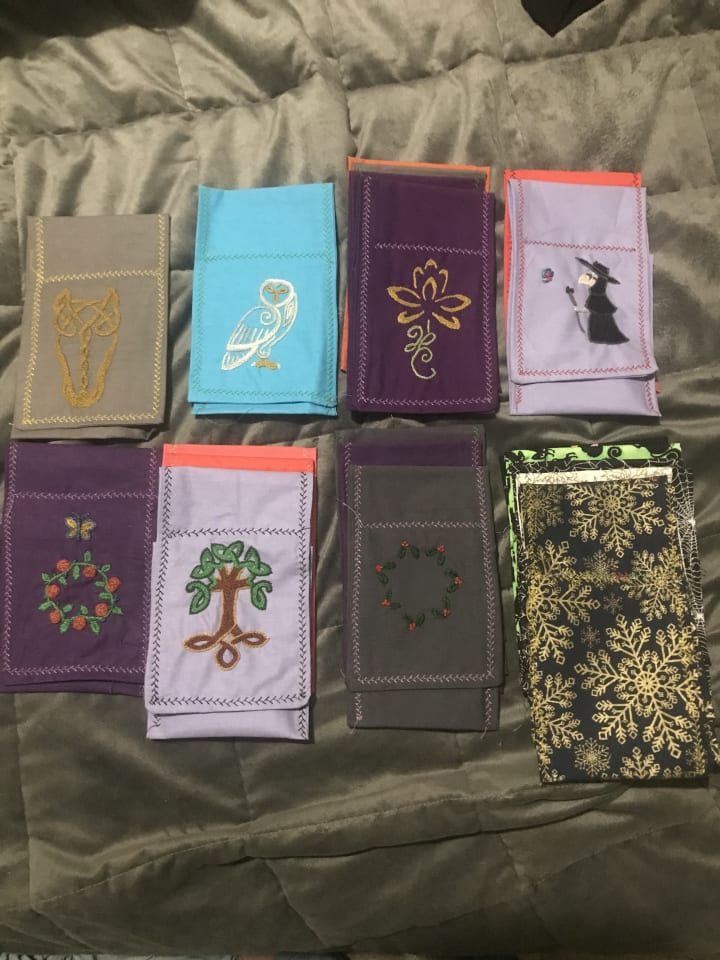
- Fabric. I buy 50 cm x 50 cm squares of quilting fabric and cut it in half to get two rectangles. Plain fabric is better if you plan to embroider, but occasionally I do plain belt pouches if there's a cool seasonal print on sale.
- Needle and embroidery floss for the embroidery. A lightboard is useful to draw the pattern onto the fabric, but if you;re a better artist than I am, you can free-hand it.

Method
Fold your fabric rectangle in half on the long fold.
If you have patterned fabric or embroidery, make sure it's folded wrong side out.
Sew two sides in an 'L' shape. It doesn't actually matter which end is open, just that one is.
Using the open end, turn your fabric right-side out.
Fold the open end in on itself, and sew shut.

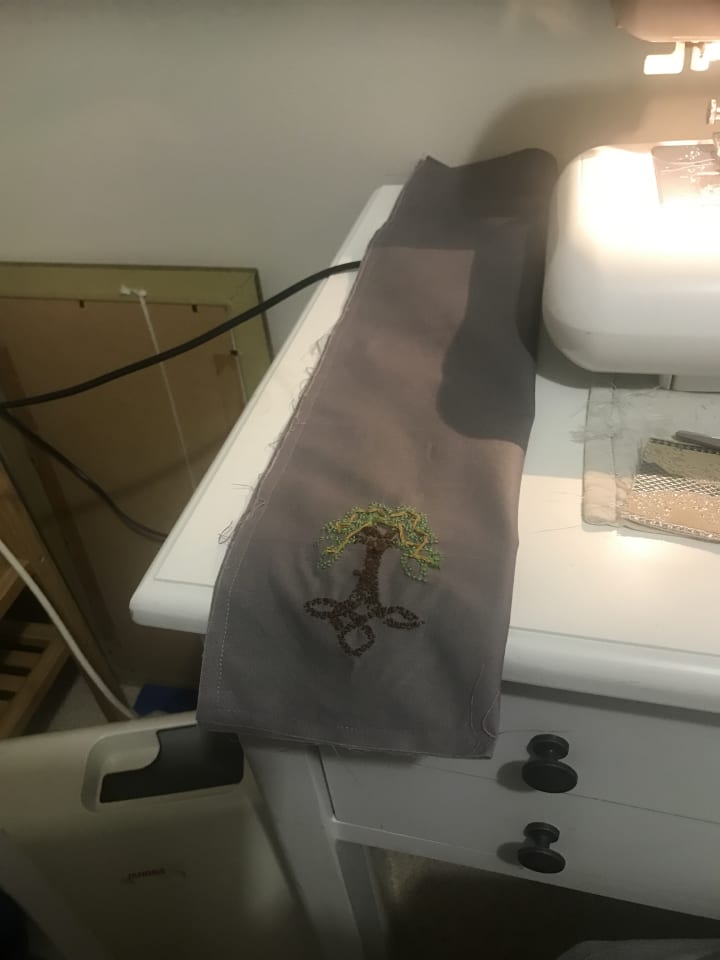
Take about a quarter of the rectangle, and fold it up. If you have done any embroidery, this should be the un-embroidered end.
Sew the sides of the fold. You can use a decorative stitch if you like, or just a simple straight stitch, depending if you want the stitching to blend in or stand out.

If you want, you can continue this down the full edge, or just the pouch.
Once that's done, fold the embroidered/other end down, creating the cover flap.
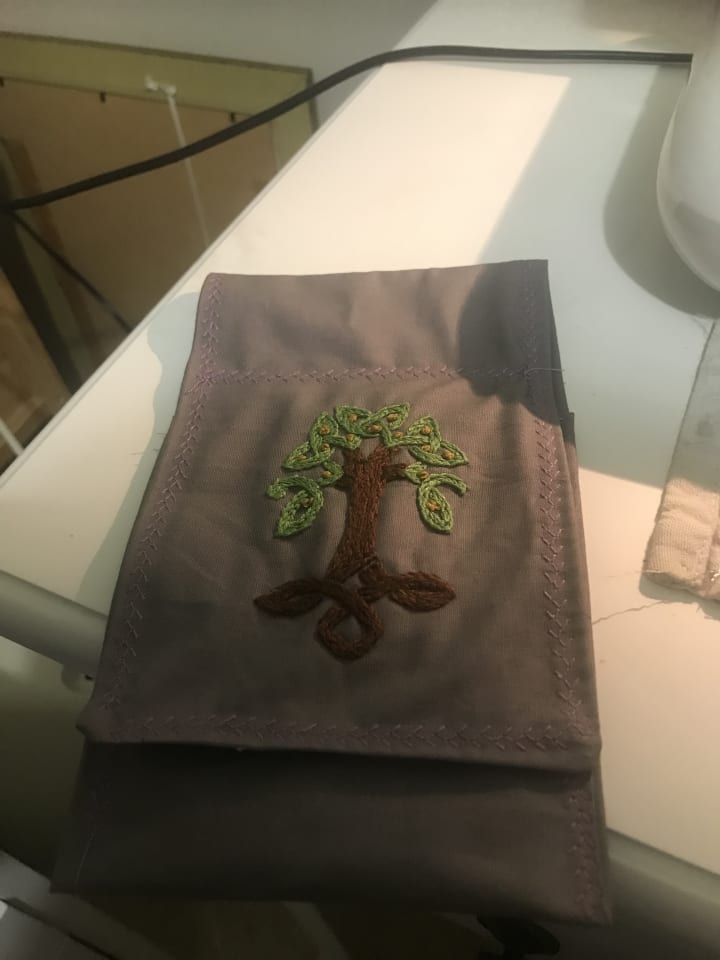
Sew a line across to create the belt loop
I've been using mostly the same patterns for the past several years, so this year, 2025, I plan to branch out. There is definitely such a thing as too complicated, but I plan to explore new designs, and maybe see what I can come up with for popular fandoms that won't fall foul of copyright infringement laws.
I have two Supanova conventions coming up this year, after all, as well as four Medival Faires. I can stand to try something new.
About the Creator
Natasja Rose
I've been writing since I learned how, but those have been lost and will never see daylight (I hope).
I'm an Indie Author, with 30+ books published.
I live in Sydney, Australia
Keep reading
More stories from Natasja Rose and writers in History and other communities.
Whether or Not You Support Israel, You Should Condemn Hamas
I'm writing this on October 9th, 2023, while Israel is still counting bodies and idenifying remains, and there are already marches around the world demanding that the Israeli Army get out of Gaza, already trying to reframe the narrative, as if guards on border checkpoints are an invasion force.
By Natasja Rose2 years ago in History
The Year 1963 in Review: Facts, Trivia, and Historic Highlights
This quick read is a collection of fun facts, trivia, and historical events from the year 1963. Discover the year’s top news stories, most influential people, sports facts, grocery and other retail prices, entertainment trivia, and much more.
By Gregory DeVictor4 days ago in History


Comments (1)
Interesting article with some beautiful embroidery