
The Influence of Light and Shadow in Water Paintings: How to Create Depth and Dimension
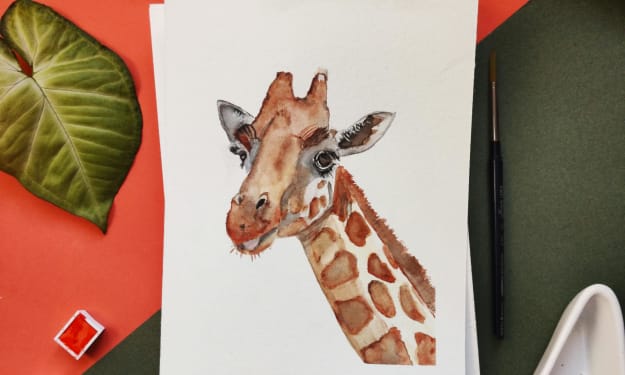
Learn about dimension and depth in paintings!
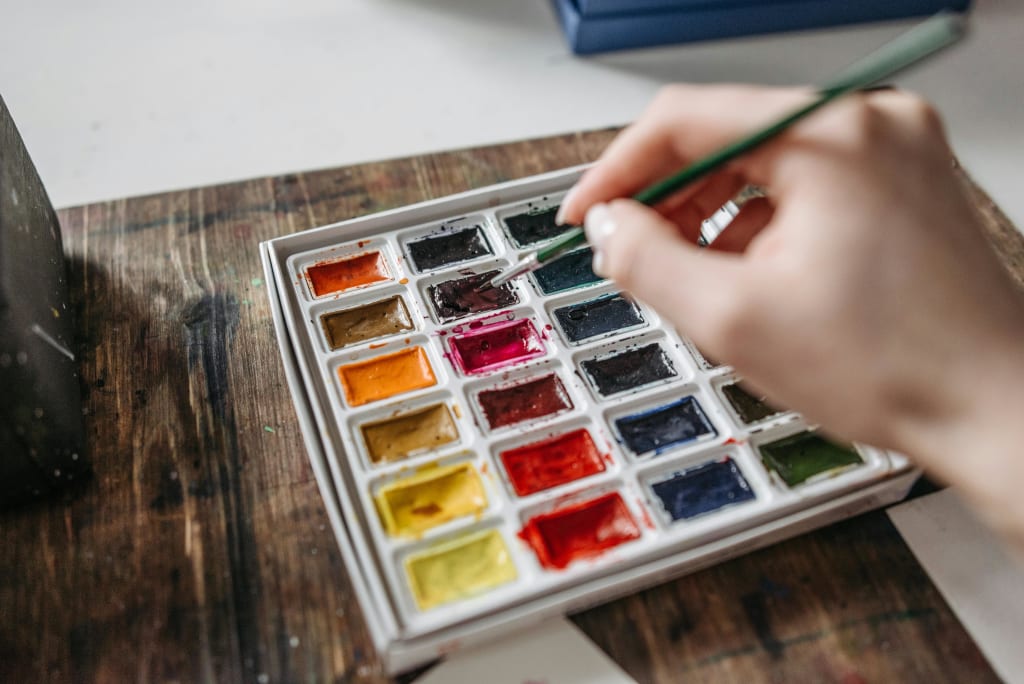
Creating depth and dimension in watercolor paintings is often considered one of the most captivating challenges for artists. Light and shadow play an essential role in achieving this effect, transforming a flat canvas into a realistic, lifelike representation. Mastering how to capture light and shadow in watercolor can significantly elevate a painting’s impact, making subjects appear more vivid and expressive. This blog will explore how light and shadow influence watercolor paintings, provide techniques for adding depth and dimension, and explain why these elements are key to creating engaging artwork.
Why Light and Shadow Matter in Watercolor Paintings
1. Enhancing Realism
Light and shadow bring realism to a painting, capturing the nuances that make objects appear tangible. Shadows cast by objects help define their shapes, while highlights add vibrancy, making subjects appear alive.
Fact: According to a study in Art Psychology, the use of light and shadow is the most impactful visual element that can increase the perceived realism of a painting by up to 80%.
2. Creating Depth and Perspective
In any painting, creating an illusion of depth is vital. Shadows add perspective by establishing spatial relationships between objects, helping to anchor them in the composition. This effect can make objects appear closer or farther from the viewer.
3. Setting the Mood and Tone
Light and shadow can evoke different emotions and set the painting's overall tone. Soft, diffused light creates a peaceful mood, while dramatic contrasts between light and shadow can suggest tension, mystery, or energy.
Statistic: Studies from Color and Emotion research suggest that color tones and shadows together have a 90% impact on the emotional resonance of visual art.
Understanding the Basics: Types of Light and Shadow
In watercolor paintings, understanding different types of light and shadow can help artists create realistic and emotionally compelling work.
1. Highlight: The brightest point where the light source directly hits an object.
2. Core Shadow: The darkest part of the object, facing away from the light source.
3. Cast Shadow: The shadow created by the object on a surface, which follows the shape of the object but becomes softer as it moves away.
4. Reflected Light: Subtle light bouncing off nearby objects, softening the transition between shadow and highlight.
5. Half-Tones: The mid-tones between the light and dark parts of an object, crucial for blending and smooth transitions.
By understanding these aspects, artists can manipulate their watercolor paintings to create depth and make their subjects stand out.
Techniques for Capturing Light and Shadow in Watercolor
Here are some key techniques to help create stunning light and shadow effects in watercolor paintings.
1. The Wet-on-Wet Technique for Soft Shadows
The wet-on-wet technique involves applying wet paint to a wet surface, creating soft and blended edges. This technique is ideal for creating soft shadows, such as those found on rounded or smooth surfaces.
How to Apply It:
• Begin by wetting the area where the shadow will fall.
• Apply a light wash of color, allowing it to blend naturally on the wet surface.
• Gradually build up the layers by adding more color as needed, creating a gradual transition between light and shadow.
Use Case: This technique works well for painting clouds, gentle landscapes, and skin tones in portraiture.
2. Dry Brush for Sharp Shadows
Dry brushing is the opposite of wet-on-wet; it involves applying a brush with minimal water and more pigment to a dry surface, producing rough, textured lines. This method is perfect for defining edges and creating sharp contrasts in shadows.
How to Apply It:
• Dip the brush in pigment with minimal water.
• Lightly brush it onto the dry paper, letting the rough texture create subtle, detailed shadows.
• Use this sparingly to create focal points or enhance textures.
Use Case: Dry brush technique works exceptionally well for details in natural scenes, like tree bark or rough surfaces.
3. Layering for Depth
Layering allows artists to build color intensity gradually, providing more control over the shadow's depth. By applying multiple translucent layers of color, artists can create a three-dimensional look.
How to Apply It:
• Start with a light wash of color, letting it dry completely.
• Gradually add additional layers, each slightly darker than the previous, until the desired shadow effect is achieved.
• Avoid over-saturating the paper, as watercolor can muddy if too many layers are applied without drying.
Use Case: Ideal for complex scenes where multiple shadows need distinct intensities, such as urban landscapes or foliage.
4. Glazing for Luminosity
Glazing involves layering thin, translucent washes over dried paint to achieve a soft glow or subtle shadow effect. This technique is useful for adjusting color tones, adding depth, or changing the mood of a painting without disturbing the original layer.
How to Apply It:
• Apply a thin wash of color over a dry section of the painting.
• Use a soft brush to spread the wash evenly.
• Let each glaze layer dry before adding another, adjusting the intensity gradually.
Use Case: Perfect for enhancing light areas in sunsets, water reflections, and delicate skin tones.
5. Negative Painting for Highlight Effects
Negative painting is the process of painting around an object to define its edges, which allows light to "shine" on the object without directly painting it. This approach is beneficial for defining complex shapes, such as flowers or intricate patterns.
How to Apply It:
• Identify the shape of the object you want to highlight.
• Paint around the shape, leaving the paper unpainted for highlights.
• Gradually add more layers around the object to enhance contrast.
Use Case: Works excellently in floral compositions, underwater scenes, and detailed subjects that require intricate edges.
Tips for Perfecting Light and Shadow in Watercolor
1. Observe the Real World
Study how light interacts with everyday objects to better understand how shadows fall and change intensity. Observing the shadows at different times of the day can also help artists grasp how natural light changes.
2. Experiment with Light Sources
Try using different light sources when painting from life, such as a lamp or natural sunlight, to observe how each casts distinct shadows. This practice can provide a better sense of shadow placement.
3. Use a Limited Palette for Shadows
A limited palette helps avoid muddying shadows and maintains a cohesive color scheme. Common choices for shadows include shades like indigo, burnt sienna, and Payne’s gray, which can add depth without overpowering the composition.
4. Consider the Transparency of Watercolors
Watercolor’s translucent quality allows underlying layers to show through, making it easier to create gradual transitions from light to shadow. Use this quality to your advantage by layering lightly for shadows, maintaining watercolor’s natural luminosity.
5. Control Water Flow for Subtle Gradients
Water control is crucial when creating shadow gradients. More water lightens the pigment, while less water intensifies it. Use this to subtly transition from shadows to light, maintaining control over the depth and soft edges.
Tools and Materials to Support Light and Shadow Techniques
Having the right materials can make a significant difference in capturing light and shadow accurately.
1. Quality Watercolor Paper: Look for 140 lb (300 gsm) cold-pressed paper, which absorbs water well and allows for smooth blending.
2. Soft Brushes: Soft brushes with good water retention, like round or mop brushes, help control washes and create smooth transitions.
3. Masking Fluid: Masking fluid allows artists to preserve highlights and control areas that should remain white.
4. Value Charts: Creating a value chart of shadows helps maintain consistency across the painting. Practice with different shades and transparencies to better understand tonal range.
Famous Watercolor Artists Who Mastered Light and Shadow
1. J.M.W. Turner
Turner’s use of light and shadow transformed landscapes into dramatic, atmospheric scenes. His mastery of light and shadow in watercolor brought emotion and depth to his work, which remains inspirational for artists worldwide.
2. Winslow Homer
Homer’s seascapes exemplify the impact of controlled shadow, capturing the power of nature and its interplay with light. His shadowing techniques, particularly with water reflections, are lauded for their lifelike quality.
3. John Singer Sargent
Sargent’s watercolor portraits and landscapes showcased his skill in layering and glazing, bringing forth vibrant contrasts between light and shadow, giving his subjects dimension and liveliness.
Conclusion
The art of capturing light and shadow in watercolor painting is both a challenge and a rewarding pursuit. By mastering techniques like wet-on-wet, dry brushing, layering, and glazing, artists can create depth, realism, and mood in their work. Observing the natural world, experimenting with light sources, and controlling water and pigment flow can enhance one’s understanding of light and shadow, ultimately producing captivating watercolor paintings that resonate with viewers. You can also find watercolor painting from TrueGether, the best eBay alternative.
As you continue to explore and experiment with these techniques, remember that practice and patience are key. Embrace the fluidity of watercolors and use the interplay of light and shadow to create paintings that are both dynamic and full of life. Whether you’re a beginner or an experienced artist, capturing light and shadow will add an incredible layer of depth to your water paintings, transforming your work from a flat surface into an immersive, lifelike experience.
About the Creator
Ruby
I am an enthusiastic writer with a pinch of creativity. I write compelling stories that will leave you astounded and satiated at the same time.
Impressive Artwork by Odilon Redon
French symbolist artist Odilon Redon was famous for his drawings in the 1880s. The artist’s artworks were mentioned in the popular 1884 novel “A Rebours,” or “Against the Grain,” by Joris-Karl Hysmans. His later artworks were created in oils and pastels. He developed an interest in Hinduism and Buddhism, and this interest in mysticism is reflected in his works of art.
By Rasma Raisters5 days ago in Art
What Is A5 Service on Mercedes and When Do You Need It?
If you’re a Mercedes‑Benz owner, you’ve likely seen a maintenance message pop up on your dashboard — perhaps showing something like “Service A5 due”. But what exactly is a5 service on Mercedes, why it matters, what it includes, and how much it costs? This complete, easy‑to‑understand guide answers all those questions so you can keep your luxury vehicle running smoothly and avoid costly repairs down the road.
By Vincent Otiri6 days ago in Art
Wild Card Weekend Recap: What Happens Now?
I think I figured out why I love Wild Card Weekend so much. It's because it's the first playoff anything of the calendar year. The NFL season starts in the fall, and once upon a time, the champion was crowned either on or slightly before New Year's. The evolution of the NFL schedule has resulted in the playoffs starting just into the New Year, and currently, the final week of the season falls on the first weekend of the New Year, with Wild Card Weekend coming a week after that. So yes, chronologically, the NFL's Wild Card Weekend serves as the first playoff anything of the calendar year.
By Clyde E. Dawkins5 days ago in Unbalanced


Comments
There are no comments for this story
Be the first to respond and start the conversation.