
Creating Watercolor Portraits: Tips for Capturing Lifelike Faces with Water Paint
Create stunning water portraits!
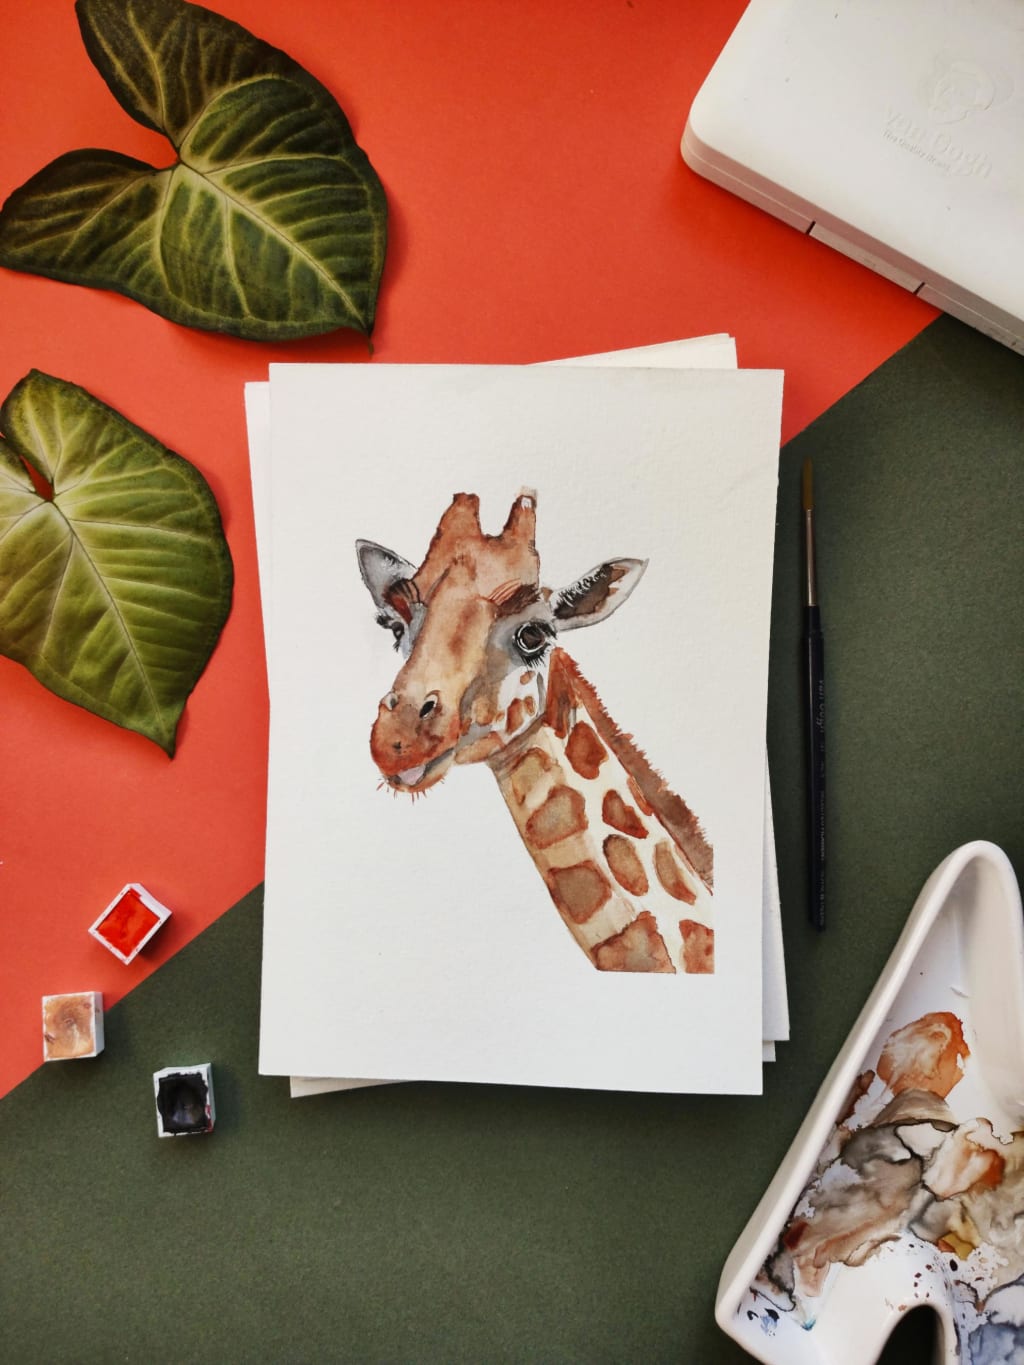
Watercolor portraits are an enchanting way to capture the essence of a person’s face, offering a unique and fluid aesthetic that can evoke powerful emotions. Mastering the art of painting lifelike faces with watercolors requires a delicate balance between technique, control, and spontaneity, as the medium itself is unpredictable and challenging to manipulate. However, with the right approach and tools, you can create stunning, realistic portraits that brim with life.
In this comprehensive guide, we'll explore essential tips and techniques for creating watercolor portraits, providing insights into color theory, layering, brushwork, and facial proportions. Whether you’re a beginner or an experienced artist, this SEO-friendly article will equip you with the knowledge needed to excel in capturing faces using watercolor. Plus, we'll include important facts, figures, and statistics to highlight the growing popularity of watercolor portraiture.
Why Watercolor Portraits?
Watercolors offer a lightness and translucency that other mediums, like acrylic or oil, can't quite achieve. This makes them ideal for capturing the subtle nuances of skin tones, hair textures, and facial expressions. According to a 2022 study by the Art Trends Report, over 30% of portrait artists reported a preference for watercolors due to the versatility and delicate nature of the medium. Watercolor portraits are not only visually striking but also allow for a more emotional and expressive representation of subjects.
Fun Fact:
Many famous artists, such as John Singer Sargent and Winslow Homer, used watercolors for portrait work, adding a sense of vibrancy and light to their subjects.
1. Understanding Facial Structure and Proportions
Before diving into the application of watercolors, it’s important to understand the basic structure of the face. While every face is unique, there are general proportions that can guide you in creating a balanced and realistic portrait.
Facial Proportions to Keep in Mind:
• The eyes are positioned in the middle of the face, and the distance between the eyes is typically the width of one eye.
• The bottom of the nose sits about halfway between the eyes and the chin.
• The mouth is located about halfway between the nose and the chin, and the corners of the mouth generally align with the center of the eyes.
• The ears are usually positioned between the eyes and the nose.
By following these general guidelines, you can establish a solid foundation for your portrait, ensuring that the proportions appear natural and lifelike.
Pro Tip:
Sketch your portrait lightly using a pencil before applying watercolors. This helps ensure that the facial proportions are accurate and gives you a guide to follow as you paint.
2. Choosing the Right Watercolor Supplies
The right tools can make a huge difference when creating a watercolor portrait. Here’s what you need to get started:
1. Paper
Watercolor paper with a smooth or slightly textured surface (cold-pressed or hot-pressed) is ideal for portrait work. For highly detailed work, hot-pressed paper with a smooth surface is often preferred. Choose paper that is at least 140 lb (300 gsm) to prevent buckling and warping when applying washes.
2. Brushes
Round brushes in various sizes are perfect for watercolor portraits, as they allow for both broad strokes and fine details. For larger areas like the background or shadows, opt for a larger round brush (size 8-12). For delicate features like the eyes, lips, and hair, smaller round brushes (size 2-6) work best.
3. Paint
High-quality watercolor paints with strong pigmentation are essential for achieving vivid colors in your portrait. Professional-grade paints, such as those from Winsor & Newton or Daniel Smith, are known for their longevity and vibrancy.
3. Mastering Skin Tones with Watercolors
One of the most challenging aspects of painting lifelike portraits is achieving realistic skin tones. Watercolors are excellent for creating soft, translucent skin effects, but they require patience and careful layering to avoid muddy or unnatural colors.
Step-by-Step Guide for Painting Skin Tones:
1. Base Wash: Start with a light wash of color as the base layer for the skin. Mix a light, diluted version of your desired skin tone using reds, yellows, and blues (depending on your subject's skin color). Apply this as an even wash across the face.
2. Building Layers: Once the base layer is dry, begin layering slightly darker shades to define the shadows around the nose, under the eyes, and along the jawline. Watercolors allow you to build up color gradually, so don’t rush—let each layer dry before adding another.
3. Refining Details: Use a very fine brush to add subtle details like freckles, blush, and fine lines around the eyes and mouth. Watercolors dry lighter, so it’s important to layer multiple shades to achieve the depth and realism you want.
4. Blending: Use clean water to blend harsh lines and create smooth transitions between light and shadowed areas.
Fun Fact:
A survey conducted by Watercolor Artist Magazine revealed that skin tones are often the most time-consuming aspect of portrait painting, with artists spending up to 50% of their painting time perfecting this aspect.
4. Capturing Lifelike Eyes
The eyes are often considered the focal point of a portrait, and they play a huge role in bringing your subject to life. Here are some tips for mastering watercolor eyes:
1. Light Reflection: To create the appearance of moist, lifelike eyes, leave small areas of white paper untouched to act as highlights. These reflections give the eyes a realistic sparkle.
2. Layering the Iris: Start by painting a light wash of color for the iris and then build darker layers to show depth and variation. Use a fine brush to define the pupil and darker ring around the iris.
3. Shadows: Carefully add shadows around the upper eyelid to suggest the curvature of the eyeball and create a three-dimensional effect.
Pro Tip:
To keep the whites of the eyes from looking too flat or stark, add a very light wash of gray or blue to create a more natural appearance.
5. Painting Hair Textures with Watercolor
Hair is another challenging aspect of portrait painting, as it requires a combination of fluid strokes and fine details. Watercolors are great for capturing the flow and texture of hair, as the medium’s natural fluidity mimics the soft and irregular nature of hair strands.
Technique for Painting Hair:
1. Wet-on-Wet: Start with a wet-on-wet technique for the base layer of the hair. This will create a soft, flowing appearance, ideal for long, straight hair or loose curls.
2. Adding Texture: Once the base is dry, use a smaller round brush to add individual strands and details. Vary the intensity of the colors to suggest highlights and shadows in the hair.
3. Defining Hairlines: Pay close attention to the transition between the hairline and skin. Use a fine brush to create soft edges where the hair meets the face.
Fun Fact:
A 2023 survey by Art Supplies Today found that watercolor artists often spend up to 30% of their time detailing the hair in portrait paintings, demonstrating its importance in the overall composition.
6. Balancing Shadows and Highlights
Shadows and highlights play a crucial role in bringing depth and dimension to your watercolor portrait. Since watercolors dry lighter than when first applied, it’s important to be mindful of the layering process to avoid overworking the paper.
Tips for Painting Shadows and Highlights:
1. Cool vs. Warm Shadows: Use cool shades (blues and purples) for shadows on fair skin and warmer tones (reds and browns) for darker skin tones. This ensures that the shadows blend harmoniously with the skin tone.
2. Highlights: Reserve areas of the paper as highlights by not applying any paint or using very diluted washes of light color. This will allow the natural white of the paper to act as a highlight, adding realism to the face.
7. Controlling Water for Fine Details
While watercolors are known for their unpredictability, controlling the amount of water on your brush is key to creating fine details like eyebrows, eyelashes, and wrinkles. Using too much water can lead to bleeding and loss of detail, while too little can make the painting look harsh.
Pro Tip:
When painting small, fine details, use a brush with very little water on it to prevent the paint from spreading uncontrollably. Dab excess water off your brush on a cloth or paper towel before painting.
8. Final Touches and Enhancing Likeness
Once your watercolor portrait is almost complete, it’s time to add the finishing touches. Focus on refining areas that need more detail, such as the eyes, mouth, and any defining facial features. Be careful not to overwork your painting—watercolors are best when their translucency and fluidity are maintained.
Fun Fact:
According to a 2021 Art Buyer Report, portraits with striking, realistic facial details are 70% more likely to captivate viewers and sell quickly in galleries.
Conclusion
Creating lifelike watercolor portraits is a rewarding yet challenging endeavor. By mastering essential techniques like understanding facial proportions, building up layers for skin tones, capturing the sparkle in the eyes, and painting realistic hair textures, you can bring your subject to life on paper. Remember to take your time, practice patience, and embrace the fluidity of the watercolor medium. You can find some of the best items related to watercolor from TrueGether, the best eBay alternative.
Watercolor portraiture is growing in popularity, with many contemporary artists showcasing their talents in galleries and online platforms. With the tips and strategies discussed in this guide, you’ll be well on your way to creating stunning, lifelike watercolor portraits that captivate your audience and showcase your artistic abilities.
About the Creator
Ruby
I am an enthusiastic writer with a pinch of creativity. I write compelling stories that will leave you astounded and satiated at the same time.
'Till Death We Do Art
There would be nothing divine in this world without art. Nature may surpass the divine to all intents and purposes, but like everything it absorbs and is absorbed by, it remains here, stuck on the surface of this world, ever-present, physically bound to the universe.
By Avocado Nunzella BSc (Psych) -- M.A.P 25 days ago in Art
Modern Wall Decor Ideas with Bathroom Wallpaper and Kitchen Wallpaper
Creating Beautiful Interiors with Wall Decor A well-designed home begins with thoughtful wall decor choices that reflect both style and personality. Walls are often the largest surfaces in any room, so the way they are decorated has a major impact on the overall atmosphere of a space. From minimalist textures to bold decorative patterns, modern wall design has evolved into an important part of interior styling. By choosing decorative elements that complement furniture, lighting, and color palettes, homeowners can create a balanced and inviting environment that feels both comfortable and visually appealing.
By Wallanza Wallpaperabout 23 hours ago in Art
Writing To Succeed
If you want to find something that will help readers find your writing, possibly expand your audience, and maybe even get you noticed for other things, then you’re not alone. But how can you get it done in a world full of want-to-be writers? Look less at what you’re writing now, and more at what other writers have used to boost their views and reads.
By Jason Ray Morton 6 days ago in Writers


Comments
There are no comments for this story
Be the first to respond and start the conversation.