
How to Winterize Your ATV: Axle Inspection & Replacement
Winterization Tips Every ATV Owner Should Know
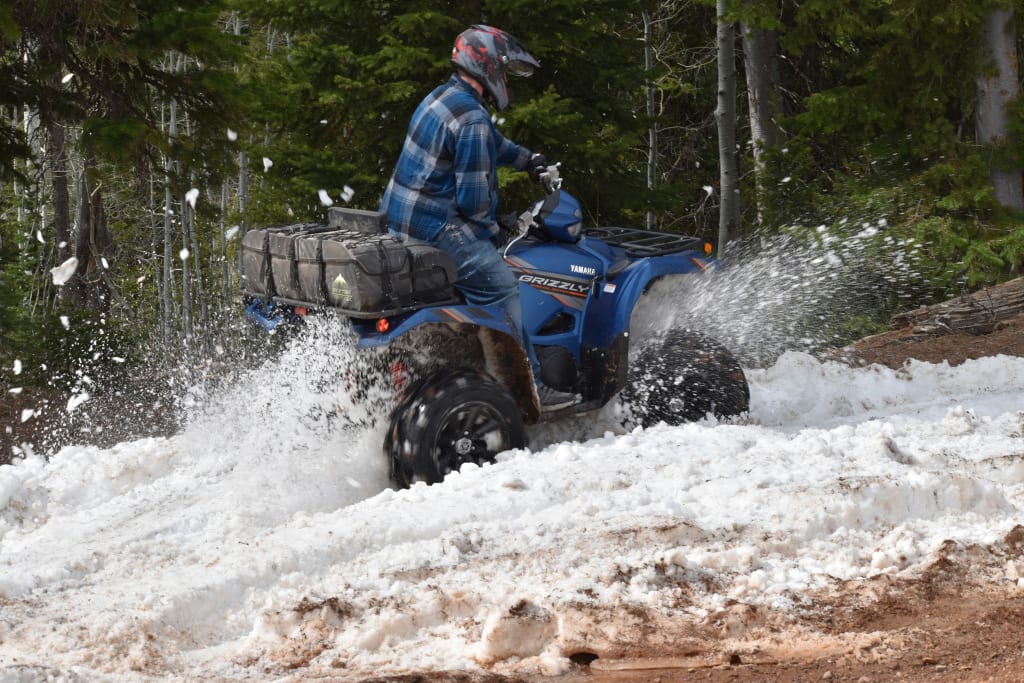
As cold weather hits, it’s time to start thinking about preparing your ATV for the winter months ahead. Properly preparing your equipment will ensure you’re ready to ride by the time spring rolls around and prevent potentially costly damage that could occur. The following tips will help you get your ATV or UTV fully winterized and prepared to ride out the weeks ahead.
Basic Winterization Steps
There are a few steps you should take to get your ATV ready for winter before moving on to more advanced steps. These will keep your engine and fuel systems protected from corrosion and other damage.
Clean Your Vehicle
The first step in winterizing any vehicle is giving it a good cleaning. Even if you intend on riding in the snowy weather, this step is still crucial to prevent debris build-up, which can lead to corrosion and rust as moisture gets trapped beneath dirt, mud, and other grime. Pay special attention to:
- Thoroughly clean the exterior to remove any visible buildup of dirt, mud, and other debris
- Clean the engine and exhaust system
- Make sure everything is thoroughly dried
- Add a protective coating to prevent rust and other damage
Change the Oil and Filter
Oil can become acidic and cause significant damage to your engine over time as it sits, so changing the oil before storage is one of the most important aspects of winterization. Changing the filter at the same time is also a good idea, ensuring you’re ready to go when the weather turns warmer.
Stabilize or Drain the Gas
Gasoline degrades as it sits and can gum up your fuel system. Adding a stabilizer can help prevent this from happening by keeping gas from breaking down. Add to your gas tank and run the engine for a few minutes to allow the liquid to circulate throughout your fuel system.
Draining the fuel system entirely helps prevent any degradation from happening, though in some cases it can lead to rot and other problems.
Protect Your Battery
The best way to protect your battery from the cold is to disconnect it and store it in a warm, dry location until it’s needed again. Using a trickle charger is a good way to keep the battery charged without overdoing it, so it’s ready to use when you’re ready to ride.
Axle Inspection and Replacement Winterization
Although your axles will take a lot of abuse from the winter weather, many winterization guides ignore them entirely. This is a mistake. Your axles, or CV joints, are one of the most important components for ATV operation. Keeping them protected during the long winter months is crucial for the health of your machine.
How Winter Damages Axles
Your axles will be especially vulnerable if you intend to keep riding during the winter. Road salt, which is needed for safe driving in areas with heavy snowfall, is a killer for your axles. It hastens rust formation. Even worse, it gets into every crack, nook, and seam in areas you can’t always see. This can cause damage internally in areas you might not notice without a thorough inspection.
Salt isn’t the only issue, however. Even if you will be storing your ATV, the freeze-thaw cycles of winter can damage internal components. Moisture in the air can also get inside your CV boot and freeze, causing cracks and even damage to the CV joint directly.
How to Check Your Axles Visually
After cleaning your machine, use a flashlight to look for cracks, holes, and other damage to your CV boots. Even tiny tears matter because the winter weather can quickly escalate them into larger cracks. Pay special attention to the accordion folds of the boot and along the clamps where the boot attaches.
You should also inspect for grease splatters, because this is a red flag for boot tears, even if you can’t see them. Finally, ensure the boot clamps are tightly in place and that there is no rust or cracking along the axle shaft between the boots.
Physical Axle Inspection
Once you’ve visually checked the axles, you can move on to a more thorough physical inspection. Try to move the wheel from side to side and listen for clicking coming from the axle area. Then, turn the wheel slowly and listen for any noises such as clicking, grinding, or popping. Finally, turn the handlebars to one side and slowly turn the wheel. Clicking that gets worse at full steering lock signals a failing CV joint.
Feel with your hand along the axle boot. If you detect grease or wetness, this is a sign that the boot is torn, even if you didn’t notice any visual tears. Then, check all hardware along mounting points to ensure there are no loose bolts or worn and missing components.
Clean the Axles Directly
Use a hose or pressure washer to thoroughly clean the axles to remove any salt, debris, and other grime that may have accumulated. Once they’re dry, apply fresh grease to movement points and check all clamps for tightness. If any are loose, replace them immediately.
Add rust prevention spray to any metal parts that will be exposed to the elements while riding. Give it a light spray, but don’t allow any to drip onto the brakes.
If you will continue riding your ATV during the winter months, especially in snow, then you should perform a thorough cleaning and inspection at least once a week to keep it in top condition.
When to Replace Axle Components
If you notice any damage at all during your inspection of the CV boot, then replacement is a good idea. It’s insurance against further damage, which could eventually damage the CV joint itself or even the entire axle. A boot kit is often under $50, whereas a new axle can cost hundreds to replace.
If you have missing metal clamps and other hardware, or if you have been in an accident or made impact with rocks or logs, it’s safest to go ahead and replace the boot assembly. There could be internal damage that is difficult to see.
Clicking noises are a sure sign that your entire CV joint is failing and should be replaced. If replacement is necessary, this guide on how to replace an ATV axle provides detailed instructions.
Should You Replace the Entire Axle?
This is probably not necessary, but many people choose to do so because a full axle kit isn’t much more expensive than replacing the CV joint alone. This way, you have all new components and won’t have to worry about your axles again for a while. If you have already had to replace your CV joint previously or you notice deep pitting or corrosion, then you may need to go ahead with a new axle.
Conclusion
Having your ATV properly winterized is the best way to ensure your equipment is ready to ride immediately once the weather warms up without delays or bad surprises. Taking a little extra time now will save you hours of headache in the future.
About the Creator
Keep reading
More stories from writers in Wheel and other communities.
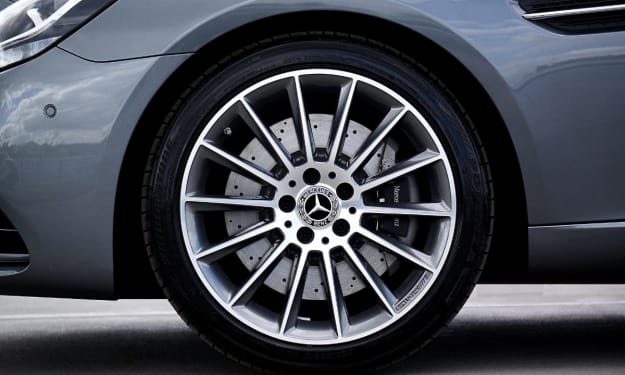
How Wheel Size Affects Car Handling, Fuel Efficiency, and Comfort
When choosing or evaluating a vehicle, wheels may seem like a cosmetic detail — but in reality, wheel size profoundly affects how a car drives, uses fuel, and delivers comfort. From compact hatchbacks to performance SUVs and electric vehicles (EVs), manufacturers and drivers alike must balance the pros and cons of small versus large wheels. Understanding these trade-offs helps buyers make smarter decisions and engineers optimize vehicle design.
By Stories Today2 days ago in Wheel
5 Aftermarket Parts that Most Commonly Cause Fitment Issues in Japanese Cars
Aftermarket parts are a major reason drivers choose Japanese cars. The Japanese Domestic Market (JDM) gives car owners many ways to customize their vehicles, whether it’s to boost performance or enhance visual appeal. Brands like Subaru, Honda, Nissan, Toyota, and Mitsubishi benefit from extensive aftermarket support, providing a range of modification options.
By William Powella day ago in Wheel
Trouble at the Tea Leafing Café
The rain had started right around the time that Annie was buttering her second thick slice of homemade toast for breakfast, and hadn’t paused since. Not that anyone could tell. The windows of the café were fogged over, and with every seat filled with happy customers munching on fresh baked pastries or steaming bowls of the delicious soup of the day, it was hardly surprising. Annie looked around the room, finally taking a moment to breathe after the lunch time rush. Her old life already felt like a bad memory, a part of her history, always, but just that. History.
By Hannah Moore7 days ago in Fiction


Comments
There are no comments for this story
Be the first to respond and start the conversation.