
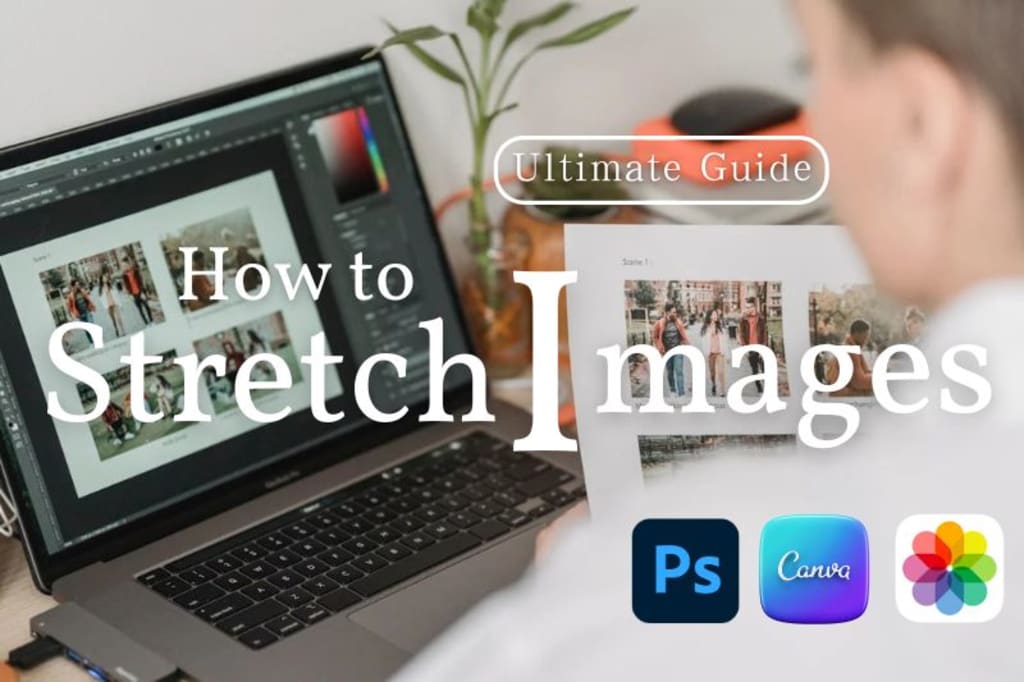
How to Stretch an Image
Ultimate Guide in Photoshop, Canva, and iPhone

Whether you're making graphics, improving photos, or creating pictures for social media, understanding how to stretch photos can be really helpful. It can help you get the perfect look for your design. When you stretch an image, you can change the way it's shaped, make certain details stand out more, or make it fit into a layout you want, without having to start all over again.
In this guide, we'll show you, one step at a time, how to stretch an image. We'll use Photoshop, Canva, and your iPhone. So, no matter which tool or device you use, the process will be easy and quick.
Part 1: How to Stretch an Image in Photoshop?
Stretching an image in Photoshop is an essential skill for designers, photographers, and content creators. Whether you're adjusting an image to fit a specific layout or creatively altering its proportions, Photoshop offers several tools to make this process simple and effective. You can adjust image proportions depending on your needs.
Method 1: Using the Free Transform Tool in Photoshop to Stretch an Image
Step 1: Open Your Image
Launch Photoshop and open the image you wish to stretch.
Step 2: Select the Layer
In the Layers panel, select the layer containing the image. If it's locked as a background layer, double-click it to convert it into an editable layer.
Step 3: Activate Free Transform
To activate the Free Transform tool, go to the Edit menu at the top of the screen and select Free Transform. You can also use the shortcut Ctrl + T (Windows) or Command + T (Mac).
Step 4: Stretch the Image
Click and drag the corner or side handles of the bounding box to stretch image without distortion as desired. To maintain image proportions, hold the Shift key while dragging. For free distortion, drag without holding the Shift key.
Step 5: Apply the Transformation
Press Enter (Windows) or Return (Mac) to finalize the transformation.

Method 2: Using the Image Size Command in Photoshop to Stretch an Image
Step 1: Open Your Image
Launch Photoshop and open the image you wish to stretch.
Step 2: Access Image Size
To access the Image Size dialog, click on the Image menu at the top of the screen and select Image Size.
Step 3: Adjust Dimensions
In the Image Size dialog box, uncheck the Constrain Proportions option to adjust the width and height independently. Enter your desired dimensions.
Step 4: Resample the Image
Make sure the Resample option is enabled so Photoshop can add or remove pixels to maintain the image quality during resizing.
Step 5: Apply Changes
Click OK to apply the new dimensions to your image.

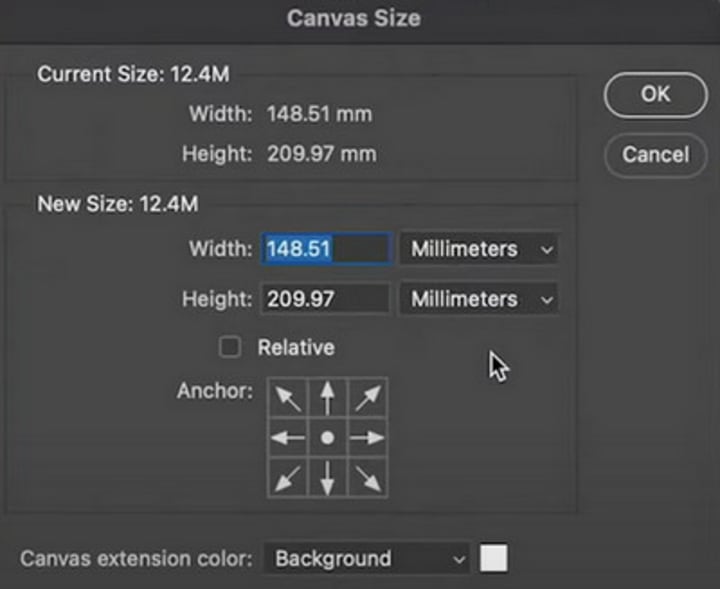
Method 3: Using the Canvas Size Command in Photoshop to Stretch an Image
Step 1: Open Your Image
Launch Photoshop and open the image you wish to stretch.
Step 2: Access Canvas Size
To change the canvas size, click on the Image menu at the top of the screen and select Canvas Size.
Step 3: Adjust Canvas Dimensions
In the Canvas Size dialog box, enter the new width and height for the canvas. Use the anchor grid to specify the direction in which the canvas should expand.
Step 4: Apply Changes
Click OK to resize the canvas.
Step 5: Fill the Extended Area
Use the Content-Aware Fill feature or other tools to fill the newly added canvas area with appropriate content, ensuring a seamless extension.
Part 2: How to Stretch an Image in Canva?
Canva offers a quick and intuitive way to stretch images for your designs. If you need to modify an image’s dimensions to better fit your design space, Canva's tools allow you to resize and stretch images without hassle. Here's how to do it:
Read more: avclabs.com
About the Creator
Keep reading
More stories from Madeline and writers in Photography and other communities.
10 Best Color Inverters to Invert Colors with Ease
Color inversion is a method that alters the look of pictures and videos. It does this by exchanging colors for their opposites on the color circle. Whether you're making special effects, making things easier to see, or trying out different artistic styles, a good color inverter can simplify the process. In this article, we will look at the 10 top color inverters. These can be used online, on mobile devices, and on computers. They will help you get excellent results no matter what device you're using.
By Madelineabout a year ago in Photography
Top 10 Product Photo Editing Companies to Maximize ROI (2026)
In eCommerce, professionally edited product images are a critical factor in driving customer engagement and optimizing online sales. High-quality, consistent visuals foster trust and improve the overall shopping experience. Without proper editing, businesses risk poor representation, increased returns, and lost sales opportunities.
By Nathan Neal24 days ago in Photography
When the Shelter Closes
Across the street from my house, a man slept under a tree, his dog by his side. My first, naive thought: he must be traveling through. But he kept coming back, often sleeping there during the day. Then it hit me—that person might not have a home.
By Bride of Sound4 days ago in Humans


Comments
There are no comments for this story
Be the first to respond and start the conversation.