
Restless Hands’ Projects - 2
Restoring a cedar chest

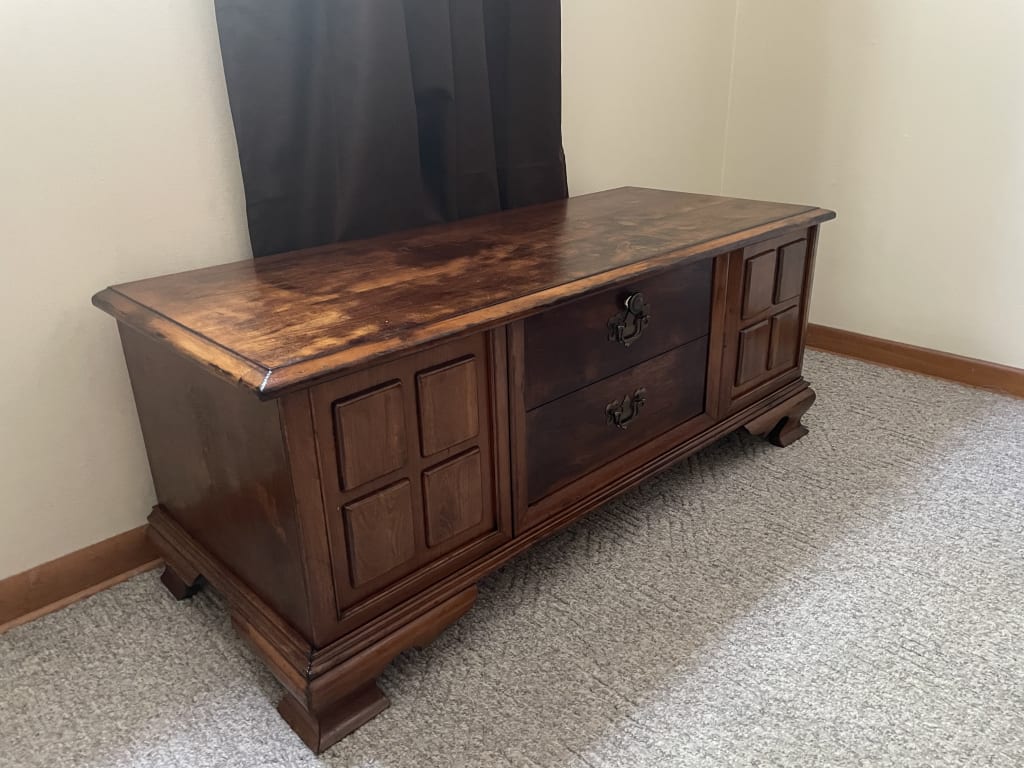
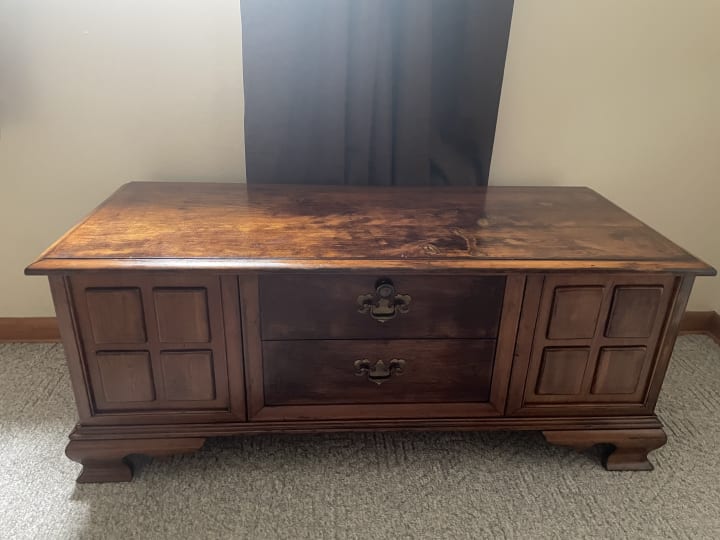
About a month ago, I spotted a pretty beat-up but still beautiful cedar chest at our local Good Shepard store. Made by Lane Co. of Altavista, Va. probably about a hundred years ago, it has the Aroma-Tite seal that doesn’t betray expectations: The chest still smells like cedar.
It was priced at $40 and I know that when in decent condition, they sell for up to $200. I looked at it closer and noticed that it had two secret removable panels on each side (pictures below), which also intrigued me as I’ve never seen chests like that before.
I left the store without buying it because it was pretty heavy and I wasn’t sure I wanted to embark on restoration - the top was beat up pretty badly, I’d have to sand off a lot of its surface. But that night, I swear, I had a dream where I bought an electric sander and decided that must have been a sign.
Next day, I went to work and asked my younger colleague Jake to work as my sanity check. He agreed to go with me and see if I was not crazy to buy this thing. As we entered the store, I gave out a loud sign of frustration as I didn’t see the chest where it was before.
“Shoot, it’s gone!” I said. “Someone must have bought it!”
“That’s your hint,” Jake said, “you are upset to see it gone, so you must have really wanted it!”
“I guess,” I said, moving deeper into the furniture section. “Oh, it’s still there, they just moved it to another spot!”
“Ha! See, it must be meant for you then,” Jake said. He always tries to find the good in people and situations.
We examined it together and Jake was as enthusiastic about it as I was. He also was impressed with the removable panels. “Probably for the variety of looks,” he suggested. “Like if you get bored with one, take them out and you’ll get another chest.”
“Or you could tape your will or a WiFi password to the back of the panel and keep it secret that way,” I suggested.
With Jake’s encouragement, I decided to buy the chest. As we were moving it to the cash register, one of its back legs fell off. They gave me a $5 discount as I’d have to glue it back. Jake helped me load it and haul it to my second-floor apartment’s balcony.
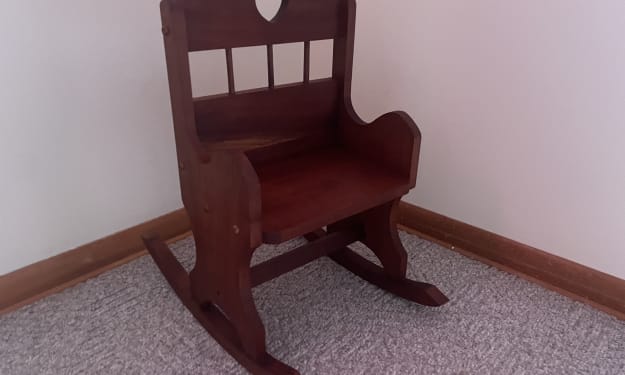
The same day, I ordered the electric sander with a huge supply of sandpaper for it. While I was waiting for it, I glued the leg back, using the clamps I borrowed from my good friend Jim. When the sander arrived, I tested it on the children’s rocker and decided I was good to go on the chest.
The first step in any restoration project is cleaning the piece. I always start out with a dry rag to remove the dust. If there are spots that need more serious cleaning (grease, goo, etc), I'd use a mild dish detergent solution or a scraping knife (had to remove pieces of gum and stuck paint too many times) carefully not to damage the wood. The surface must be completely dry for the sanding job.
While the piece was drying I removed all the hardware: the two decorative handles that serve the deceptive-decorative purpose as they don't pull anything open and the broken lock. I was not able to find a similar lock either in my local hardware store or on Amazon and Ebay, so I decided I would just cover its hole with another decorative handle (which required an elaborate washer combination as the hole was uneven).
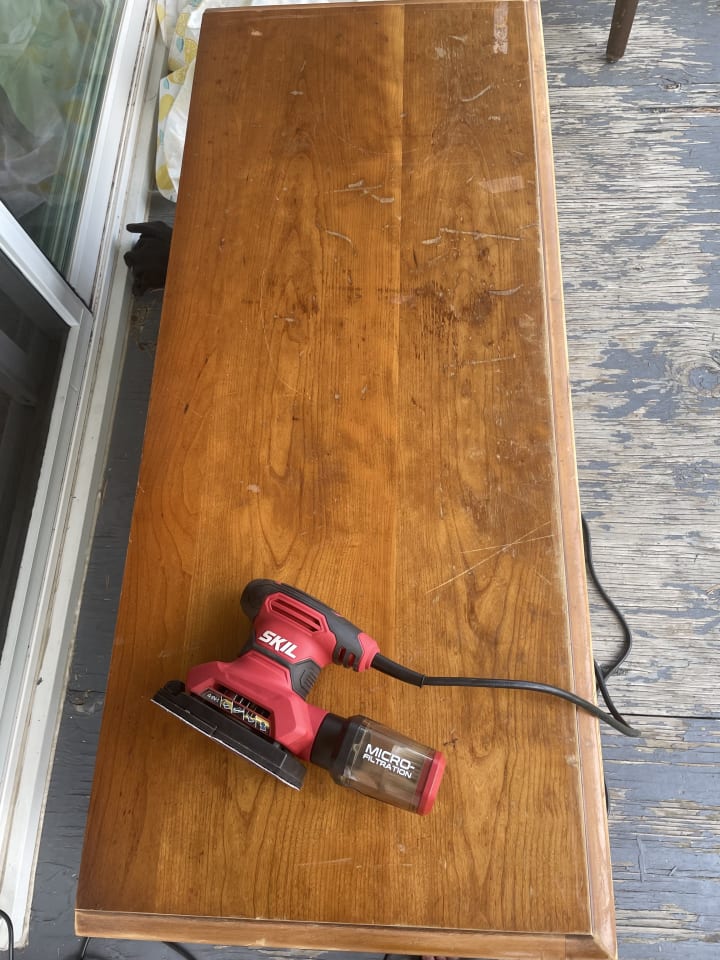
With this chest, I sanded it only lightly on the sides as they they were even and undamaged. I also removed the detachable panels and sanded them separately. Sanding of the top took more work as I needed to even it out in all areas. After I've taken off all the old lacquer, I filled the holes and scratches with the natural color wood patty.
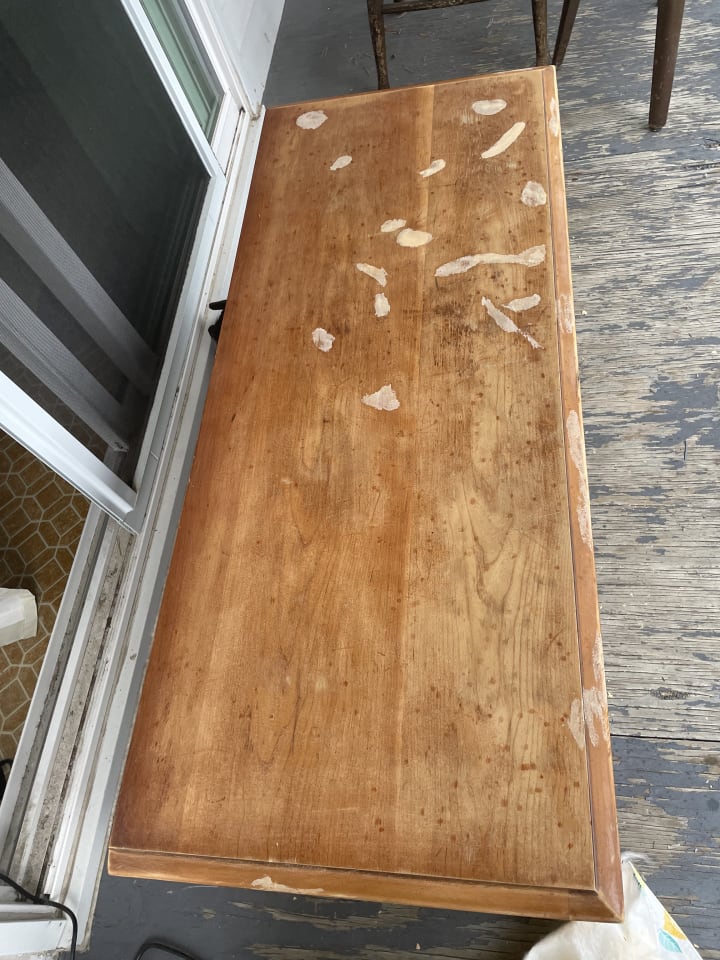
This was my biggest mistake in this project. I had hoped that staining would even out the color of the patty but even after two layers of stain it stayed blotched and lighter than the wood. So I had to sand everything off and buy a teak-colored wood patty at my local hardware store (they get a lot of business from me and know me there by now). Although still imperfect, it looked much better than the light wood patty.
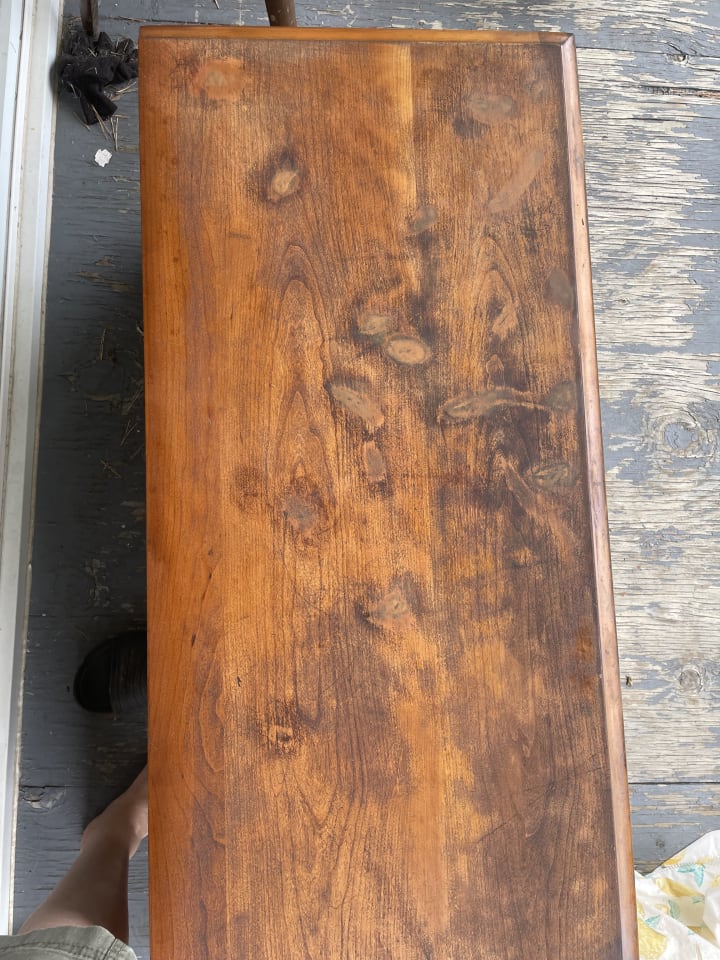
After this, I stained the top again and covered the entire chest with one layer of clear semi-gloss polyurethane. I gave it a night to dry completely.
The next day, I was satisfied with how the sides turned out and screwed back in all the hardware and the new decorative button handle. I also gave another layer of polyurethane to the top and removable panels. When it completely dried, I decided I was done with it. As I live alone, I had to be inventive in how to move it from the balcony to my bedroom. I used the old plastic tablecloth for it by putting the chest onto it on its back and dragging it on the floor. Luckily, the floors in my apartment are even.
So, now the chest is standing in my bedroom serving as a storage for my winter bedding and blankets. I'm very happy with how it turned out.

Here is the first story in these series:
About the Creator
Lana V Lynx
Avid reader and occasional writer of satire and short fiction. For my own sanity and security, I write under a pen name. My books: Moscow Calling - 2017 and President & Psychiatrist
@lanalynx.bsky.social
Keep reading
More stories from Lana V Lynx and writers in Lifehack and other communities.
Restless Hands' Projects - 1
During the second summer of the pandemic, I picked up a new hobby – refurbishing and refinishing wood furniture. In the first pandemic summer of 2020, I polished my life-long knitting skills and art of knitting without patterns, just from my head and hunch, which I wrote about here on Vocal as well. I loved discovering new natural yarns and experimenting with them, but then I decided I needed something completely new to do. Something that years later I could boast about, “I’ve picked up a new hobby during the pandemic.”
By Lana V Lynx2 years ago in Lifehack
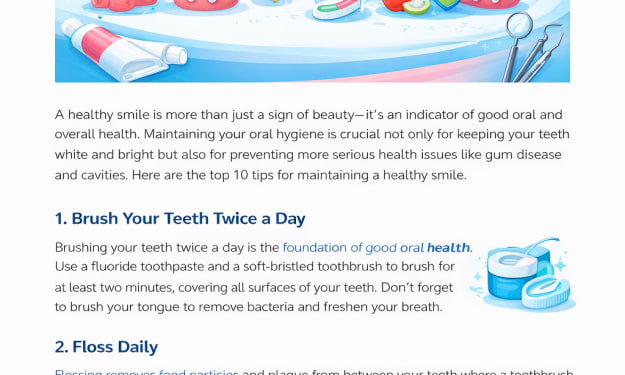
10 Simple Habits for Strong Teeth and Healthy Gums
Maintaining good oral health is essential not only for a bright smile but also for overall well-being. Your mouth is the gateway to your body, and poor oral hygiene can lead to various health problems such as gum disease, tooth decay, and even infections that may affect other parts of the body. Fortunately, taking care of your teeth and gums does not require complicated routines. With a few simple daily habits, you can keep your mouth healthy for years.
By Nenci Gajera 5 days ago in Lifehack
How AI-Native Browsers are Redefining Digital Freedom and Productivity in 2026
The Evolution of the Modern Browser By 2026, the concept of a web browser has expanded far beyond its original purpose of simply loading web pages. Over the past decade, the internet has evolved into a highly dynamic environment where users manage businesses, automate workflows, and interact with complex digital ecosystems directly from their browsers.
By Shahid Sipra3 days ago in Lifehack
A More Human Vocal
When we launched Vocal nearly a decade ago, the world was a very different place. LLMs did not exist, and stories were created one at a time by people sitting down to write, revise, and share something personal. Many of our assumptions about publishing, trust, and participation were built for a world where effort and output were inseparable.
By Justin @ Vocal5 days ago in Resources


Comments (5)
Oooo, I love how Jake always sees the bright side of everything. Also, you did such a brilliant and beautiful job on the chest!
This is fascinating to me, because I wouldn't have the first idea how to restore a piece of furniture! Will you sell it, or do you love it too much?
Very nifty!
I love this, Lana! We are kindred spirits, you and I as I love rescuing old furniture and giving it new life. My talents lie more in reupholstering but that chest - what a find!
You are very handy!! I loved your “teaching” story!