
How To Revive An Old Vinyl Floor?
Reviving a worn-out vinyl
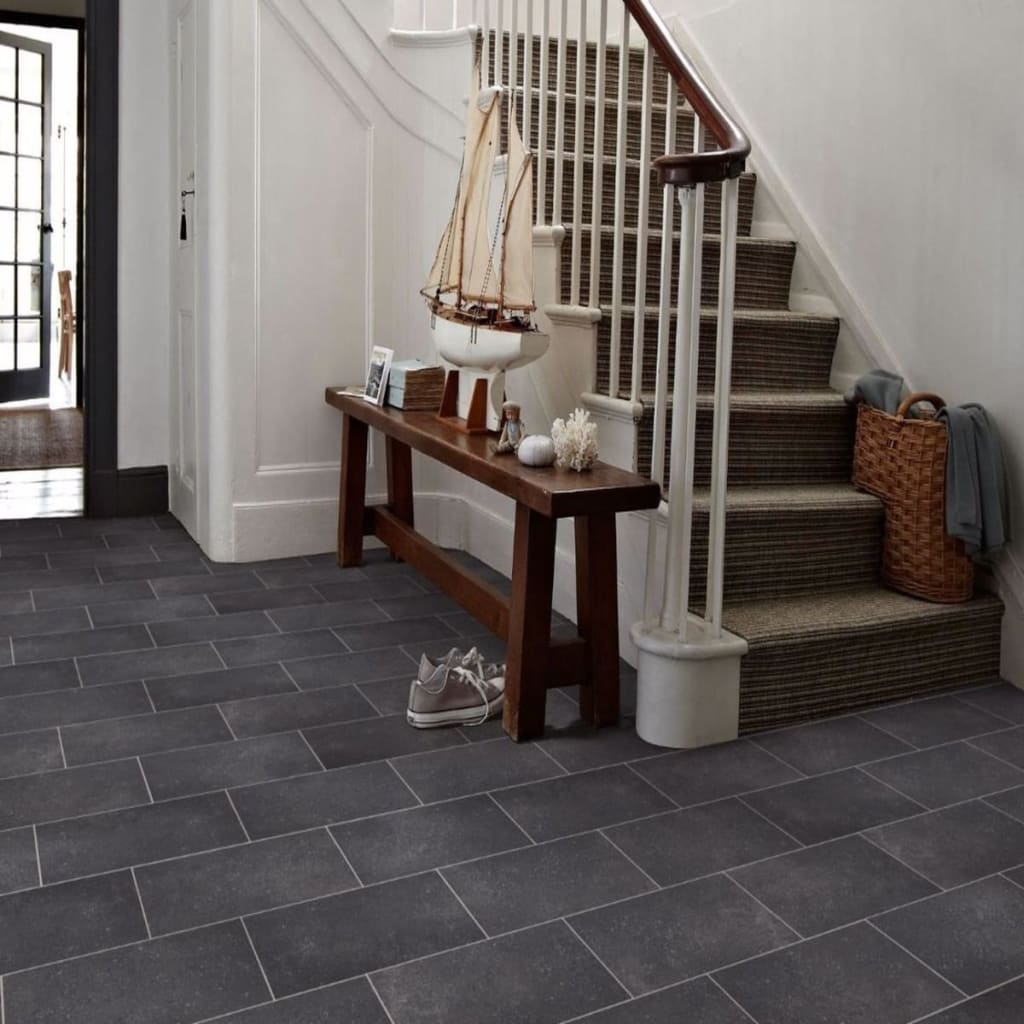
Reviving a worn-out vinyl is a simple and cost-effective way to breathe new life into your space. Even while vinyl flooring may ultimately lose its shine, have scratches, or have stubborn stains, it may still look brand new and polished with the right techniques.
1. Handle scuffs and scratches:
Over time, your vinyl can become susceptible to scratches and scuffs, particularly in busy areas. To deal with minimal surface damage, follow these steps:
Buff Out Light Scratches: To buff out light scratches, use a tennis ball or a dry, clean towel. Small scrapes are frequently less obvious when the region is rubbed in a circular manner.
Repair Deeper Scratches: To repair deeper scratches, use a vinyl floor repair kit. These kits usually include a matching hue and a filler component to blend the repair into the surrounding floor. Follow the kit's directions for best results.
2. Bringing the Shine Back:
Dull vinyl floors can result from wear and tear over time. The key is to restore their lustre so they look like new again.
How to Bring Back the Shine:
-To get rid of any last bits of filth or residue, give the floor a thorough cleaning.
-Use a vinyl floor polish or a vinyl-specific floor sealant. These treatments improve the floor's sheen while adding a protective layer.
-Apply the polish evenly with an applicator pad or microfiber mop. Give it the necessary amount of time to dry before you walk on the floor.
Pro Tip: Use a high-quality polish made specifically for vinyl flooring to prevent accumulation or streaking.
3. How to Mend Small Tears:
You can easily fix minor rips and tears in your vinyl. A pallet knife, vinyl floor glue, and a hair dryer are required. To start, gently move the hair dryer over the most noticeable part of the rip. Take your time because you want to melt the glue underneath without warping the vinyl.
Carefully peel both sides of the tear away from the floor once the vinyl has somewhat moved, being careful not to harm the vinyl itself. Using a pallet knife, place a layer of fresh adhesive between the vinyl and the subfloor. Then, slide the knife between the two. To create a joint, you must press the little tear's two sides together.
You should use a sufficiently heavy object to weigh them down after the two sides are properly aligned. While you wait for the adhesive to dry, this will keep the two sides of the rip from coming apart. A full tin of paint or a dumbbell weight might be used for this.
Pro Tip: To guarantee colour compatibility, test any repair product first on a tiny, discrete area.
4. Methods for Repairing Bigger Tears:
The method mentioned above won't work if the tear is more than simply a simple rip down the vinyl. The torn section will need to be replaced with new vinyl. Cut the impacted tile portion off in a tidy square or rectangle using a utility knife.
To fill the void, take an extra scrap and measure it to the proper size. Make sure the edge of the vinyl, if it has a pattern, lines up with the hole you just cut out. Carefully insert the piece after applying glue to the underside of the tile and the subfloor.
For the adhesive to work, hold it in place for a few minutes. You will be able to slightly modify its position throughout this time to align it properly. After you're happy, place a heavy object on top of the tile to secure it. Within 48 hours, you should be able to walk on.
5. Apply a Protective Finish:
Use a floor polish or wax made especially for vinyl flooring to bring back the shine and provide a protective coating to your vinyl tile floor.
Selecting the Correct Product: Carefully consider which product is safe to use on vinyl floors. Damage might occur if the incorrect finish is applied.
Apply Evenly: Using a fresh, moist mop, evenly distribute the polish or wax across the floor. Spread it evenly and thinly to prevent pooling.
Buff to Shine: To get a great shine once the polish or wax has dried, buff the floor using a soft cloth or a dry mop.
Pro Tip: To prevent streaks or buildup, use a premium polish made for vinyl flooring.
6. How a Vinyl Floor Can Be Replaced:
You will need to pry up the old sheet before replacing the entire floor. The simplest method is to cover the floor with hot water and let it sit for approximately 30 minutes. This will cause the vinyl that holds it in place to melt, making removal much easier.
If any glue is still adhered to the subfloor, it can be sanded down after drying or removed with the proper solvent. You can begin installing your new vinyl flooring as soon as the subfloor is prepared. If you need assistance installing vinyl flooring, follow our detailed instructions.
It doesn't have to be difficult to restore an old vinyl floor. You can prolong the life of your floor and bring back its beauty with a little polishing, little repairs, and proper cleaning methods. To keep your flooring looking new and vivid, use soft, vinyl-safe treatments and tools and concentrate on avoiding further damage. You will have a gorgeous, revitalized vinyl floor that improves your house for many years to come if you follow these instructions and expert advice.
FAQS:
1. When should vinyl flooring be replaced?
You can anticipate a good 10 years for low-quality vinyl flooring and 15–25 years for high-quality vinyl flooring and proper installation, depending on the quality of your new flooring.
2. Does vinyl flooring resist scratches?
Indeed, vinyl flooring is a fantastic alternative for preventing scratches, but you will need to exercise caution while moving heavy furniture on it to prevent scratches on the top coat.
3. Is it possible to paint vinyl flooring?
Yes, but only if the proper resources are available. Use floor paint designed to endure foot traffic if you want to update your area. To increase the finish's imperviousness, apply two coats of priming and two coats of paint.
About the Creator
How to Find Penny Items at Dollar General
Imagine walking into Dollar General and walking out with a cart filled with items that cost you a total of less than a dollar. The lucky few who snag penny items certainly have experienced the adrenaline and happiness it creates. If you want to feel like a Queen (or king) for a day, read below to learn how you can become a DG penny-aire.
By Criminal Matters7 days ago in Lifehack
Top 10 Side Effects of Chia Seeds You Should Know
Chia seeds have gained huge popularity in recent years as a superfood. From smoothies and puddings to salads and oatmeal, these tiny seeds are often praised for their high fiber, omega-3 fatty acids, and protein content. Many people include them in their daily diet to support weight loss, digestion, and overall health.
By Veronica Bennett3 days ago in Lifehack
Worth the Wait: Puerto Viejo, Costa Rica
Beach bumming in a small Caribbean beach town sounded like a perfect way to end our 6-month trip through Mexico and Central America. Or so we thought. The foul, fishy stench of rotten seaweed hit our nostrils as we stepped from the cramped bus and looked out at a rather depressing, empty, and underwhelming black sand beach. It was pouring with rain, and we had to quickly fish out our ponchos. We thought, this couldn’t be it, could it?
By Sh*t Happens - Lost Girl Travel6 days ago in Wander


Comments
There are no comments for this story
Be the first to respond and start the conversation.