
AeroPress: Rich, Smooth, Full body
Combination of French Press, Pour Over, and Espresso

If you are seeking new brewing methods to improve your coffee experience. Then the AeroPress is the perfect tool for you.
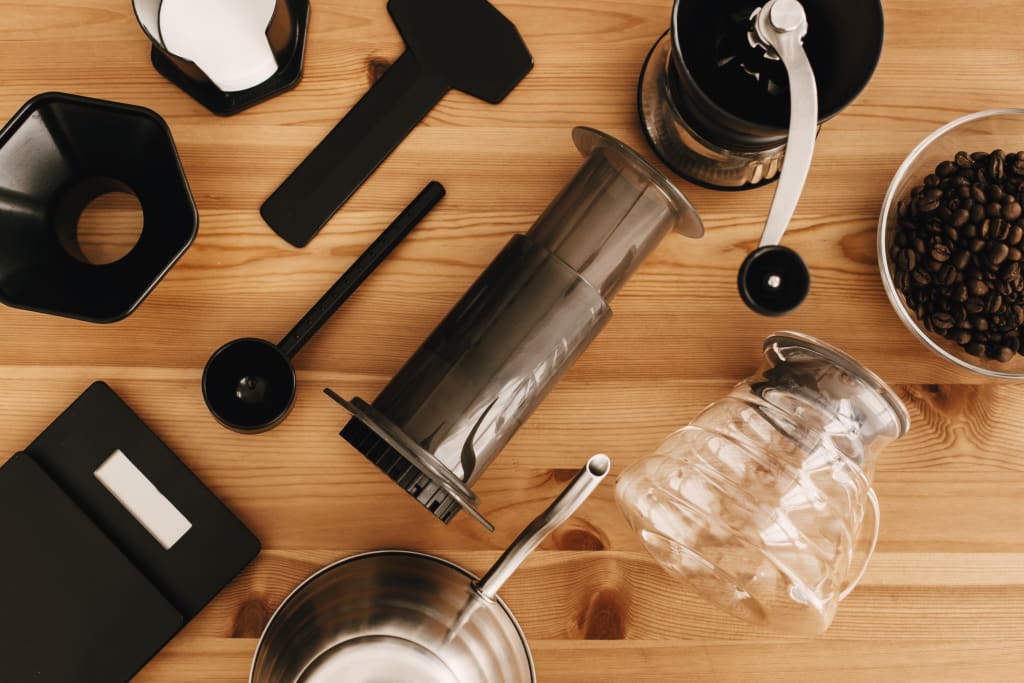
Introduction to AeroPress
In 2005, Alan Adler invented AeroPress. This tool combines 3 steps: pouring, steeping, and pressing. It is like a mix of French Press, Pour Over, and Espresso. The result inherits the excellent qualities of these three methods: Full body, Smooth, and Rich.
Over the last decade, AeroPress has continuously developed and improved. The global coffee community has shared many positive opinions about this tool. It became a favorite brewing method and a symbol of creativity.
Benefits of AeroPress Coffee Maker
The outstanding advantages of AeroPress include:
- Compact Design: easy to carry when travelling, camping, or picnicking.
- Quick Brewing Time: takes about 2–3 minutes.
- Flavor Control: easily adjust the amount of coffee, water, and brewing time to create the flavor you desire.
- Easy to Clean: very simple
- Variety of Recipes: various brewing recipes from experts and AeroPress community.
Alan Adler’s Original AeroPress Recipe
Ingredients required:
- 15 grams of espresso-ground coffee
- Hot water (about 85°C — 90°C)
- 1 AeroPress, paper filter
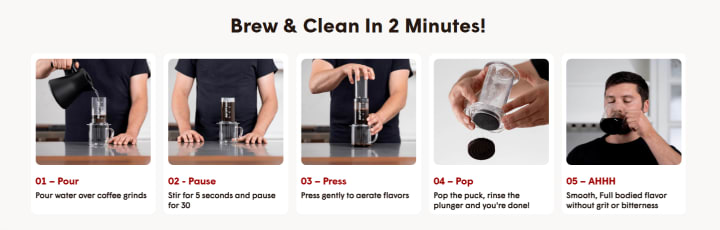
Steps:
1. Preparation: Place the paper filter in the Filter cap.
2. Add Coffee: Add ground coffee into the chamber.
3. Add Water: Slowly pour hot water into the Chamber up to between the 1 and 2 marks.
4. Stir: Use a stirrer to stir for about 10 seconds.
5. Press: After stirring, attach the plunger and slowly press down. This process should take about 30 seconds.
6. Enjoy: Pour coffee into a cup and enjoy.
In this recipe, Alan Adler does not weigh the coffee, measure the water temperature, or weigh the water added to the chamber. His goal is a non-bitter espresso. Perhaps the inventor wants to show everyone how simple it is to brew coffee with AeroPress.
Tips and Tricks
- Brewing Time: vary from 1 to 2 minutes depends on your taste.
- Coffee Grind Size: espresso size
- Cold Coffee: Replace hot water with cold water, tilt Aeropress upside down, and place in the refrigerator for 12–24 hours.
- Inverted Method: Many people are unsatisfied with a small amount of coffee dripping out too early and turn the AeroPress upside down for better control. However, you must be extremely careful when turning it back to its normal state to avoid spills.
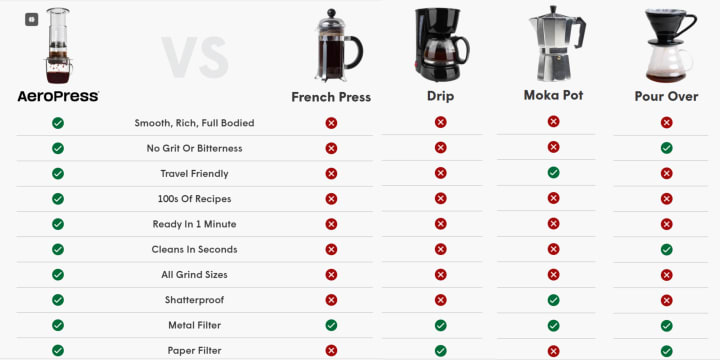
Comparison with Other Methods
AeroPress is not only quick and easy to use but also highly rated for the coffee flavor it delivers, comparable to other brewing methods like French Press or Pour Over.
- Brewing Time: It’s generally takes only 1–2 minutes, while Pour Over can take 3–4 minutes to complete the brewing process. This makes AeroPress ideal for those with a tight schedule.
- Coffee Flavor: The flavor from AeroPress is usually smoother and less acidic than Pour Over, due to a shorter brewing time that reduces coffee acidity.
- Flexibility: creating different types of coffee, from strong espresso-like coffee to lighter coffee like Americano.
Recipes and Variations
AeroPress goes beyond basic brewing, allowing you to experiment with many different recipes to create rich and diverse coffee. You can find many AeroPress recipes online:
- AeroPress Recipes — over 300 recipes — AeroPrecipe
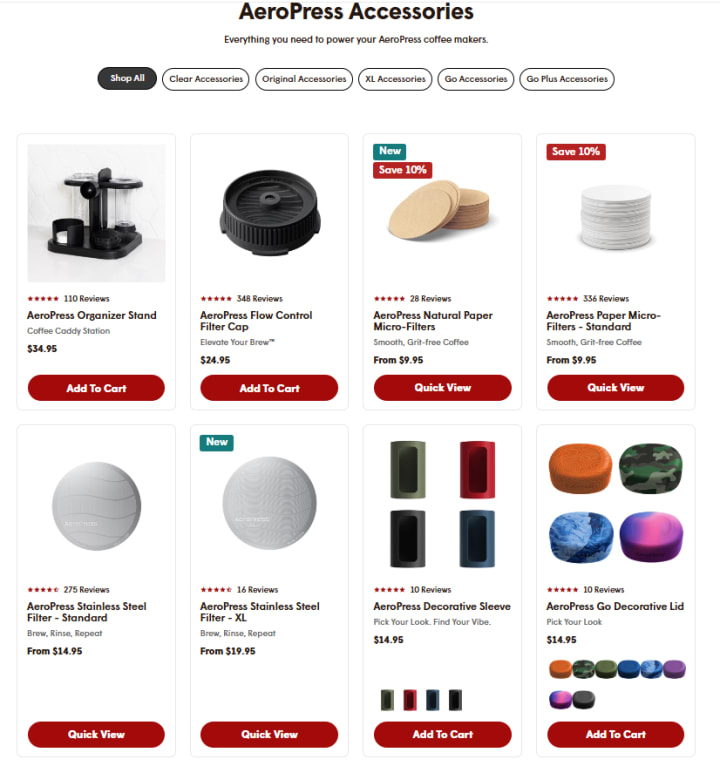
Express Your Personality With Aeropress Accessories
Many accessories can help optimize your AeroPress brewing experience:
- Metal Filter: Enhances flavor complexity and is environmentally friendly.
- Organizer Stand: Compact and sleek storage for your Aeropress parts.
- Flow Control Filter Cap: Elevate your coffee brewing with the Flow Control Filter Cap, featuring a pressure-actuated valve for enhanced control and no drip through.
- Color Variations: AeroPress accessories come in many colors, allowing you to express your personality.
World AeroPress Championship
The AeroPress World Championship (AWC) gathers talented baristas from around the world. They will compete and show the best brewing techniques. Each year, contestants bring creative ideas and new approaches, enriching the library of Aeropress recipes.
Example of an Award-Winning Recipe:
- 2019 AeroPress World Champion — Wendelien van Bunnik:
Ingredients
- 30g coffee, medium coarse grind (similar to table sugar)
- 200–220g water at 92°C (197.6°F), divided (adjust based on roast level — use a lower temperature for darker roasts)
Steps
1. Place a paper filter in the Flow Control Filter Cap and attach it to the Chamber.
2. Set the Chamber on your favorite sturdy mug (use a scale if available).
3. Add ground coffee to the Chamber and gently shake to level the coffee bed.
4. Pour 100ml of hot water into the Chamber and start a timer as you begin pouring. (If you don’t have a scale, fill the Chamber to the middle of the ‘2’ mark.)
5. Stir the mixture well to ensure all grounds are saturated — about 10 circular stirs should suffice.
6. Gently insert the plunger into the chamber.
7. After 45 seconds, press down gently — avoid applying too much pressure.
8. Dilute the concentrated brew with 100 to 120 grams of hot water, adjusting to your preferred strength.
9. Enjoy your bright and delicious cup of coffee!
Conclusion
With AeroPress, brewing coffee at home has always been challenging and more enjoyable. Whether you are a coffee enthusiast or a seasoned barista, AeroPress opens up a world of creativity in brewing coffee. Start exploring and elevate your brewing skills today!
About the Creator
Pham Duc Toan
Family, strong bonds, and the perfect cup of coffee—that's my world. I'm sharing my experiences, the good, the challenging, and the deep thoughts.
Keep reading
More stories from Pham Duc Toan and writers in Chapters and other communities.
Unleashing the Hidden Magic of Oromo Coffee Culture
Introduction In Ethiopia, coffee holds a much broader role in Oromo culture than just a drink. It is a significant cultural symbol, a traditional medicine, a staple food, and a main element in ritual performances. The Oromo people have a long history of farming coffee, and it's a big part of their identity. This connection to coffee shows how much they value farming and community.
By Pham Duc Toanabout a year ago in Chapters
The Cave Part 6
If you have ever heard a tale about yourself that you cannot remember and doubtless think is made up, you will know how I felt when Tharkin related all that the eagle had seen of me before my memories were scattered. Of far distances and traveling companions that I did not recall, camping out under the stars and making our way to the mountains with deliberate purpose. The great bird had lost contact with my party once we entered the forests, and the seven other members were not seen again by him or his brethren since.
By Jamye Sharp25 days ago in Chapters


Comments
There are no comments for this story
Be the first to respond and start the conversation.