

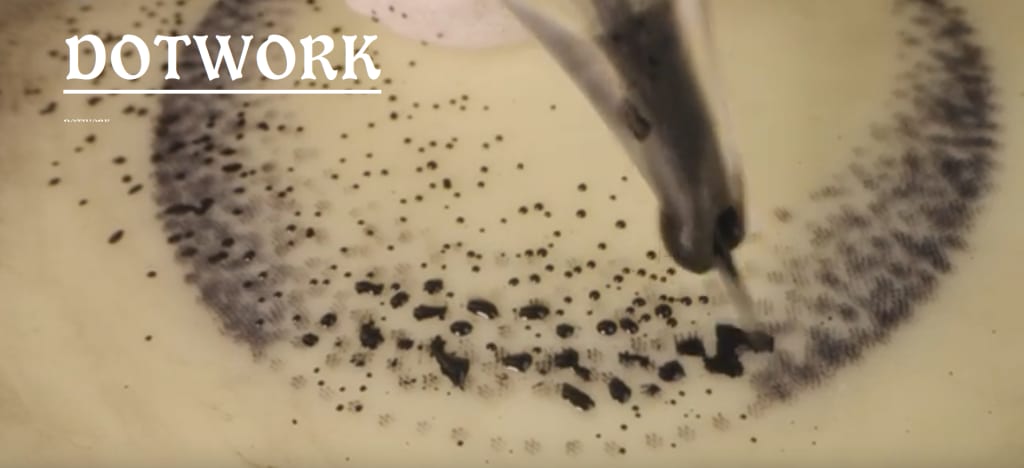
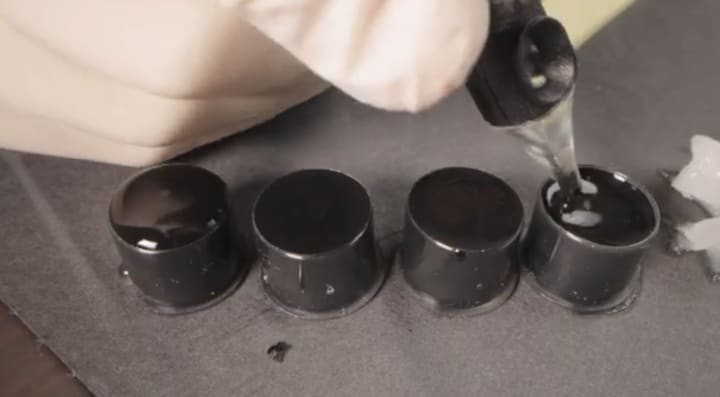
Dot work. With this technique, I've inked countless tattoos like this one, and today I'm going to show you how I do it. First, I create a grayscale from dark to light and fill the rest with sterile water. Once everything's ready, we can get started. For this tattoo, I'm using a 7-round liner with a 0.3-millimeter needle. You can use thinner needles, but that will extend the working time. The needle protrudes about 4mm from the needle module,
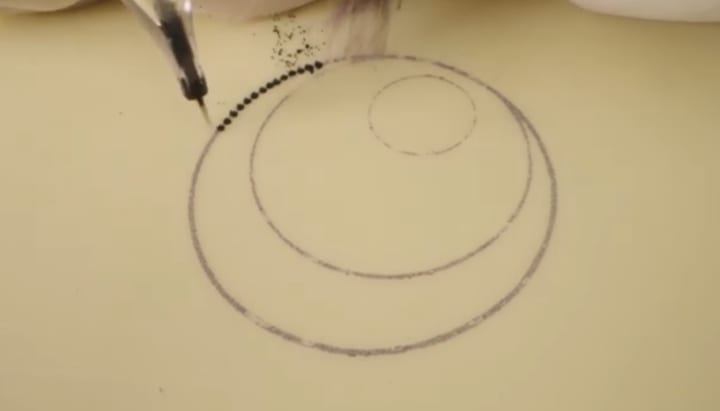
allowing for precise work. I begin with the darkest shade, apply a bit of Vaseline, and off we go. My goal is to create a dotwork shading that goes from dark on the outside to lighter on the inside. For this, I've drawn additional circles as guidelines.
I sketch the outline with small dots to prevent the stencil from smudging. In my opinion, dot work is a fantastic technique to start with in tattooing. It's relatively quick to learn and still allows you to create beautiful tattoos. Once I've fixed the outline with dark dots, I work on the next circle with the second lightest gray tone.
I fill the innermost circle with the lightest shade of gray. Now, it's time for filling, and I use the darkest color.
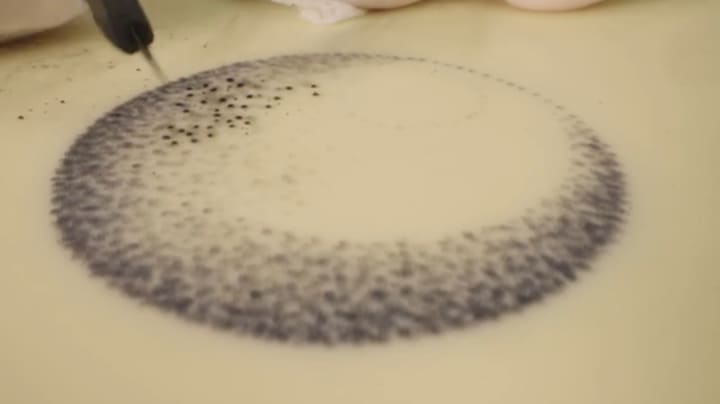
The depth of the dots varies depending on how dark I want them to be, ranging from 0.5mm to 1.5mm. Deeper dots create darker shades, allowing you to create a gradient with just the darkest color. To achieve a lighter result, I leave more space between the dots. I'm making some passages in this video run faster because I would like to produce short and concise tutorials.
Dotwork requires a delicate touch and it's advisable to practice on artificial skin before applying it in practice. But you'll get the hang of it quickly, and you can even hear the depth of my dots and the sound I make while tattooing, which is also crucial. In a close-up shot, you can see individual needle points of the seven round liner. But don't worry, this isn't visible on real skin since the ink would spread into the skin pores.
The first step is done, and all you see here was done using pure black ink.
Now, let's move on to the second darkest shade. The technique remains the same. It's just a bit lighter. Make sure you always have enough ink in your needle module.
It's better to dip more often than too little. I'll ensure there's a gradual transition to lighter shades inward. I'll use the second lightest shade. use the second lightest shade. In this step, it's crucial not to go too deep, as overly dark dots can ruin the whole design. So, be extra cautious with the lighter tones.
Finally, I'll use the lightest shade to make the gradient even smoother.
I work relatively quickly because I've done this many times. But if you're a beginner, take your time. You'll get faster with practice.
To finish it off, I'll do some touch ups with the darkest shade in certain areas.
There are many different tattoo techniques and I'd love to hear what you'd like to see next. Just leave your request in the comments and if possible, I'll create a tutorial for IT.
About the Creator
TATTO
Passionate storyteller, weaving words into captivating narratives. Advocate for creativity, diversity, and empathy. Exploring the human experience one tale at a time.
The Best Philosophy in the World Is the One You Can Live
Ask ten philosophers what the best philosophy in the world is, and you will receive at least ten different answers—possibly delivered with footnotes, counterarguments, and mild contempt for the other nine. This disagreement is not a flaw of philosophy; it is its essence. Philosophy was never meant to be a universal prescription handed down like a rulebook. It exists to help human beings live better lives. By that standard, the best philosophy in the world is not the most elegant or complex—it is the one that can be lived.
By Fred Bradford6 days ago in Art
When the Artist Becomes the Art
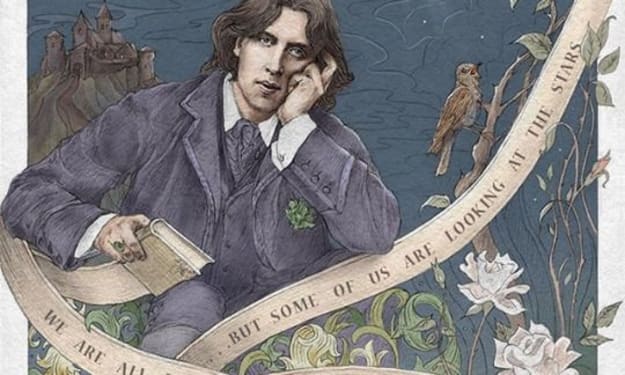
We like to think we can separate the art from the artist, but can we, really? Art is born from the same place as sin. It mainly emerges from conflict: between what is felt and what is permitted, between the self that is lived and the self that must be hidden. No figure embodies this tension more vividly than Oscar Wilde: a man who transformed his own contradictions into style, wit, and devastating clarity. His novel The Picture of Dorian Gray is not merely a tale of aesthetic decadence but the battleground on which this question is fought.
By Yasmine Lagrasa day ago in Art


Comments
There are no comments for this story
Be the first to respond and start the conversation.