
How it was drawn
In this article, we will give all the stages that were followed to finally get this drawing, you have to follow these successive steps, to get the drawing that is similar or better than the result that I got.

- - - - - - - - - - - - - - - - - - - step number 1 : - - - - - - - - - - - - - - - - - - - -
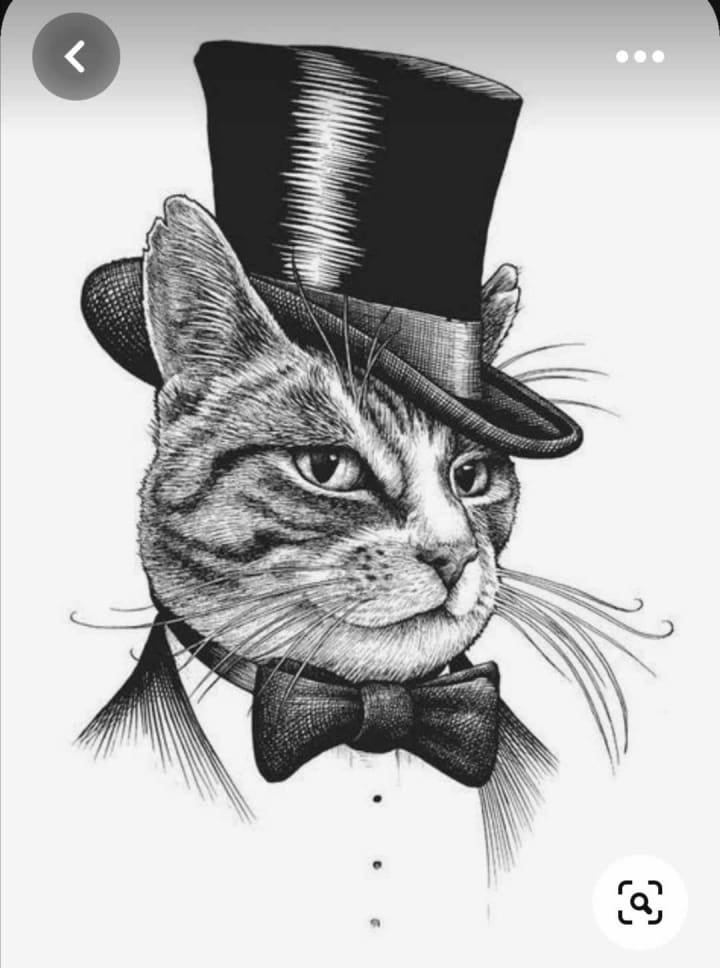
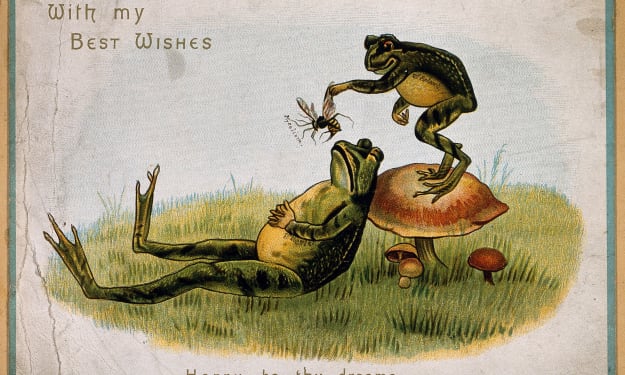
You should choose a photo that was drawn , you can search in an application called PINTEREST , in this application, type the word drawings, you will see a lot of drawings , try to choose the one that you liked the most like I did , here is the photo that I have chosen to draw :
- - - - - - - - - - - - - - - - - - step number 2 : - - - - - - - - - - - - - - - - - - - - -
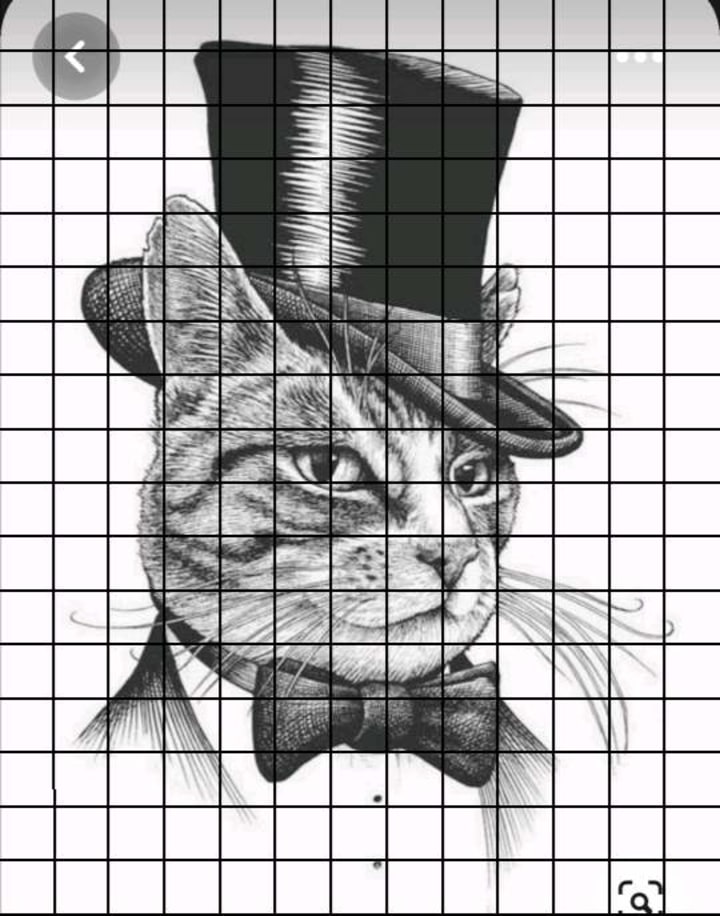
When you choose the thing you will draw , you should move to the next step which is dividing the photo into small square , this will help you draw the outlines , it also helps obtain very accurate measurements . GRID is an application in the play store that can divide your photo. When you will use it , this is what will happen :
- - - - - - - - - - - - - - - - - - - -step number 3 : - - - - - - - - - - - - - - - - - - -
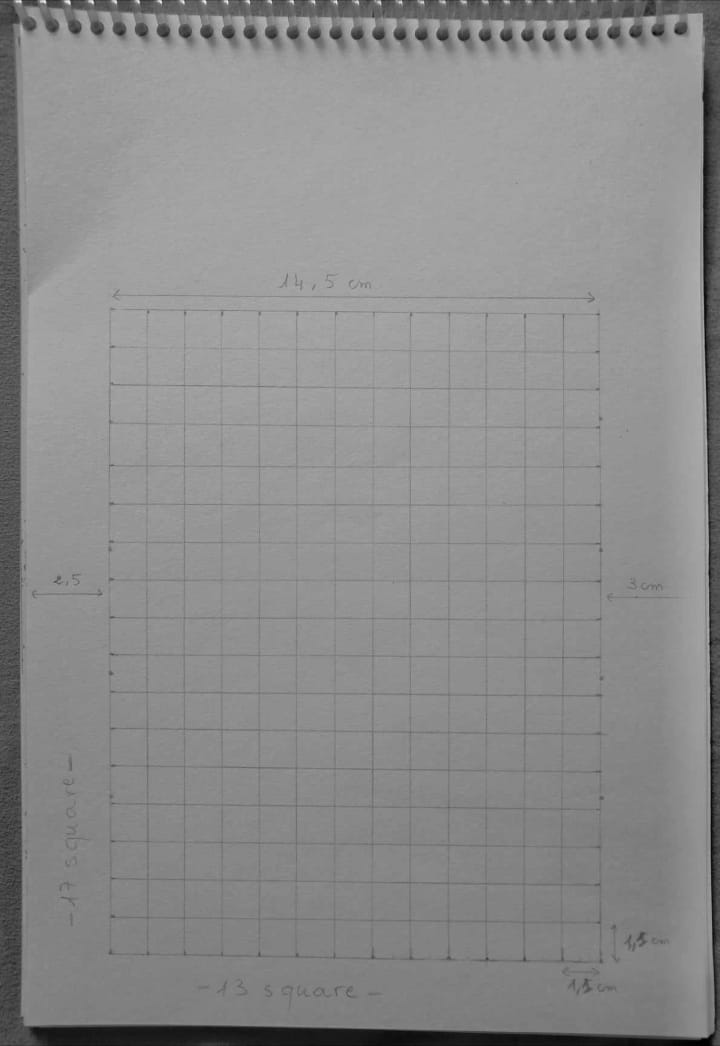
When you divide the photo , you will move to the next step which is drawing this GRID in your paper , in this moment try to use a soft pencil so that you erase it , and also do not forget that the measurements must be exact . This photo is a representation of what I did :
- - - - - - - - - - - - - - - - - - -step number 4 : - - - - - - - - - - - - - - - - - - - -
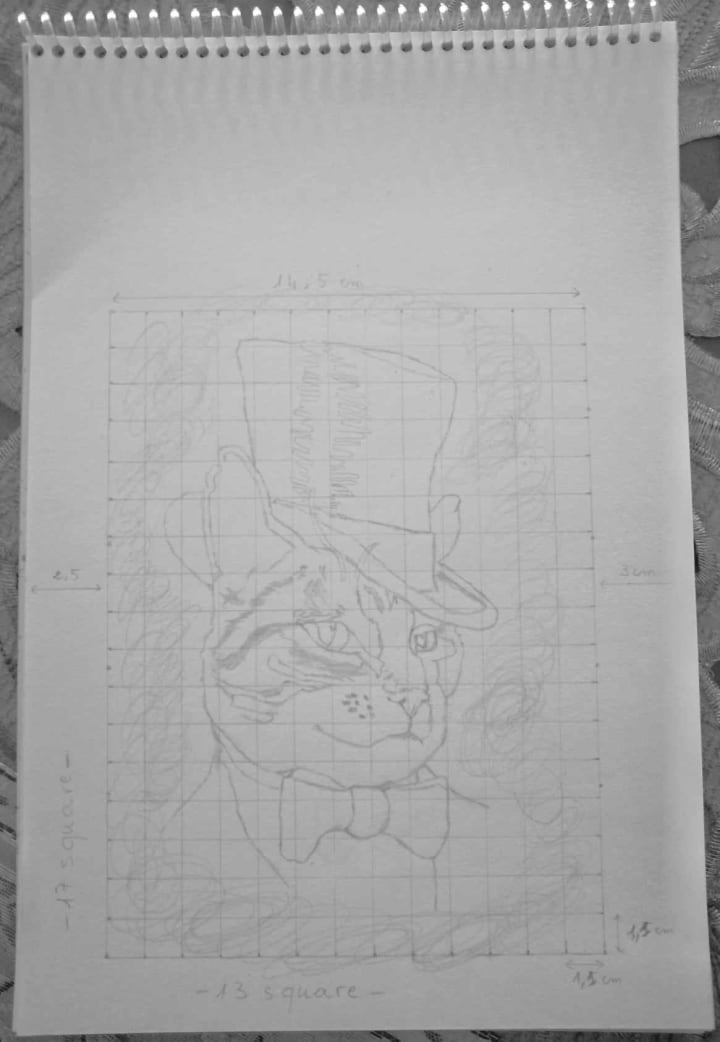
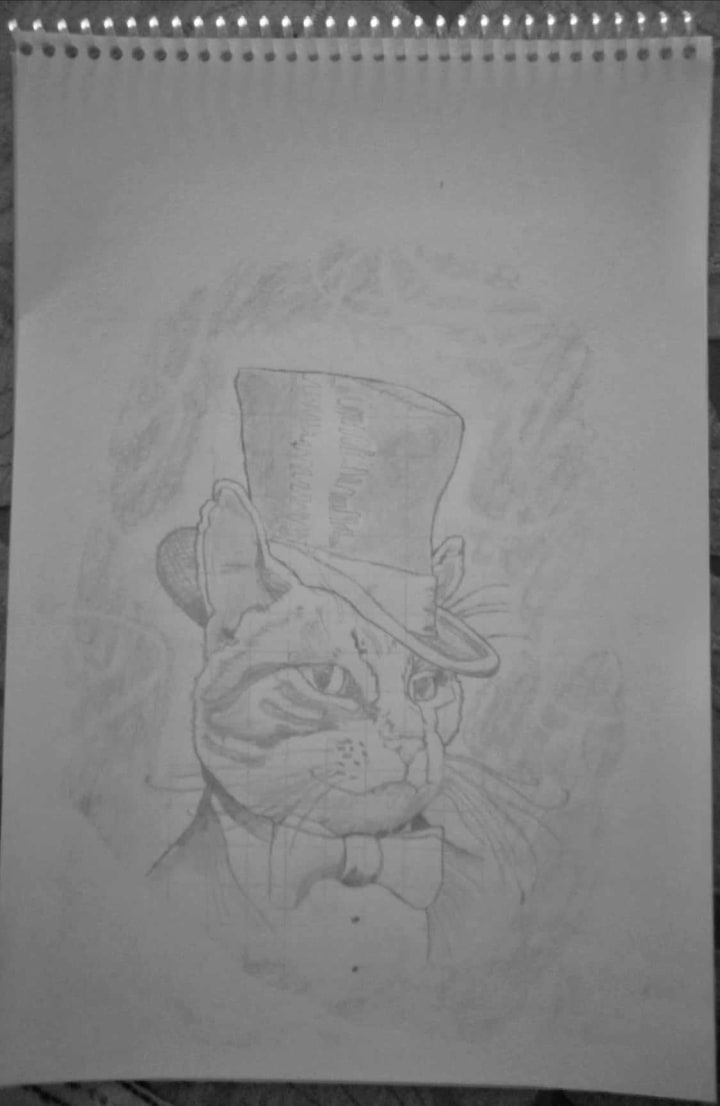
Once you finish , take a look at the squares in the drawing that you have selected , and try to draw what's inside of each square until you achieve this result :
- - - - - - - - - - - - - - - - - - - step number 5 : - - - - - - - - - - - - - - - - - - - -
When you finish the outlines , tries to do some shadowing , and again with the same soft pencil , you will get this result :
How to shadow your drawing ? This is a good question to ask , well in order to shadow you should see the dark areas in the drawing that you want to draw and try to add some darkness like it is shown in the picture .
- - - - - - - - - - - - - - - - - - - -step number 6: - - - - - - - - - - - - - - - - - - -
In this step you should focus on three things , the first one is erasing the grid because you are not going to need it anymore , and the second thing is changing the pen , try to use a darker pen now so that the drawing begins to appear more and more , the third thing is that with this pen focus on the dark places first and then the rest of the other places in your drawing . Here is the result that I have got :
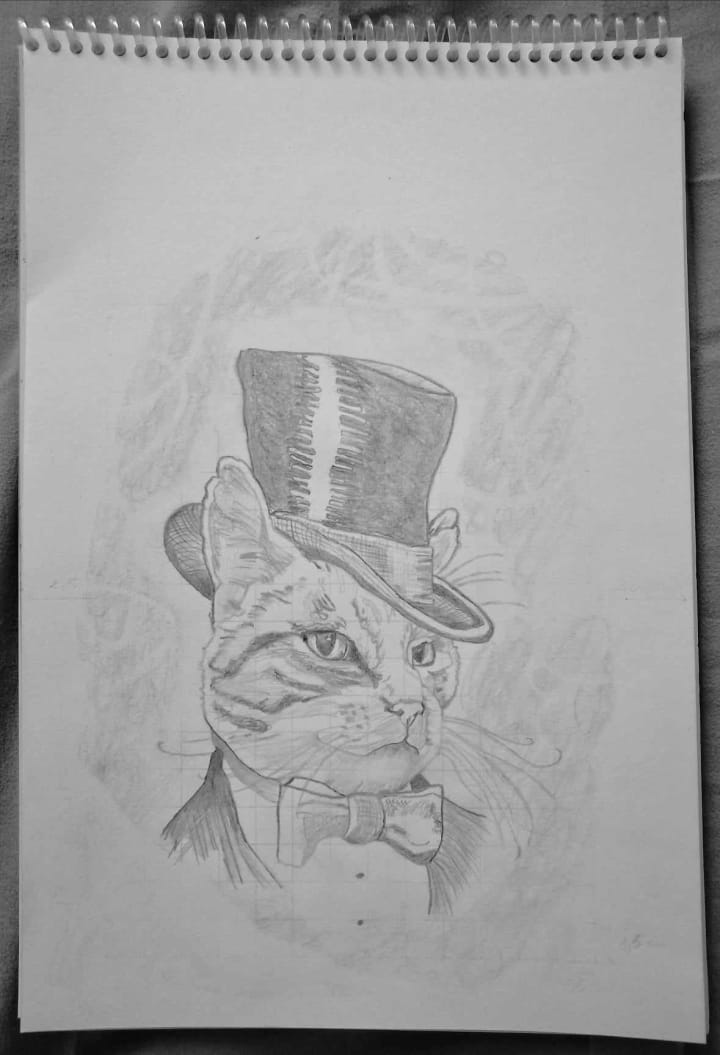
- As you can see here , the grid disappeared and the drawing started to become clear .
- I spent some time with the drawing trying to use darker pencils untill i finaly finich it , the final result whas this :

- I used Faber Castell pens , the soft pen was 2H then HB , B , 2B , 4B , 6b
- As some advice, try to draw a drawing that you really liked, so that you can complete it and not get bored .
- - - - - - - - - - - - - - - - - - - - - - - - - - - - - - - - - - - - - - - - - - - - - - - - - - - - -
- I hope you liked my drawing and that the explanation was clear
About the Creator
Keep reading
More stories from writers in Art and other communities.
'Till Death We Do Art
There would be nothing divine in this world without art. Nature may surpass the divine to all intents and purposes, but like everything it absorbs and is absorbed by, it remains here, stuck on the surface of this world, ever-present, physically bound to the universe.
By Avocado Nunzella BSc (Psych) -- M.A.P 19 days ago in Art
Things to do in Casablanca:
Casablanca is one of lovely destinations around Morocco. Casablanca is considered the largest city in Morocco. It's famously known for its historic attractions, cultural sites and natural landscapes. Additionally, the city is well- known for its clean beaches offering visitors a lifetime experience. This blog cover the top things to do in Casablanca:
By Othmane Anaam5 days ago in Art


Comments
There are no comments for this story
Be the first to respond and start the conversation.