
Crafting the Perfect Square Brush in Photoshop: A Step-by-Step Guide
Unleash Your Creativity with Custom Brushes in Just a Few Easy Steps

Photoshop is an incredibly versatile tool, offering a plethora of customization options to suit any creative need. One of the lesser-known but highly useful features is the ability to create custom brushes, including square brushes. Square brushes are particularly handy for pixel art, creating grids, or adding unique textures to your artwork. Here’s a step-by-step guide on how to create a square brush in Photoshop using the easiest method.
Step 1: Open Photoshop and Create a New Document
Open Photoshop: Launch Adobe Photoshop on your computer.
Create a New Document: Go to File > New or press Ctrl + N (Windows) / Cmd + N (Mac). Set the dimensions to 100x100 pixels. This size is ideal for a basic square brush, but you can adjust it according to your needs.
Set the Background: Choose a white background for clarity.
Step 2: Draw the Square
Select the Rectangular Marquee Tool: From the toolbar on the left, select the Rectangular Marquee Tool (shortcut M).
Draw a Square: Hold down the Shift key to ensure you draw a perfect square. Drag your cursor to create a square selection within your document.
Fill the Square: With the square selected, go to Edit > Fill or press Shift + F5. Choose Black as the fill color and click OK.
Step 3: Define the Brush Preset
Deselect the Selection: Press Ctrl + D (Windows) / Cmd + D (Mac) to deselect the square.
Define Brush Preset: Go to Edit > Define Brush Preset. A dialog box will appear asking you to name your brush. Enter a name like “Square Brush” and click OK.
Step 4: Adjust Brush Settings (Optional)
Open the Brush Settings Panel: Go to Window > Brush Settings to open the brush settings panel.
Customize the Brush: Here you can adjust various settings like spacing, size, angle, and scattering to suit your needs. For example, reducing the spacing will create a smoother line when painting with the brush.
Step 5: Save the Brush
Save the Brush for Future Use: Go to the Brushes panel (Window > Brushes), click on the brush you just created, and then click the menu icon in the top-right corner of the panel. Choose New Brush Preset and save your brush.
Using Your New Square Brush
Now that you've created and saved your square brush, you can start using it in your projects. Simply select the Brush Tool (shortcut B), choose your square brush from the brush presets, and start painting. This custom brush will help you add unique elements to your designs, whether you're working on pixel art, digital illustrations, or any other creative project.
Tips for Using Square Brushes
Pixel Art: Square brushes are perfect for creating clean, crisp lines in pixel art.
Grids and Patterns: Use square brushes to quickly create grid patterns or textured backgrounds.
Custom Shapes: Experiment with different sizes and spacing to create unique shapes and designs.
Conclusion
Creating a square brush in Photoshop is a simple yet powerful way to expand your creative toolkit. By following these easy steps, you can customize your brushes to fit your specific needs, making your workflow more efficient and your artwork more dynamic. Whether you're a seasoned designer or a Photoshop beginner, mastering custom brushes will undoubtedly enhance your creative projects.
About the Creator
Perfect Retouching
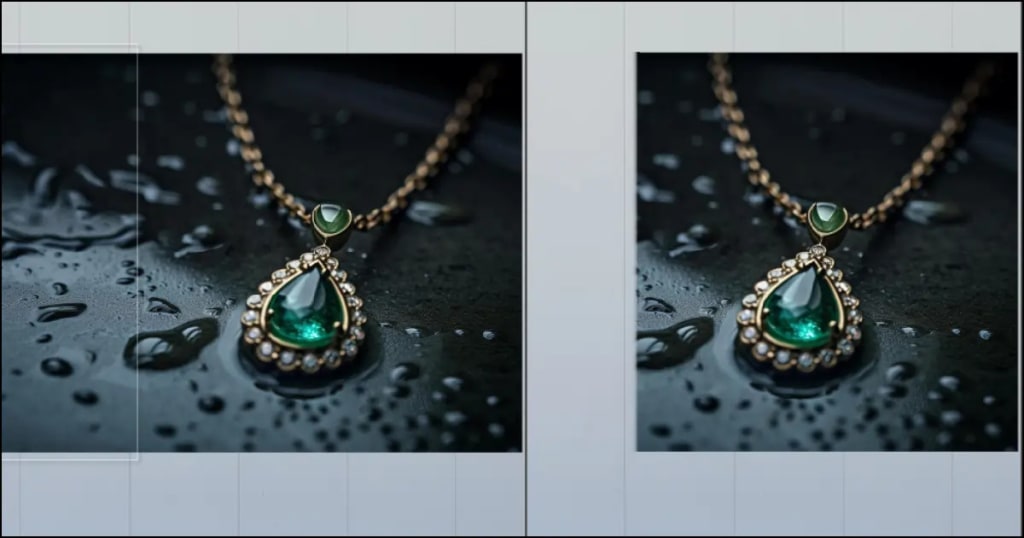
Perfect Retouching offers the best solution for all photo retouching services. We provide Jewellery, Product, Beauty, and Headshot Retouching Services by our expert team at budget price.
Visit here- https://www.perfectretouching.com/
Keep reading
More stories from Perfect Retouching and writers in Art and other communities.
Capturing Memories: Creative Family Photography Ideas for Unforgettable Moments
Family photography is a wonderful way to capture the essence of your loved ones and create lasting memories. Here are some unique and creative ideas to make your family photos stand out.
By Perfect Retouchingabout a year ago in Art
Smart phones, Humans and Aliens.
WARNING. I will be tapping into one of your favorite creative tensions: The absurdity of humans worshipping their glowing rectangles as if they were tiny oracles. There’s something deliciously poetic about that contradiction, and it lends itself beautifully to an instructive proviso.
By Novel Allen4 days ago in Poets


Comments
There are no comments for this story
Be the first to respond and start the conversation.