
Universal and Type Selectors: The Essential Tools for Styling Your Web Pages
This article is part of a free full CSS Course: Beginner to Expert


When it comes to CSS, selectors are the key to targeting specific HTML elements and applying styles to them. Among the many types of selectors available, universal and type selectors are two of the most fundamental and widely used. Whether you’re aiming to style every element on a page or just a specific type of element, these selectors are the backbone of your CSS toolkit.
In this article, we’ll explore what universal and type selectors are, how they work, and when to use them. By the end, you’ll have a solid understanding of these essential selectors and be ready to apply them effectively in your web designs.
1. What Is a Universal Selector?
The universal selector is like a wildcard in CSS. Represented by the asterisk (*), it targets every element in your HTML document, regardless of type, class, ID, or any other attribute. If you want to apply a style to all elements on a page, the universal selector is your go-to tool.
1.1 The Basic Syntax of the Universal Selector
The syntax for the universal selector couldn’t be simpler. Here’s how it looks:
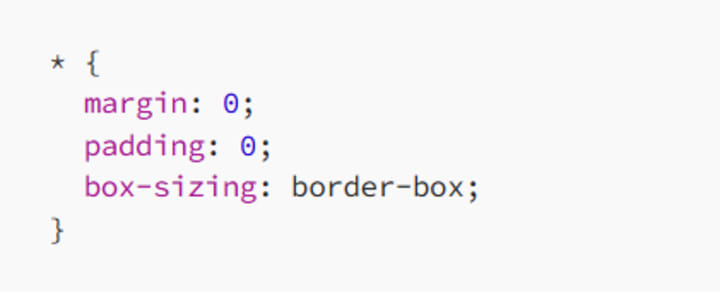
In this example, the universal selector targets all elements and sets their margin and padding to 0 and their box-sizing to border-box. This is a common practice in CSS resets or normalizations to ensure consistent styling across different browsers.
1.2 When to Use the Universal Selector
The universal selector is incredibly powerful, but with great power comes great responsibility. Since it applies to every element on the page, it can be a bit heavy-handed and should be used with care.
1.2.1 CSS Resets and Normalization
One of the most common uses of the universal selector is in CSS resets or normalization stylesheets. By applying a consistent baseline style to all elements, you can avoid browser inconsistencies that might otherwise affect your layout.
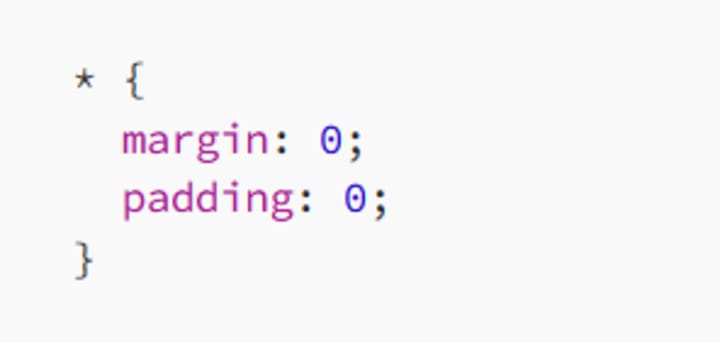
This reset ensures that all elements start with no margin or padding, so you can add these properties as needed without worrying about the default browser styles.
1.2.2 Global Styling
You might also use the universal selector when you need to apply a global style to all elements. For example, if you want to set a consistent box-sizing model across your entire site, the universal selector is an efficient way to do so.
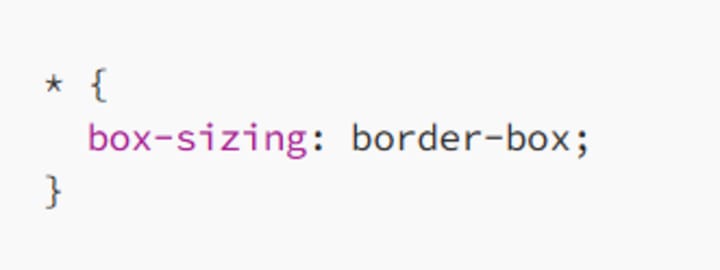
This rule ensures that the padding and border are included in the element’s total width and height, making layout calculations easier and more predictable.
1.3 The Downside of the Universal Selector
While the universal selector can be useful, it’s also a bit of a blunt instrument. Since it targets every element, it can lead to performance issues, especially on larger pages. It’s also easy to unintentionally override specific styles that you didn’t mean to, leading to unexpected results.
As a best practice, limit your use of the universal selector to scenarios where you need to apply very broad, baseline styles. For more targeted styling, other selectors, like class or type selectors, are usually more appropriate.
2. What Is a Type Selector?
While the universal selector is all-encompassing, the type selector is more precise. Type selectors target elements based on their tag name, such as div, p, h1, or img. They’re one of the most commonly used selectors in CSS, allowing you to style specific types of elements throughout your document.
2.1 The Basic Syntax of the Type Selector
The syntax for a type selector is straightforward. Simply write the element’s tag name, followed by the styles you want to apply:
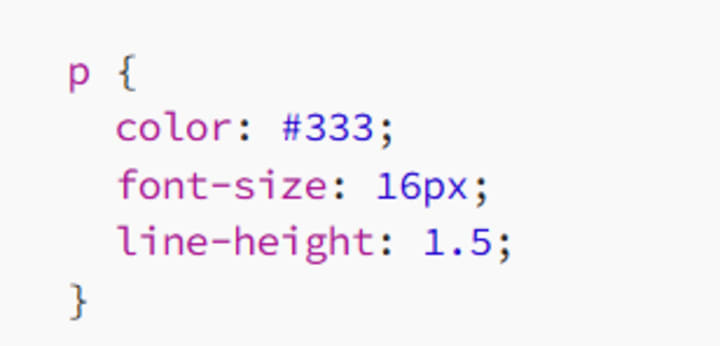
In this example, all p (paragraph) elements on the page will be styled with a text color of #333, a font size of 16px, and a line height of 1.5.
2.2 When to Use Type Selectors
Type selectors are incredibly versatile and can be used in a wide range of scenarios. Here are a few common use cases:
2.2.1 Basic Typography
Type selectors are ideal for setting basic typography rules for your site. For example, you might want to ensure that all headings (h1, h2, etc.) have consistent styles:
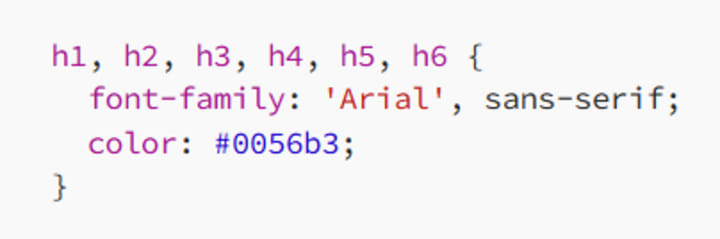
This rule applies the same font and color to all heading levels, ensuring a consistent look and feel across your site.
2.2.2 Element-Specific Styling
When you need to style specific types of elements, type selectors are the way to go. For example, you might want to remove the default underline from all links (a elements) and change their color:
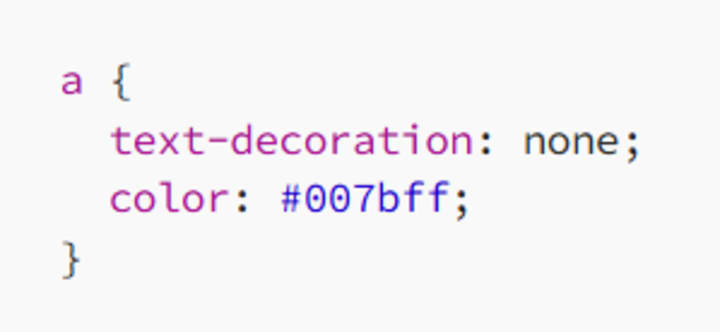
This rule targets all anchor elements (a) and applies the specified styles, ensuring that links are styled consistently across your site.
2.3 Combining Type Selectors with Other Selectors
Type selectors can be combined with other selectors to create more specific targeting rules. For example, you might want to style paragraphs that are only within a specific section of your page:
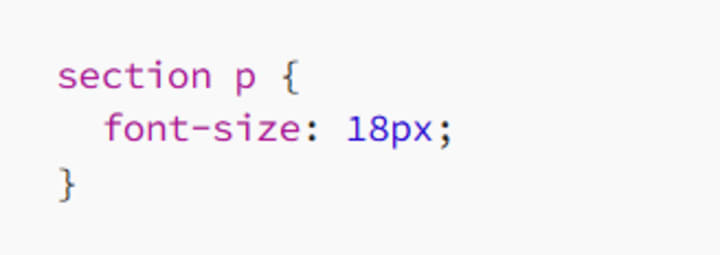
This rule targets only p elements that are inside a section element, allowing for more precise styling.
2.4 The Power and Pitfalls of Type Selectors
Type selectors are powerful because they apply styles to all elements of a specific type, making them ideal for broad, consistent styling. However, like the universal selector, they can sometimes be too broad, especially if you need more granular control over your styles.
If you find yourself needing to override type selector styles frequently, it might be a sign that you need to use more specific selectors, such as classes or IDs, to achieve the desired effect.
3. Practical Examples of Universal and Type Selectors
To see universal and type selectors in action, let’s look at some practical examples that illustrate how they can be used effectively.
3.1 A Simple CSS Reset
Here’s an example of using the universal selector to apply a simple CSS reset:

This reset ensures that all elements start with no margin or padding and use the border-box sizing model. It provides a consistent starting point for your styles, reducing browser inconsistencies.
3.2 Styling Specific Elements with Type Selectors
Now, let’s style some specific elements using type selectors:
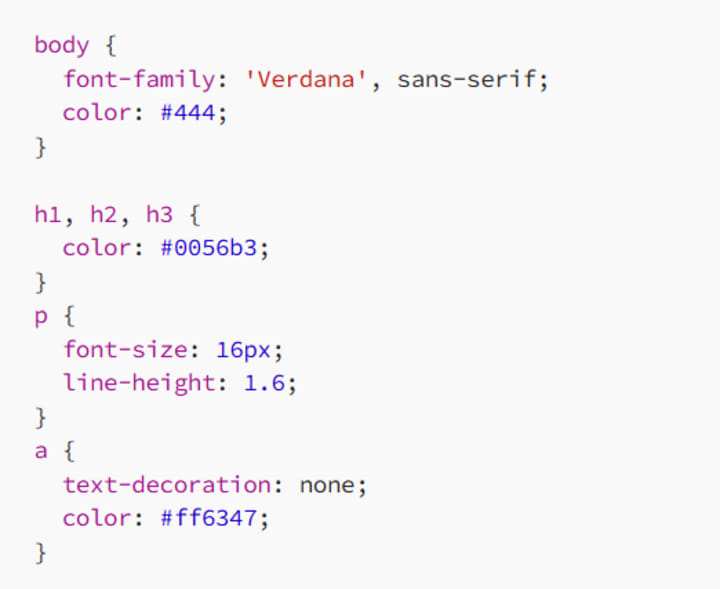
In this example:
- The body selector sets a default font and text color for the entire page.
- The heading selectors (h1, h2, h3) apply a specific color to all headings.
- The p selector ensures all paragraphs have consistent font size and line height.
- The a selector removes the underline from links and applies a specific color.
3.3 Combining Universal and Type Selectors
You can also combine the universal selector with type selectors for more targeted resets:
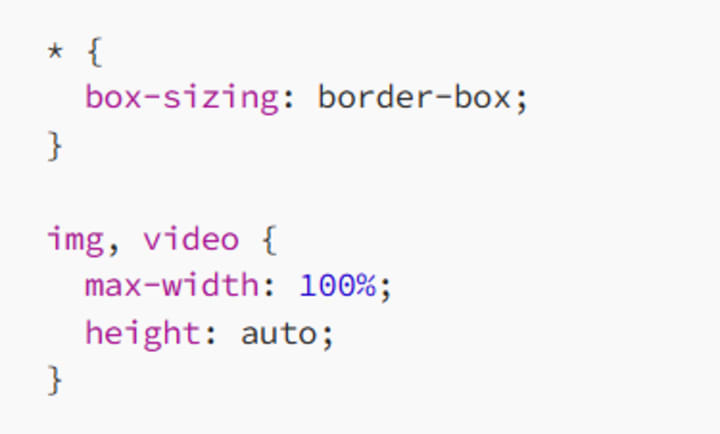
In this example, the universal selector sets the box-sizing property for all elements, while the type selectors ensure that all images and videos are responsive, scaling with the size of their container.
4. Best Practices for Using Universal and Type Selectors
To get the most out of universal and type selectors, follow these best practices:
4.1 Use the Universal Selector Sparingly
While the universal selector is powerful, it can be overkill for most situations. Use it primarily for CSS resets or global styling rules where you need to apply a consistent baseline to all elements. For more specific styling, use type, class, or ID selectors instead.
4.2 Keep Type Selectors Simple
Type selectors are best used for broad, consistent styling across your site. Keep them simple and avoid combining them with too many other selectors, which can increase specificity and lead to conflicts down the road.
4.3 Combine Selectors Wisely
When you need more control, combine type selectors with classes, IDs, or other selectors. This approach allows you to apply styles more selectively without resorting to overly complex or high-specificity rules.
4.4 Test Across Different Browsers
Always test your styles across different browsers to ensure consistent rendering. While universal and type selectors help establish a baseline, different browsers can interpret styles slightly differently, so thorough testing is key.
Conclusion: Mastering Universal and Type Selectors
Universal and type selectors are fundamental tools in your CSS toolkit. The universal selector gives you the power to apply broad, sweeping styles across your entire site, while type selectors allow you to target specific types of elements for consistent styling.
By understanding how and when to use these selectors, you can create clean, efficient CSS that’s easy to maintain and scale. Remember to use the universal selector sparingly, keep type selectors simple, and combine them with other selectors when necessary.
With these techniques in your arsenal, you’ll be well on your way to mastering CSS and creating beautiful, responsive web designs. So go ahead, experiment with these selectors in your next project, and see how they can simplify and enhance your styling process. Happy coding!
About the Creator
MariosDev
Hi, I’m Marios! I’ve been a developer for over 9 years, crafting cool stuff and solving tricky tech puzzles. I’m a total tech enthusiast and love sharing my thoughts and tips through blogging. Also, in love with my bike!


Comments
There are no comments for this story
Be the first to respond and start the conversation.