
7 Easy VPN Setup Tips for MacBook Air (Boost Security)
VPN setup MacBook Air

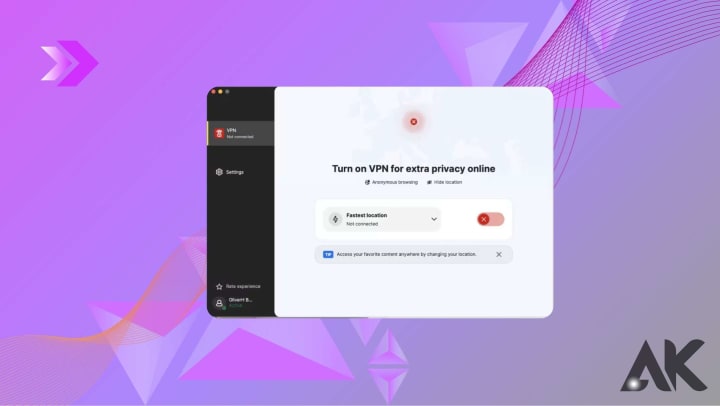
If you're using a MacBook Air and want to stay safe while browsing, working remotely, or traveling, setting up a VPN is one of the smartest decisions you can make. A VPN (Virtual Private Network) encrypts your internet connection, helping you protect personal data, unblock geo-restricted content, and maintain privacy online. But setting one up can feel intimidating - especially if you're not tech-savvy.
In this guide, we'll break down 7 easy VPN setup tips for MacBook Air, with step-by-step instructions and helpful advice to get you started smoothly. Whether you're new to VPNs or just want to improve your current setup, these tips will help you make the most of your MacBook Air's security potential.
Why VPNs Matter for MacBook Air Users

- Before we dive into the tips, let's quickly highlight why VPNs are essential for MacBook Air users:
- Public Wi-Fi Risks: MacBook Air is a favorite for working in cafés, airports, and libraries, but public networks can be vulnerable.
- Location Spoofing: VPNs allow you to access content and websites restricted to certain regions.
- Online Privacy: Prevents your ISP or third parties from tracking your internet activity.
- Secure Communication: Encrypts your data to protect personal or business-related communications.
Now let's get started with the actual VPN setup tips that will help you secure your MacBook Air effectively.
Tip 1: Choose a Reliable VPN Service for Mac
Not all VPNs are created equal. The first and most important step in your VPN setup MacBook Air process is picking the right provider. Free VPNs may sound tempting, but they often come with data caps, slow speeds, or worse - privacy risks.
What to look for in a VPN for MacBook Air:
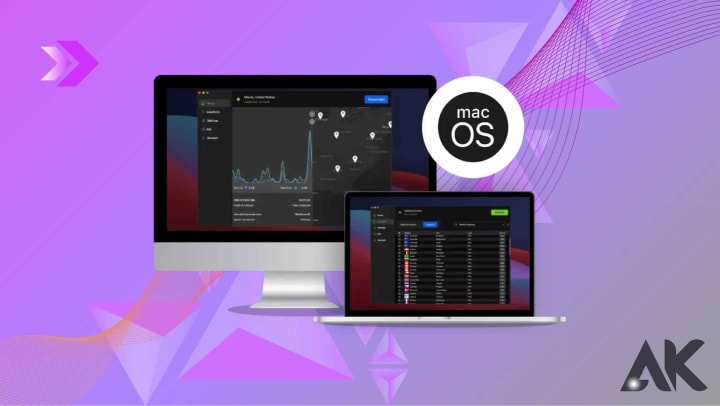
- macOS Compatibility: Ensure the VPN has a dedicated macOS app.
- No-Logs Policy: Look for providers that don't store your browsing activity.
- Speed & Server Coverage: Choose a VPN with fast connections and multiple global server locations.
- Kill Switch: This feature cuts your internet connection if the VPN drops, preventing data leaks.
- Customer Support: Access to live chat or email support can be helpful.
Top VPNs for MacBook Air:
- NordVPN
- ExpressVPN
- Surfshark
- ProtonVPN
- CyberGhost
Once you've selected your VPN, sign up and download the macOS app from the official website or the Mac App Store.
Tip 2: Install and Set Up the VPN App Correctly
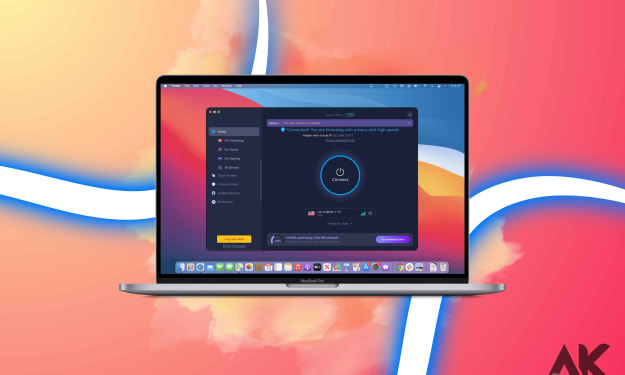
After downloading your chosen VPN app, installation is typically straightforward. But to get the most out of your VPN setup MacBook Air, it's important to configure it properly.
Installation steps:
- Open the installer from the downloads folder.
- Drag the VPN app into your Applications folder.
- Launch the app and sign in using your account credentials.
- Allow necessary permissions, including adding VPN configurations via your system preferences.
Configuration settings to check:
- Auto-connect on startup: Ensure the VPN launches automatically when you start your MacBook Air.
- Choose preferred protocols: Most apps use secure protocols like OpenVPN or IKEv2 by default. You can adjust these for better speed or stability.
- Set a default location: Pick a server near your region or one that unblocks your desired content (like US Netflix).
Tip 3: Use the Native macOS VPN Setup (Optional)
If you prefer not to install third-party apps, macOS offers a built-in way to manually configure a VPN. This option is a bit more technical but can be useful for connecting to a company VPN or a lesser-known provider.
To manually configure VPN on MacBook Air:
- Go to System Settings > Network.
- Click the + sign and select VPN as the interface.
- Choose your VPN type (e.g., L2TP over IPSec or IKEv2).
- Enter the server address, remote ID, and local ID (provided by your VPN service).
- Input your username and password.
- Click Apply, then Connect.
Pros of using native setup:
- No additional software needed
- Lower resource usage
- Useful for corporate or school networks
However, most users will find a dedicated VPN app more user-friendly and feature-rich.
Tip 4: Set Your VPN to Auto-Connect for Maximum Protection
One of the best things you can do during your VPN setup MacBook Air process is to enable auto-connect. This ensures your VPN kicks in as soon as your Mac connects to the internet - especially useful on untrusted networks.
How to enable auto-connect:
- In your VPN app, go to Settings or Preferences.
- Look for options like "Auto-connect on launch" or "Connect on untrusted Wi-Fi".
- Enable Kill Switch or Network Lock if available.
With auto-connect, you won't have to worry about forgetting to turn on your VPN before browsing, emailing, or logging into accounts.
Tip 5: Customize VPN Settings for Speed and Stability
VPNs can sometimes slow down your connection, especially if you're connected to distant servers. You can optimize speed and stability by tweaking a few settings.
Tips to speed up your VPN on MacBook Air:
- Use the nearest server: Local servers typically provide the best speeds.
- Switch protocols: Try switching between OpenVPN, IKEv2, or WireGuard (if available).
- Enable split tunneling: This allows you to route only specific apps through the VPN, preserving speed for non-sensitive browsing.
- Restart your Mac or router: Sometimes, a quick reset can resolve slowdowns.
A fast, reliable connection makes the VPN experience seamless and ensures you're not tempted to turn it off.
Tip 6: Test Your VPN Connection for Leaks
After setting up your VPN, it's important to verify that your connection is secure and leak-free. Even with everything set up properly, occasional IP or DNS leaks can occur - undermining your privacy.
How to test your VPN:
- Visit https://www.dnsleaktest.com/ or https://ipleak.net/ while connected to your VPN.
- Check that your IP address and DNS server location match your chosen VPN server, not your actual location.
- If you see your real IP or ISP's DNS, your VPN may be leaking.
Fixing leaks:
- Enable DNS leak protection in your VPN app settings.
- Switch to a different protocol or server.
- Use VPNs with built-in leak protection and strong encryption.
Testing regularly ensures your VPN setup MacBook Air is actually working to protect your data.
Tip 7: Keep Your VPN App Updated
VPN software, like any app, requires regular updates to maintain optimal performance and security. Developers frequently patch vulnerabilities, improve encryption, and enhance speed.
Why updating matters:
- Fixes bugs and exploits
- Improves compatibility with macOS updates
- Adds new servers or features
- Ensures best performance and protection
How to update:
- Enable automatic updates in your VPN app.
- Visit the provider's website or Mac App Store to manually download the latest version.
- Restart your MacBook Air after major updates for changes to take effect properly.
- Staying up-to-date ensures you're always benefiting from the latest protections and performance improvements.
Final Thoughts: Take Control of Your Privacy with Smart VPN Use
Securing your MacBook Air with a VPN doesn't have to be complicated. With the right service, a few smart settings, and regular maintenance, you can dramatically improve your online privacy and freedom. Whether you're working remotely, traveling abroad, or simply want peace of mind while streaming or shopping, a VPN is an essential tool in your Mac's security toolkit.
By following these 7 easy VPN setup tips for MacBook Air, you'll be well-equipped to protect your data, browse anonymously, and enjoy a safer digital experience every day.
About the Creator
Keep reading
More stories from Anass Khan and writers in Writers and other communities.
7 Powerful Free VPN for Mac Apps to Boost Your Privacy
In today’s digital age, protecting your online privacy is no longer optional—it’s a necessity. Whether you’re working remotely, streaming content, or simply browsing the web, your internet activity is constantly at risk of being monitored or intercepted. That’s where VPNs come in. A VPN (Virtual Private Network) encrypts your connection, hides your IP address, and helps keep your online identity secure.
By Anass Khan9 months ago in Writers
What Is a Visual Search Engine? A Complete Guide by Chance Vision
Most of us are used to typing words into a search bar. But what if you don’t know what something is called? You may have seen an item, a place, or an object and thought, “I wish I could just show this to my phone and get an answer.”
By Ausfab Group4 days ago in Writers


Comments
There are no comments for this story
Be the first to respond and start the conversation.