
Revolutionizing the Way You Create Professional Images and Designs
Revolutionizing the Way You Create Professional Images and Designs

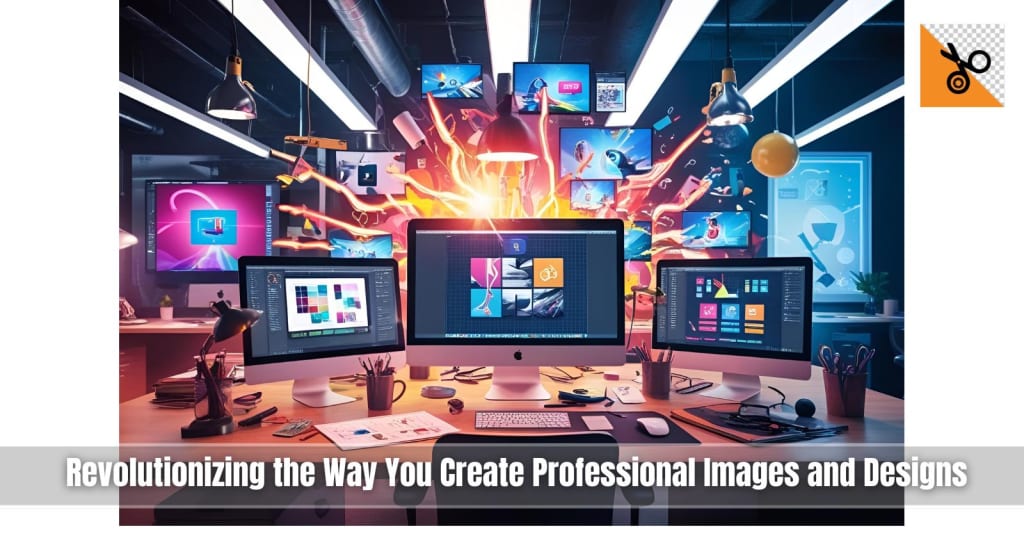
In this digital era, one has to learn how to make images shine in different ways to fit their definitions. Whether one is a professional photographer, a content creator, or someone who enjoys crafting custom visuals, digital image enhancement tools will be the best when an individual begins to elevate the process of image creation. Its versatile features may work for anything from the construction of professional-looking headshots to transparent PNGs, passport photos, tattoo scenes, and amazing avatars, all with only a few clicks away. In this guide, we will go through a detailed exploration of what and how PhotoCut will help in mastering these tasks for bringing one's imagination alive.
Try out virtual hairstyles with PhotoCut’s AI Hairstyle Changer.
1. Creating Professional Headshots with PhotoCut
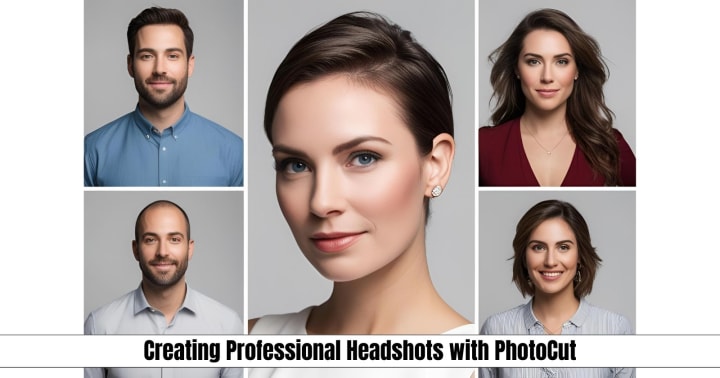
Since building your brand is essential for business employees, entrepreneurs, and content creators, professional headshots might be useful. The spectator is left with a lasting impression by well-taken photos, which may lead to future professional prospects. Thanks to PhotoCut, it's simple to produce top-quality, glossy, standout headshot photos.
How to Create Professional Headshots
The most crucial aspects of taking a great headshot are lighting, composition, backdrop, and overall clarity. You can handle all of these with PhotoCut, without the use of an overpriced camera or maybe high-end software for editing.
- Take good quality pictures with good lighting. Ensure the subject is well focused and the background is not too disturbing. Natural light is the best light for a head shot; shoot near a window or diffuse artificial lighting.
- Once the photo is ready, upload it to PhotoCut for editing. The platform's advanced AI tools will automatically detect the subject and the background.
- Background removal is key for a professional headshot. Use the background remover of PhotoCut to erase any unwanted elements behind the subject; it will leave a clean and neutral background or substitute it with a different one.
- Such professional portraits usually have perfect lighting that illuminates the face of the subject. PhotoCut's saturation, contour, and brightness functions create an ideal lighting effect to match the face features of a subject.
- PhotoCut helps to buff out any remaining flaws with included retouching tools, such as teeth whitening and skin smoothing, making your features feel stunning and practically untouched.
- After editing, the image usually comes out for use on social media profiles, resumes, or websites in a very high resolution.
A professional headshot is an essential tool in today’s digital world. PhotoCut makes it quick and easy to create one that will make you look polished and confident.
Get insights on the size of a Facebook profile picture.
2. Creating Transparent PNGs with PhotoCut
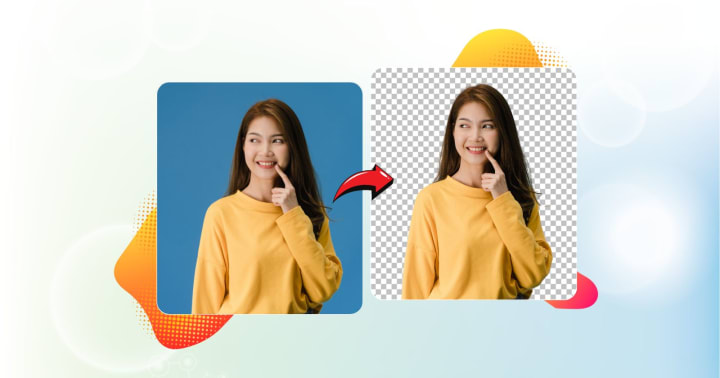
A transparent PNG file can explain all formats of an image used for different purposes, such as logos, product images, web graphics, etc. Such an ability to remove backgrounds seamlessly and make transparent images is important not only for a long time for any content creator but also for a designer. Well, PhotoCut has mastered the art of making PNGs that are transparent and offers easy-to-use tools to create transparent PNGs.
How to Create Transparent PNGs
- First, upload the image to PhotoCut. The kind of image doesn't matter; whether it is a product image, a logo, or a portrait, this tool will automatically detect the subject and isolate it from the background.
- With the AI-powered background removal tool from PhotoCut, you can immediately and accurately delete the background. The tool distinguishes perfectly between subject and background, making it ideal for a pristine, invisible background.
- After the background has been removed, you might need to touch up the edges surrounding your subject, which might include fine details like hair or fur. Easy and simple edges in different forms to achieve a professional touch are available in PhotoCut.
- After completing it, save your finished image as a PNG with a transparent background. A PNG will keep its transparency for whatever digital use, from websites to presentations or product listings.
One of PhotoCut’s strongest features is converting the images into transparent PNGs quickly, allowing a very easy isolation of elements and embedding them into new designs. It has been quick and seamless with PhotoCut.
3. Creating Passport Photos with PhotoCut

There are specific passport requirements with measurements, background, and framing color, in most cases for the people you will hear from as having difficult requirements to be met, especially in a DIY setup. With PhotoCut, however, it will still allow the photo to meet all the necessary passport photo guidelines without a trip to the photo studio.
How to Create Passport Photos
- Upload your image to PhotoCut. Ideally, this image should be taken against a plain, light-colored background, with the subject facing forward and their face fully visible.
- PhotoCut provides tools built to automatically crop and resize your image ready for passport photo dimensions. The software will crop the photo to the standard size for passport photos (usually 2x2 inches or equivalent in metric units).
- The background of passport photos must be light-colored, usually white or off-white. With PhotoCut's magical features, you can replace that background with a solid color, ensuring compliance with the governmental means.
- PhotoCut ensures the photo can be centered correctly, with part of the face visible. The platform will automatically adjust the photo so that the head part fits ideally into the borders.
- After all adjustments, the image is good to go for downloading in the proper size for printing or online submission.
Fast and easy creation of passport photos with PhotoCut ensures that your passport photo abides by the official photographic requirements on speed and efficiency.
Merge two faces to create something unique with PhotoCut’s Face Morpher.
4. Creating Tattoo Designs with PhotoCut
Tattoo designs are peculiar artwork, and custom drawings require creative and precise application. Whether it is a tattoo for a client or what to explore for oneself, PhotoCut moves you in bringing these tattoo designs to life with its easy tools.
How to Create Tattoo Designs
- Initially, brainstorm tattoo design concepts or sketch them. While conception can allow the tattoo to enter the digital world, one may experiment with a design with PhotoCut.
- In case you have done a rough sketch, then either scan it or click a picture and upload it in PhotoCut, you can clean the sketch into a tattoo design ready to be finalized and refined with this platform.
- You have full freedom of design with PhotoCut. Using its powerful editing tools, you could straighten lines, manipulate shapes, or add shading or detail to the design, whether you want to add ornate patterns, symbols, or text.
- To make a tattoo design applicable to anything less demanding (e.g., a portfolio or mock-up), background removal in PhotoCut would allow for transparent PNG saving.
- Then save the design in high resolution, which will be ready for printing or referring to during tattooing if you are satisfied with it.
PhotoCut is aimed at professional tattoo artists as well as those just conceptualizing new ideas; it allows for precision in designing and refining tattoo artwork.
5. Creating Amazing Avatars with PhotoCut
An avatar is a digital representation of individuals that can serve different purposes: from having social media profiles to entering games or virtual worlds. A well-designed avatar boasts a competitive edge within this wide yet critical digital realm, while embodying personality traits. The creation of fantastic avatars that represent your unique style is made through simple tools offered by PhotoCut.
How to Create Amazing Avatars
- For a personalized avatar, start by uploading a clear picture of yourself in PhotoCut. This can be a headshot or any image that best represents you.
- Then, PhotoCut provides a variety of preset styles for converting your photo into an avatar. For fun, you can choose from different styles: cartoonish, minimalist, or realistic. After you select an avatar type, PhotoCut selects different facial characteristics, hairstyles, outfits, and accessories, all of which turn your avatar into an iconic avatar representing your style or identity.
- Download your avatar in a resolution of your choice after perfecting it. Your new avatar will proudly sit on your social media profile, gaming profile, forums, or virtual worlds.
Creating an avatar has never been so fun and personal, allowing one to make one from their likeness in a digital environment where there is almost no limit to the things that can be tried. It's a fab chance to create a digital version of oneself or to test out a different identity in cyberspace.
Learn how to take passport photos on your phone.
Conclusion
PhotoCut is the best tool that lets users create any kind of images from professional to high-quality images. From headshots to passport pictures, tattoo designs, and avatar creations, all things PhotoCut gives users power and offers photo editing features in an uncomplicated manner. If you are a novice or a designer, the intuitive interface along with tools powered by AI will help you achieve the best in record time. Free your imagination and convert your design ideas into works of art using PhotoCut!
Recreate your yearbook photos with PhotoCut’s AI Yearbook Generator.
FAQs
Q1. What kind of background should I use for a headshot?
Ans. Neutral backgrounds generally work best, think solid colors, or grays, whites, navy, or something of the sort. A blurred outdoor background also works, just don't make it distracting.
Q2. What should I wear for my professional headshot?
Ans. Dress according to your profession or the job you want to have. Avoid busy patterns or distracting jewelry. Fit is so important; make sure your clothes fit properly.
Q3. How do I create a transparent PNG?
Ans. Any image-editing program will do-that constitutes Adobe Photoshop, GIMP (which is free) Online remove.bkg, or Online Canva. You could also go with some tools like magic wand, lasso tool, and background eraser, which select and remove the background, then save the image file as a PNG.
Q4. Difference between transparent PNG and transparent GIF?
Ans. Both can feature a transparency; however, PNG is generally preferred for more complex colors and finer details, with modest benefits for simple animation purposes. PNG does, however, provide better compression in terms of transparent images.
Q5. What can I wear in a passport photo?
Ans. Avoid white or light colors that might blend into the background. Do not wear hats, scarves, or anything that might hide your face or hairline, unless it is for religious or medical reasons, in which case, it may have to be certified.
Q6. Can I smile in my passport photo?
Ans. Regulations vary by country. Many countries require a neutral expression with your mouth closed. Check the specific requirements of the country issuing the passport.
Q7. What is the average cost of a tattoo design? Ans. The price that will determine the complexity of the design, the reputation and experience of the artist, and the geographical location. Some tattoo artists factor into the cost the price of the design as part of the final cost of the tattoo; others, however, will charge for the design beforehand, especially for very complicated or custom designs.
Q8. What must I tell the tattoo artist for designing? Ans. Make your request as specific as possible. Reference photographs, size and place, significance or symbolism behind the design would help. The more information you supply, the better he will comprehend your concept.
Q9. What are the different types of avatars?
Ans. Common types include:
Realistic Photos: A clear, well-lit photo of your face.
Illustrated Self-Portraits: A cartoon or drawn version of yourself.
Abstract Designs: Symbolic or geometric shapes that represent your personality or brand.
Character Avatars: Avatars created using online character creators or video game customization features.
Q10. What size avatar should I have?
Ans. The optimal size depends on the platform using the avatar. Generally, it can be from 200x200 pixels, 400x400 pixels, or even small squares up to 1024x1024. Check program or site-specific needs for which you are using it.
About the Creator
PhotoCut
AI Photo Editing Tool - Remove or Change your Background & Enhance Product Photos
Keep reading
More stories from PhotoCut and writers in Photography and other communities.
Unlocking Creativity with PhotoCut
In dynamic digital photography, improving, changing, and refining images is extremely important to professionals and amateurs alike. There has been one tool whose popularity is growing not just because access has been simple with powerful features, but because it has lots of functionalities. PhotoCut is useful from the very casual user to the extremely advanced designer. In this article, we will describe five such features of PhotoCut like the Face Morpher, Photo Colorizer, Photo Restoration Tool, Collage Maker, and Image Enlarger. Each one has something specific to offer in image editing, helping people apply their creativity without a lot of work.
By PhotoCut11 months ago in Photography
The Photographer's Code
You decide to visit your local park. You have become a close confidant to the homeless people who gather there most days. While talking to Cleo and Reed, you notice a new face in the crowd. It belongs to a stick-thin, middle-aged woman. She has her hand on her forehead as if taking her temperature.
By Paul Aaron Domenick7 days ago in Photography


Comments
There are no comments for this story
Be the first to respond and start the conversation.