
Professional Tips for the Perfect Pics
Are you looking to up your photography game? Your instagram looking a bit drab? It's more simple than you think...

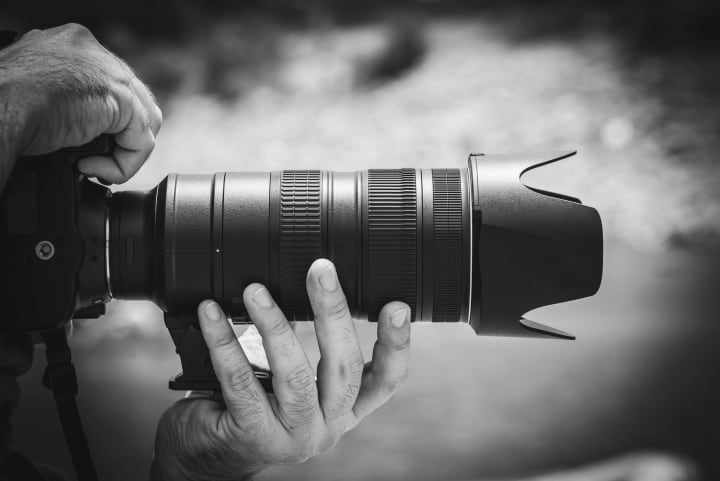
Whether you want to take to Discount promo codes to find some discounted professional equipment, just use your phone camera, or go old school with a disposable you can take your skills to the next level by following some of these professional top tips to getting that perfect photo every time.
The Rule of Thirds

The rule of thirds is an effective composition rule that helps keep all aspects of your photograph focussed and balanced. When framing up, it involves imagining two vertical and horizontal lines across your image. You then position the main subjects of your image to sit across one of these lines or at the point where they cross. The idea is that your subject is never directly in the centre of the image, making the photograph more interesting to look at, as it draws the eye to the subject, rather than looking straight to the centre, which is where the eye would naturally go.
Picking which line to use depends on your subject. For a landscape use the top horizontal line to emphasise the horizon or your rooftops. For smaller subjects such as animals or flowers, your negative space would typically be on the opposite side of the image to your subject to emphasise movement and distance.
Focus
Making your foreground subject the focus of your image rather than having the whole image in focus makes it pleasing to the eye, as it keeps simplicity. With one focal point, the eye knows exactly where to be drawn to, rather than taking time scanning the image for somewhere to look. This becomes boring and causes loss of interest. You can use this technique with moving objects also as it is a nice touch to slow your shutter speed and move with your subject, this creates the same focal effect, but also emphasises speed and movement.
Leading Lines
A Composition with leading lines refers to natural lines that draw the eye through the photo to all of the important elements, creating a story. This could be a windy road, a long bridge, trees, bricks or sun rays that create movement.
Depth and Dimension

Your image will always look more professional if you create a sense of the 3D world in a 2D medium. You can do this by positioning yourself to the sides of your subject causing stronger diagonal lines rather than straight ones as this will make them more prominent.
Use foreground elements in your photography to create a sense of space, for example a person, grass, fences; anything that is closest to the lens. This will form an illusion that draws the eye through the image therefore through the conceived space. Adding selective focus to your chosen foreground will further emphasise this.
Light

Light is a detrimental factor to creating the perfect image. The way that you utilize light and shadow can completely change the tone and story that your image is trying to tell.
Artificial techniques:
Three point lighting is a very useful technique, particularly for portrait photography, and is based on the concept of layering. If you use one front facing light, it can make your image very flat and boring, however layering a second rim light to separate your subject from its background and then a third to fill any last detail and craft any wanted shadows this creates the perfect lit 3D looking image.
Natural techniques:
Colour temperature can play a large part in interpreting an image, as every light source has one. Domestic lighting, for example, typically has a tungsten temperature, which gives a yellow look, where midday sun will give off a highly bright white. The best way to do this is to study the whites. If your whites appear to have a blue hue this gives off a cold look, whereas oranges and yellows can give a warm look. An example of using this technique to a creative advantage is picking a natural source of warm light; the sun or the ‘golden hour.’ Taking your pictures in natural light, roughly the first hour after sunrise and the last hour before sunset creates a warm, soft, diffused image, as the sun is low and casts long shadows adding dimension and detail. Colours can also appear much more vibrant and make portraits for example very smooth and flattering.
Now that you have these top tips you are ready to become the photography master and get that perfect picture every time.
About the Creator
Craig House
Creative entrepreneur, freelance designer and all round business savvy youth.
Keep reading
More stories from Craig House and writers in Photography and other communities.
Being Queer Is Still a Quandary
As the years go on, it does feel that in certain circles, it is much easier to lead a free, open life if you identify as LGBT. However, in a few countries, gay rights are going in the opposite direction, and the amount of reported homophobic and transphobic attacks have actually increased. So what can be done to halt this slide, and what steps can everyone do to help out your queer friends or neighbours? Well, thankfully, there are a few things you can do.
By Craig House7 years ago in Humans
We are England
Met a dear friend for a coffee the other day, walking to the appointment through familiar territory. I twice lived in South Norwood in the 1970s, a district of South London (SE25) so named for the great North Wood that covered the land 500 years ago. Some tiny remnants of this once expansive forest remain, as does considerable industrial archaeology and broader social and economic history.
By Raymond G. Taylor16 days ago in Photography


Comments
There are no comments for this story
Be the first to respond and start the conversation.