
Mastering Digital Creativity With Image Editing, Signatures, and Transparency
Mastering Digital Creativity With Image Editing, Signatures, and Transparency


In today's world, visuals are closely associated with the methods of communication. Whether it is creating presentations, signing a document, or enhancing photographs, the true use of the proper tools brought together ought to impart that special touch to your hard work. This tutorial will make sure the middle-man classified in some stages is torn away by the use of applications like Bing Image Creator, signature addition in Microsoft Word and Google Docs, photo cleanup in Google Slides, and back tracing in Paint or Paint 3D. At the end, we will demonstrate the more advanced PhotoCut image-editing feature.
Unpixelate your images online for free with PhotoCut’s Photo Depixelizer.
1. Using Bing Image Creator

Bing Image Creator is an AI-powered engine that allows users to create images from text in high resolution. This tool has won it all with its design of AI, generating excellent images, and it is the best for individuals who need customized images but lack creative design skills.
How to Use Bing Image Creator
1. Access the Tool
- Go to Bing Image Creator
- Log in with your Microsoft account (if required).
2. Enter a Prompt
- Type a description of the image you want to generate.
- Be specific with details like colors, styles, and themes.
3. Generate & Review
- Click Create and wait a few seconds.
- Review the generated images and select the one that best fits your needs.
4. Download & Use
- Click an image to download.
- Use these images for presentations, social media, or other creative and impactful projects.
Best Practices for Generating High-Quality Images
- Use detailed descriptions like "A futuristic city at sunset with flying cars and neon lights."
- Specify artistic styles ("in watercolor style" or "photorealistic").
- Try various prompts with different descriptions to keep refining the result.
Bing Image Creator makes images pretty simple and saves time for creators, designers, and marketers.
2. Adding Signatures in Microsoft Word
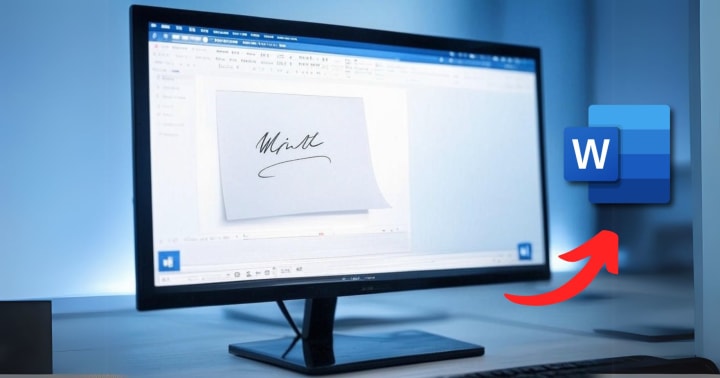
Signing documents by hand in Word is an indispensable part of the running of a business whenever official documents, agreements, or contracts are concerned. There are different ways to accomplish the task.
Method 1: Using the Draw Tool
- Open Microsoft Word and go to the Insert tab.
- Click Draw, then choose a pen tool.
- Use your mouse, trackpad, or stylus to sign directly on the document.
Method 2: Inserting a Scanned Signature
- Sign your name on paper and scan it or take a clear photo.
- Open Word, go to Insert > Pictures, and select your scanned signature.
- Resize and position the signature as needed.
Method 3: Using the Signature Line Feature
- Go to Insert > Text > Add a Signature Line.
- Enter the signer’s details and confirm.
- Click the line for the signature and either sign with a stylus or type your name.
With the digital signature in Word, you assure authenticity and professionalism; all will work in coordination to avoid any misuse or fraud during sharing, cases, or signatures on documents.
Explore the best clipart websites to improve your designs.
3. Adding Signatures in Google Docs
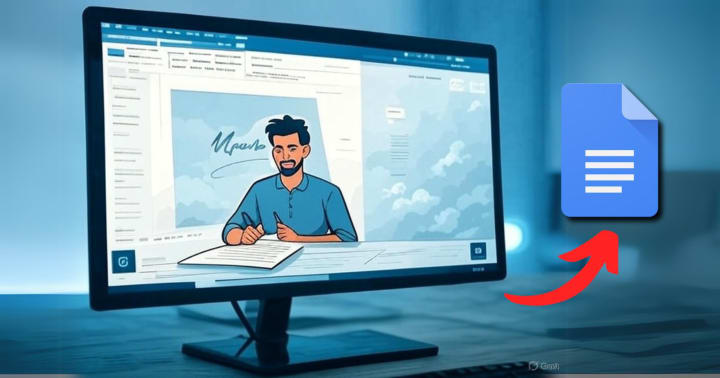
Google Docs allows users to leverage digital signatures as well. This part will focus on how to insert your signature:
Method 1: Using the Drawing Tool
- Open your document in Google Docs.
- Click Insert > Drawing > New.
- Select the Scribble tool and draw your signature.
- Click Save & Close, then position the signature where needed.
Method 2: Uploading a Signature Image
- Write your signature on paper and scan or photograph it.
- Click Insert > Image > Upload from Computer.
- Adjust the image size and place it in the document.
Method 3: Using Add-ons like DocuSign
- Install the DocuSign add-on from the Google Workspace Marketplace.
- Open the add-on and follow the directions to sign your document.
Google Docs facilitates the initiation of signatures to expedite collaborative work or work undertaken from afar.
Whiten your teeth in portraits with PhotoCut’s Teeth Whitener.
4. Enhancing Photos in Google Slides
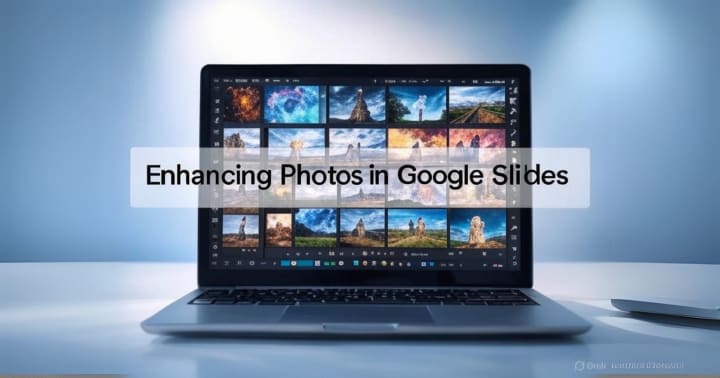
When we think of Google Slides, we immediately pivot towards presentations of all sorts. But this app is not only confined to just that because, in its mysterious assets, Google Slides has some powerful photo editing tools built to give the users something to boast of.
Basic Photo Adjustments
- Insert an image by clicking Insert > Image > Upload from Computer.
- Select the image and click Format Options.
- Adjust Brightness, Contrast, and Transparency to improve quality.
Using Filters & Recoloring
- Click on the image, then select Format Options > Recolor.
- Choose from various filters like Grayscale, Sepia, or Blue Tint.
Cropping & Masking Images
- Select the image, then click Crop (the square icon with a diagonal slash).
- Choose a shape to mask the image into creative designs (e.g., circles, stars).
Adding Shadows & Reflections
- Go to Format Options > Drop Shadow or Reflection.
- Adjust settings for a professional touch on presentations.
Such features beautifully boost the visuals of presentations, thus making your designs engaging and professional.
Discover amazing AI websites to make your work life easier.
5. Making Transparent Backgrounds in Paint & Paint 3D
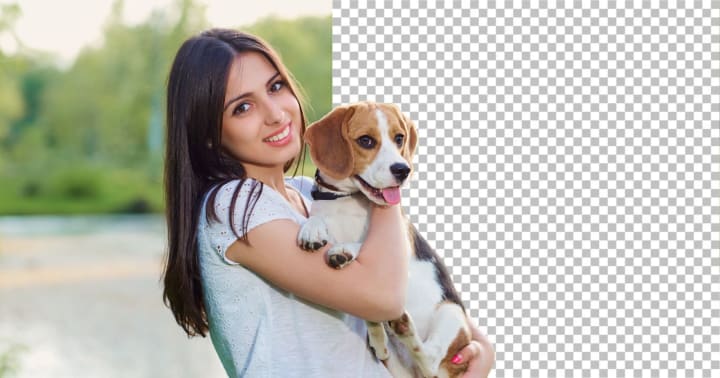
Transparency is required in the context of logos, image overlays, and graphic design. Ensuring such a criterion is quite feasible using "Paint" and "Paint 3D."
Method 1: Using Microsoft Paint (Limited Transparency)
- Open the image in Paint.
- Click Select > Transparent Selection.
- Choose Free-Form Selection and trace the object.
- Copy and paste the selection onto a new background.
Note: Paint doesn’t support full transparency; it only removes the white background.
Method 2: Using Paint 3D (Full Transparency)
- Open your image in Paint 3D.
- Click Magic Select and outline the object.
- Click Next, then refine the selection if needed.
- Click Done, then select Canvas > Toggle Transparent Canvas.
- Save the image as PNG to preserve transparency.
Paint 3D offers a more professional way to create transparent backgrounds compared to classic Paint.
PhotoCut: An Advanced Tool for Image Editing
PhotoCut is a mobile and web-based tool designed for background removal and photo editing. It is popular for quick and precise cutouts.
Features of PhotoCut
- AI-Powered Background Remover – Automatic background removal based on AI, power-removing the background with utmost accuracy.
- Manual Cutout Tool – Manual cutout tools for finer execution of intricate details.
- Blur & Filters – Blur and filtering tools to amplify some effects or adjustments.
- Layering & Stickers – Adds multiple elements for creative editing.
How to Use PhotoCut
- Open PhotoCut on your browser or mobile app.
- Upload an image and use the Auto Cutout tool.
- Refine the edges using the Manual Tool.
- Now one is good to go, retouch their works, layer some good fun with some cool effects of early art, and then conceive it as a final print.
PhotoCut is an alternative AI to Photoshop to make quick background changes and cool edits.
Conclusion
Mastery of Bing Image Creator, MS Word, Google Docs, Google Slides, Paint, Paint 3D, and PhotoCut brings your productivity to another level. Be it preparing a presentation, signing a document, or editing an image, these are extremely user-friendly and effective solutions for your day-to-day multitasking.
So, put all these digital skills to good use in your daily routine for enhancing productivity and creativity and presenting your projects with professionalism.
Create a flyer for your business with PhotoCut’s Flyer Maker.
FAQs
Q1. How do I access Bing Image Creator?
Ans. Bing Image Creator is accessed by launching the Bing website and selecting the option "Images", after which "Create" appears in the upper right corner.
Q2. Does Bing Image Creator impose limitations on the number of pictures being generated?
Ans. No, currently there is no limit on the number of pictures that you may create on Bing Image Creator.
Q3. Can I use an MS Word digital signature?
Ans. Yes, you can make a digital signature in MS Word using a digital ID that you obtain from a trusted certificate authority.
Q4. Can I change the signature line of a document after inserting it?
Ans. Yes, to modify it, right-click on the signature line and select "Sign" again.
Q5. Can I use a digital signature with Google Docs?
Ans. Google Docs does not enable digital signatures. However, you may use a digital signature program other than Google Docs to enter the signed picture into the document.
Q6. Can I change a signature once I have inserted it into my document?
Ans. After signing, just double-click the signature to alter it using the drawing tool.
Q7. Would I be able to apply filters to the photo in Google Slides?
Ans. In Google Slides, you will apply photo filters under Adjustments by selecting the desired filter.
Q8. Can I change a photo after it has been placed on my slide?
Ans. Yes. You may use the "Format" choices to further modify a photo uploaded to your slide.
Q9. In Paint 3D, how would you make the background transparent?
Ans. Select the background and click the "Make Transparent" button in Paint 3D to make it transparent.
Q10. Can I change a picture's transparency in Paint or Paint 3D?
Ans. No, Paint and Paint 3D do not have means to adjust picture transparency; however, it can be done in Photoshop or GIMP.
About the Creator
PhotoCut
AI Photo Editing Tool - Remove or Change your Background & Enhance Product Photos
Keep reading
More stories from PhotoCut and writers in Photography and other communities.
Elevate Your Instagram Game with PhotoCut
This is about making connections with individuals on Instagram: sharing, feeling, and building a personal brand. Be it love or friendship or just a flash of coll accessory or style flaunting- it all changes with the right caption, bio, or post template.
By PhotoCut11 months ago in Photography
Gold Chrysotype Photography Is Back and the Colours Are Breathtaking
There is a moment when a chrysotype print is lifted from its chemical bath and held up to the light stops people mid-breath. The colours that bloom across the surface — soft dusty pinks fading into deep magenta, rich cyans pooling at the edges, velvety blacks settling into the grain of the paper — look less like a photograph and more like something pulled from a dream.
By CurlsAndCommas4 days ago in Photography
Hottest in the Office
Dear Rafi, You’re very distracting to work around. For the first second I saw you the other day, I thought you were some type of executive. It took a moment to realize no, you were just the new guy, dressed up for the job he wants. Be still, my heart.
By Gabriel Shames5 days ago in Pride


Comments
There are no comments for this story
Be the first to respond and start the conversation.