
Enhancing Images and Background Editing in Photoshop and Illustrator
Enhancing Images and Background Editing in Photoshop and Illustrator

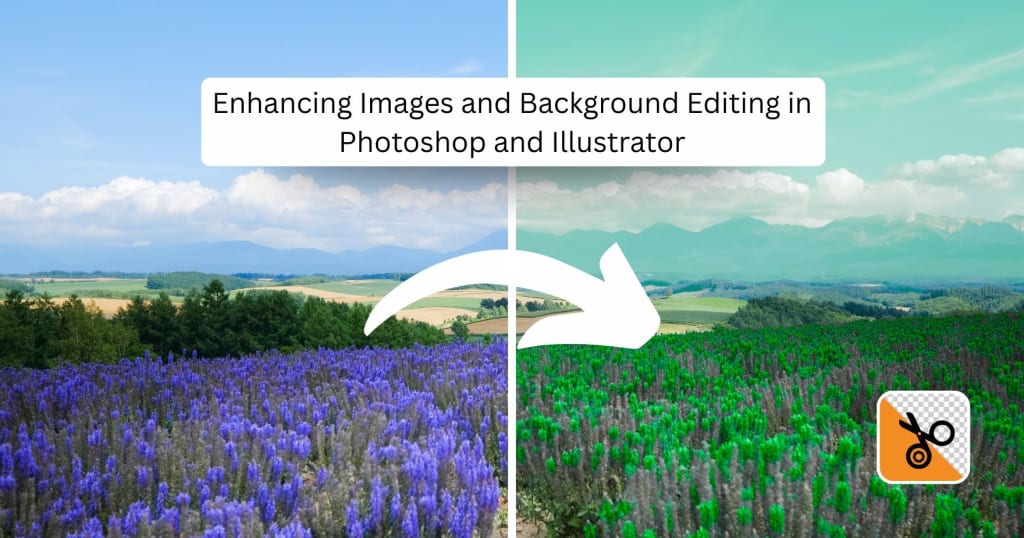
Real editing is one of the essential skills one can have in the digital design and photography world. Be it any professional field, such as a graphic designer, filmmaker, or even as an enthusiast, mastering how to change background colors, remove backgrounds, or enhance images in these practices to take work beyond the ordinary. Thus providing tools such as PhotoCut for an easier and faster way to refine photos. This will sound more interesting as an article since it enables the reader to explore and learn about these techniques, from the basic edits to the most advanced enhancements.
Learn how to add a signature in Word documents.
Changing Background Color in Photoshop

Some of the richest ways to change the background color of images in Photoshop are Select Subject, Quick Selection Tool, and Layer Masks. Here is an elaborate step-by-step guide to doing it:
Step 1: Open the Image
- Just open the required image in Adobe Photoshop.
- To unlock the image's layer, double-click on it in the Layers window.
- Also, duplicate the layer in case you want to keep the original image.
Step 2: Select the Subject
- Go to Select-Subject, enabling Photoshop to automatically detect the subject.
- It can also be selected using the Quick Selection Tool (Shortcut: W).
Step 3: Refine the Selection
- Click on Select and Mask to refine the edges.
- Use the Refine Edge Brush Tool to enhance the selection further.
- Adjust Feather, Contrast, and Shift Edge settings for a smoother selection.
Step 4: Remove the Background
- Once satisfied, click on Output to Layer Mask to separate the subject.
- Add a new layer beneath and fill it with the desired background color using the Paint Bucket Tool (G).
Step 5: Adjust and Save
- Modify color tones using Hue/Saturation (Ctrl + U) if necessary.
- Experiment with Gradient and Pattern fills for creative backgrounds.
- Save the final image in the required format (PNG for transparency, JPG for web use).
Changing Image Colors in Photoshop
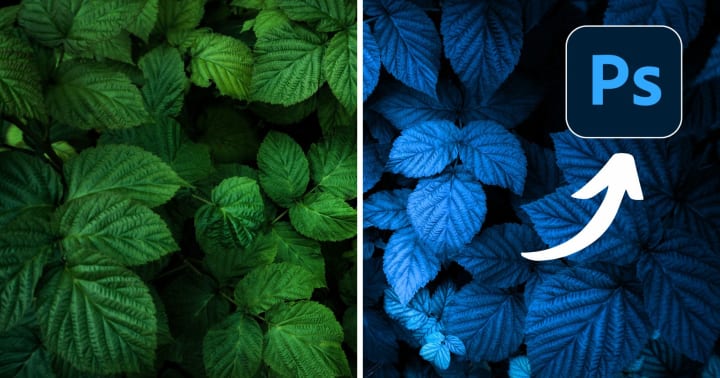
Changing colors in Photoshop is referred to with the terms recoloring an object, lighting correction, or artistic effects. The tools best suited for the task include Hue/Saturation adjustment, the Replace Color option, and Selective Color adjustments.
Method 1: Using Hue/Saturation
- Open the image and duplicate the layer to work non-destructively.
- Go to Image > Adjustments > Hue/Saturation Ctrl + U.
- Use the sliders to modify the colors.
- Enable Colorize if you want to apply a single color overlay.
- Adjust the Lightness to control brightness.
Method 2: Using Replace Color
- Select Replace Color under Image > Adjustments.
- To alter the color, use the Eyedropper Tool.
- Set the Fuzziness to refine the selection.
- Adjust the Hue, Saturation, and Lightness sliders to achieve your effect.
- Press OK to apply the changes.
Method 3: Using Selective Color Adjustments
- Choose from the drop-down of colors in the Base Colors.
- Selective Color under Image > Adjustments.
- For more precise adjustments, use the Cyan, Magenta, Yellow, and Black (CMYK) sliders.
Turn your serious photos into happy moments with PhotoCut’s Smile Filter.
Removing Background in Illustrator
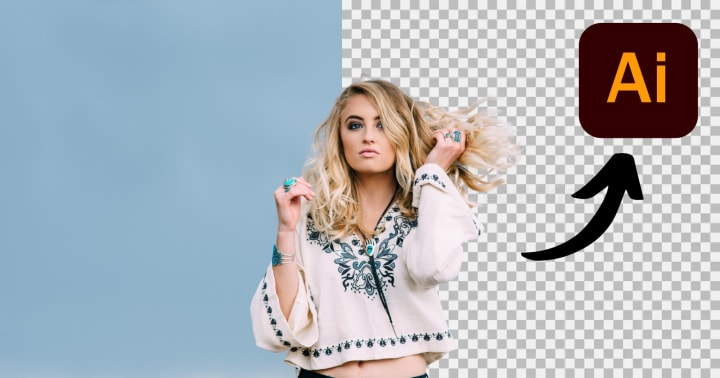
Illustrator is a vector-based tool that allows precise background removal for logos, icons, and illustrations.
Using the Image Trace Feature
- Open the image in Illustrator.
- Select the image and go to Window > Image Trace.
- Choose the High Fidelity Photo preset or adjust the settings for the best result.
- Click Expand and then Ungroup to remove the unwanted background.
- Delete extra background elements manually.
Using the Pen Tool for Manual Removal
- Select the Pen Tool (P) and carefully outline the subject.
- Close the path and convert it into a vector mask.
- Use the Pathfinder Tool to separate the background.
- Delete the unwanted sections and save the image with a transparent background.
Explore the easiest ways to add emojis to your photos.
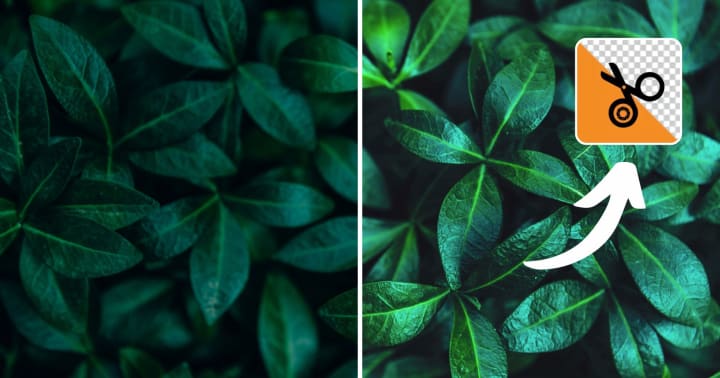
Removing Background in Photoshop
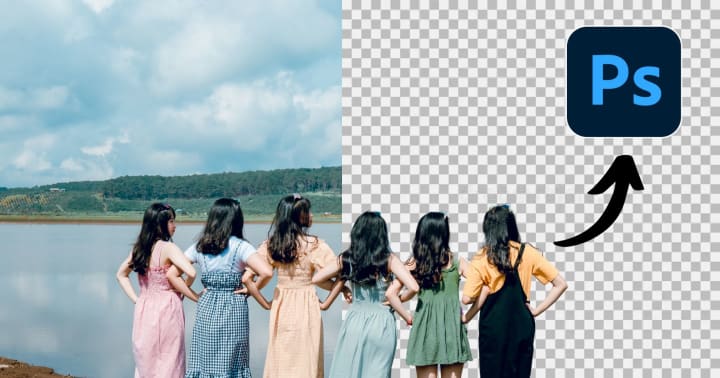
Background removal has many ways in Photoshop, such as the Remove Background feature, Magic Wand Tool, and Pen Tool.
Using the Remove Background Feature
- Open the image and go to Select > Subject.
- Click on Remove Background under the Properties panel.
- Use the Eraser Tool or Refine Edge Brush for better precision.
Using the Magic Wand Tool
- Select the Magic Wand Tool (W) from the toolbar.
- Click on the background to select similar colors.
- Adjust Tolerance (default is 32) to refine selection.
- Press Delete to remove the background.
Using the Pen Tool for Precise Selection
- Select the Pen Tool (P) and outline the subject.
- Convert the path into a selection and create a layer mask.
- This method is best for complex images requiring precision.
Turn your photo into a cool cartoon avatar with PhotoCut’s AI Cartoon Avatar Maker.
Enhancing Images in Photoshop
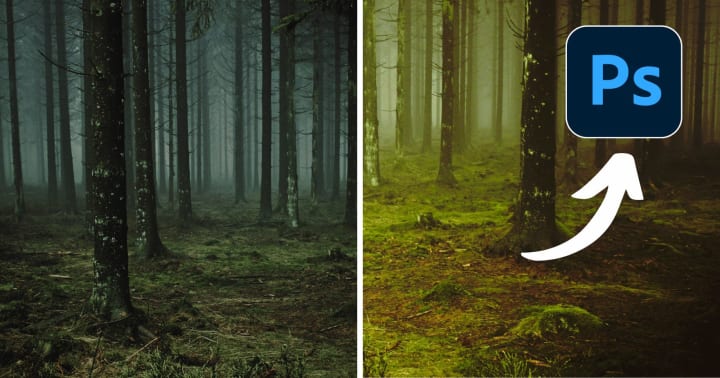
Photoshop may be used to improve images. In Photoshop, picture improvement entails adjusting brightness, contrast, sharpness, and clarity.
Step 1: Adjust Brightness and Contrast
- Select the command from Image > Adjustments > Brightness/Contrast.
- Sliders will help keep light and darkness in balance.
Step 2: Use Levels and Curves
- Open the menu Image > Adjustments > Levels (Ctrl + L).
- Modify the input and output to refine the tonal range.
Step 3: Sharpen the Image
- To accomplish this, navigate to Filter > Sharpen > Unsharp Mask.
- To improve some elements, you may change the Radius and Amount.
Step 4: Use Filters for the Final Touch
- Apply Camera Raw Filter for advanced enhancements.
- Use the Dodge and Burn Tool to highlight or darken specific areas.
Using PhotoCut for Quick Edits
PhotoCut is an intuitive background removal and image enhancement tool that simplifies editing.
Using PhotoCut for Background Removal
- Upload your image into PhotoCut.
- Use Auto Remove Background for AI-based processing.
- Fine-tune the edges manually for better precision.
- Apply a new background color or pattern.
Enhancing Images in PhotoCut
- Adjust contrast, brightness, and saturation quickly.
- Finally, apply the filters and effects to improve the image quality.
- To produce a depth-of-field effect, use the Blur Tool.
- For later usage, save it as a JPG or PNG.
Conclusion
So, if you had Photoshop, Illustrator, and PhotoCut, you would have incredible tools at your disposal for image editing. Changing background colors, deleting unsightly details, and increasing image quality, all these require learning skills that would make your work stand out compared to others. To determine which tool or process best suits your needs, try a few. You'll eventually be able to work on photos as fast and effectively as an expert.
Create customized Disney characters with PhotoCut’s Disney AI Generator.
FAQs
Q1. How do I change my image's background color in Photoshop if the background is a solid color?
Ans. The straightforward way is to use the Paint Bucket Tool (G). Select the new background color that you want using the Foreground color picker, and then click on the background area you want in the image. Make sure Tolerance in the Options Bar is set properly so that the colors aren't bled into the main subject with it having the Tolerance set wrong. A low tolerance will only affect pixels very similar to the clicked color, while a higher tolerance will affect a wider range of colors.
Q2. My background isn't a solid color. How can I change it?
Ans. For more complex backgrounds, you'll need to isolate the subject first. Here are a few methods:
Quick Selection Tool (W): Quickly paint over the subject to select it. Refine the selection using "Select and Mask" (Select > Select and Mask).
Pen Tool (P): Creates a precise path around the subject. Convert the path to a selection (Right-click > Make Selection).
Object Selection Tool (W): Photoshop will automatically try to detect the objects in your image and help you make the selection. Refine the selection using "Select and Mask" (Select > Select and Mask).
Once the subject, inverse selection (Select > Inverse) is done to select the background. Then, fill the preferred background color using either the Paint Bucket Tool (G) or create a new layer filled with the color beneath your subject layer.
Q3. How do I change everything color-wise in an image?
Ans: By using a Hue/Saturation Adjustment Layer and tweaking only the main Hue slider. Be careful with unrealistic color shifts. Another option is a Gradient Map Adjustment Layer (Layer > New Adjustment Layer > Gradient Map). This maps the tones in your image to a gradient of your choice.
Q4. I only want to change the color of a portion of an object. How do I do this?
Ans. Use a Layer Mask with your adjustment layer. After creating the adjustment layer, a white mask will appear next to it in the Layers panel. Paint with black on the mask to hide the effect of the adjustment layer in those areas. Paint with white to reveal the effect.
Q5. How do I remove a simple vector background in Illustrator?
Ans. Here’s how you can remove a vector background in Illustrator:
Direct Selection Tool (A): Click on the background shape to select it.
Delete Key: Press the Delete key.
Q6. How can I remove part of an embedded photo if it's placed in my Illustrator document?
Ans. Here’s how you can remove part of an embedded photo:
Image Trace: Convert the photo into vector paths using "Image Trace" (Object> Image Trace > Make). Then, you can select and delete the parts of the tracing you don't want. This works best with simple, high-contrast images.
Clipping Mask: Draw a shape over the area you want to keep. Select both the shape and the image. Then go to Object > Clipping Mask > Make. This will hide everything outside the shape. This method does not delete the background, only hides it.
Edit in Photoshop: The best way is to edit the photo in Photoshop to remove the background (see below) and then place the image back into Illustrator with transparency.
Q7. How can I make the background transparent after removing it?
Ans. After creating the layer mask (see above), save the image as a PNG file. PNG supports transparency. If you save as a JPEG, the transparency will be replaced with a white background.
Q8. Is there a way to automate background extraction in Photoshop?
Ans: Yes, it comes with a built-in Remove Background option located in the "Properties" panel once you select any layer. Use the Adobe Sensei AI to perform such actions automatically. However, it usually requires manual refining using the best techniques for the best results.
Q9. How can I make the colors better in my pictures?
Ans. This is how you brighten the colors in your photos:
Vibrance/Saturation: Increase Vibrance a little, and that should brighten colors without looking unnatural.
Selective Color: Fine-tuning of colors under some specific color ranges(e.g., Reds, Greens, Blues, etc.).
Camera Raw Filter (Filter > Camera Raw Filter): The full set of color adjustment tools, which includes temperature, tint, hue, saturation, and luminance.
Q10. How do I reduce noise in images?
Ans. Reducing noise in images can be done here:
Camera Raw Filter (Filter>Camera Raw Filter): It has noise-reduction sliders for luminance and color noise in the "Detail" tab.
Open the tool and name it Filter > Noise > Reduce Noise. The Camera Raw Filter usually returns a better result, but this is an alternative possibility.
About the Creator
PhotoCut
AI Photo Editing Tool - Remove or Change your Background & Enhance Product Photos
Keep reading
More stories from PhotoCut and writers in Photography and other communities.
Mastering Image Editing with PhotoCut: Crop, Rotate, Color Correct, Convert, and Compress Your Images
Image editing is indeed of utmost importance in the present day and age. A professional photographer, graphic designer, or content creator would employ the skill, while an amateur would use it for personal purposes. Tools such as PhotoCut help this endeavor by incorporating functionality that allows easy cropping, rotating, color correction, conversion, and compression of pictures. The present write-up is a one-stop shop for everything related to these basic image-editing functions, their importance, and how to work with PhotoCut to maximize the outcome.
By PhotoCut9 months ago in Photography
My Year, in Prattling and Photos
It's been a year since... last year. Ironically, it seems I've found myself a new tradition of getting sick during the New Year holidays. At least, this year (that is, this inter-year period remarkable for its shiny decorations in the streets and houses, and closed supermarkets and pretty much everything), I'm doubtlessly doing better: I've managed to come visit my friends in Germany for Christmas (which I failed to do last year) and—after having some good quality time eating machanka, playing Munchkin and swinging machetes (the last one obviously crept into this checklist only for the sake of the phonological form)—I came back home via proverbial Deutche Bahn and probably less known Schweizerische Bundesbahnen, my body hosting a family of viruses, virions and who knows what other tiny critters somewhere inside my chest.
By Andrei Z.17 days ago in Photography
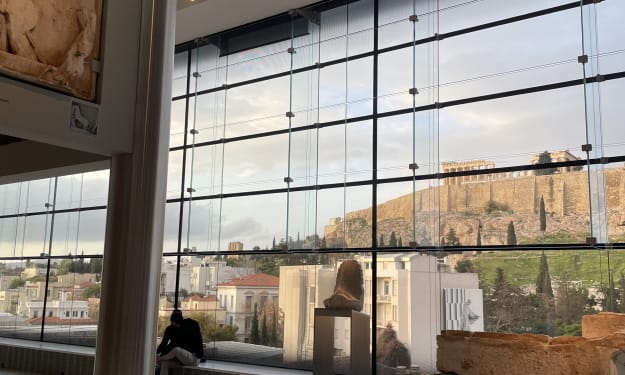
Acropolis and Its New Museum
The other day, my son and I went to the Acropolis and the new Museum at its foothill in Athens, Greece. The Museum opened in 2009 to house the collection of artifacts found at different times on the Acropolis Hill. On its own, the building is a masterpiece in architectural design not only because it has a great flow for following the history and evolution of Greek culture through the centuries as they were buried and found on the Acropolis, but also because it has a full-size replica of the Parthenon on the upper floor.
By Lana V Lynx7 days ago in Photography
The Devil's Cut
“Comrade, finally you’re awake.” The voice was smooth, sensual. A flickering incandescent bar was all that lit the white, sterile room. All Vladimir remembered was everything going black. He tried to move his arms and found them strapped to the gurney.
By Matthew J. Fromm4 days ago in Fiction


Comments
There are no comments for this story
Be the first to respond and start the conversation.