
Enhance Your Photos with White Backgrounds, Santa Hats, Blending Images, and More Using PhotoCut
Enhance Your Photos with White Backgrounds, Santa Hats, Blending Images, and More Using PhotoCut

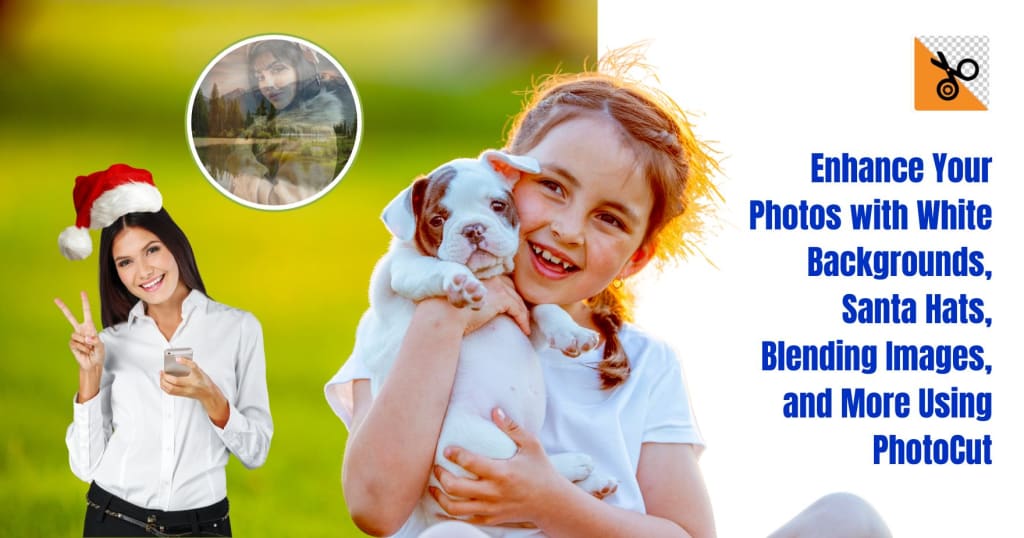
The art of photo editing deserves utmost concern for beauty, both in personal and professional settings, in today's modern world. There are many things you can do with PhotoCut, like giving an existing photo an extra white background, putting Santa hats on people, blending two images online together, and doing some cool tricks with images. In this article, we will give you a complete walkthrough of these topics and discuss how you can use PhotoCut to achieve some remarkable and glamorous-looking photos with ease.
Learn how to click amazing selfies with useful tips.
Adding a White Background to Your Photos

Adding or replacing a white background is one of the more banal photo-editing jobs one is likely to engage in. It is a trick that gives an image a crisp, professional look, allowing the viewer to focus clearly on the subject. This matters all the more for product photography, professional portraits, and headshots.
PhotoCut does a great job of providing an easy way to change backgrounds by running AI to remove backgrounds from images. In this case, we shall describe how to put a white background into your photo using PhotoCut:
- Open your image file for editing on PhotoCut. PhotoCut accepts many image formats, including JPG, PNG, etc.
- AI works in the background as you upload the image to detect the background and remove it automatically. The application goes on to find the edges of the subject and separate it from the background.
- After removing the background, go ahead and set the specified background to white. Sounds simple? Open up the background settings and choose the solid white color option. At this moment, you should see the subject sitting on a clean, white background.
- If desired, you may go into Edge Refinement to give the cutout a more natural finish. Run your brush or eraser across any pixels you'd like to adjust to make sure that nothing unwanted, or a trace from the original background, sticks with the subject.
- Last of all, you must save or download the image in your desired format. This is how your freshly white-backgrounded photograph would have limitless working options for business and personal jobs.
Changing Photo Backgrounds to White
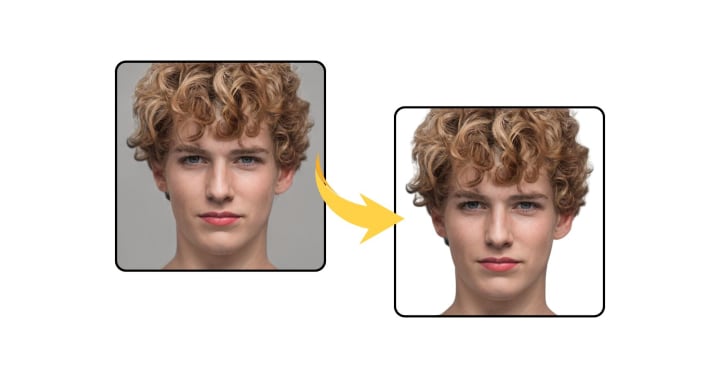
There are times you might not want to add a white background but change an existing background to white, especially when the background at hand tends to distract from the subject or is out of character with the theme of your picture.
Changing a photo's background to white is made easy with PhotoCut, and the approach is mostly similar to the white-background adding methods:
- Begin by uploading the photo whose background you want to change. This could be a portrait, product shot, or any other image that features an existing background.
- PhotoCut’s background removal tool will automatically detect the subject of the image and separate it from the old background. The tool will ensure that the edges of the subject are well-defined for a smooth transition.
- Once the original background has been removed, the subject will now be all by itself. From here, go to background settings and choose the white background option. This instantly replaces the old background with a clean, bright white one.
- Optionally, you can adjust the positioning of the subject on the white background, like center, enlarge, or even slightly rotate it to get the desired composition.
- Take some time to touch up the edges of the subject with PhotoCut’s editing tools. Smooth rough spots and ensure no remnants of the old background are left.
- By now, the background change should have been completed, so go ahead and download your image with the white background. It is now ready for professional or personal use.
Find the easiest methods to make photo collages.
Adding Santa Hats to Your Photos

With the Christmas season in full swing, using festive accessories like Santa hats in pictures is an excellent way to share joy. So, whether you're creating Christmas cards, social media postings, or simply experimenting with your photographs, adding Santa hats is a simple process with PhotoCut.
- Begin by uploading the photo to which you want to add the Santa hat; this can be a portrait, a group photo, or even photographs of pets.
- If the photo's subject has not yet been isolated (i.e., the backdrop has not been removed), you can use PhotoCut to remove the human or animal from the background. This ensures that the Santa hat fits over the subject's head without interference from other items in the photograph.
- You can either use a pre-made Santa hat image from some stock photo website or a transparent PNG Santa hat that you find online. Just make sure to use a version that has a transparent background for an even easier overlay.
- Once you have the Santa hat image, import it over in PhotoCut, placing it on the head of the subject. Adjust the size and rotation so it fits well. If you find you need to adjust the hat size, do so with the resize tools in PhotoCut.
- You might want to refine the edges of the hat to have it sit naturally on your subject. Again, use PhotoCut's editing tools to ensure that the hat looks perfect on the subject's head.
- Once everything sits well with the Santa hat, download the edited photo, and there you go! It's ready for distribution among friends, family, or on social media to bring in some holiday cheer.
Discover the coolest tattoo fonts to use in your next tattoo.
Blending Two Images Online
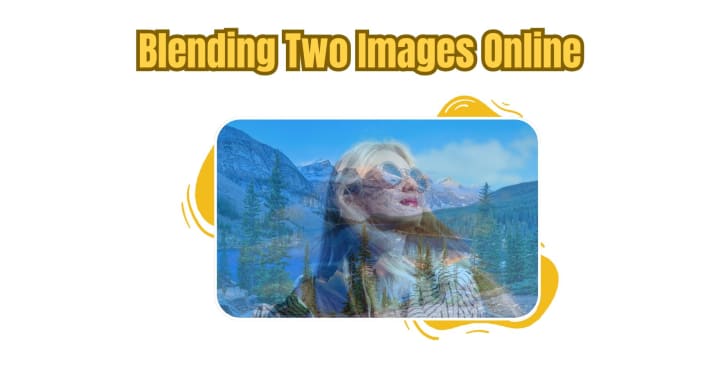
Blending two images online is a common technique for composite pictures, double-exposure effects, and creative photo manipulation; blending allows the best aspects of two or more images to resurface into the same final product.
- Start by uploading the two images that you want to blend. The photos may include anything from portraits to landscapes, any type of photo you want to merge.
- If either image has a distracting or unnecessary background, remove it using PhotoCut. This ensures that you are working on the key subjects of each photo.
- Overlay the first image onto the second, adjusting the positioning, size, and top image opacity to enter into more interaction with the blending of both images.
- Paint blending should be made more seamless for experimentation with blending modes and opacity, in a way that allows control regarding how the two images merge. For instance, try the "Multiply" or "Overlay" modes for creating interesting lighting effects.
- Use the masking tools to clean the edges of two images for better blending together. Make sure there is no hard line and a visible seam where the two images meet, once such hard work or effort is achieved.
- After that, you can download the final blended image. Now, the two of them have been combined into a single picture that's uniquely creative.
Design T-shirts for your business online for free with PhotoCut’s T-shirt Design Maker.
Shaping Your Images Online
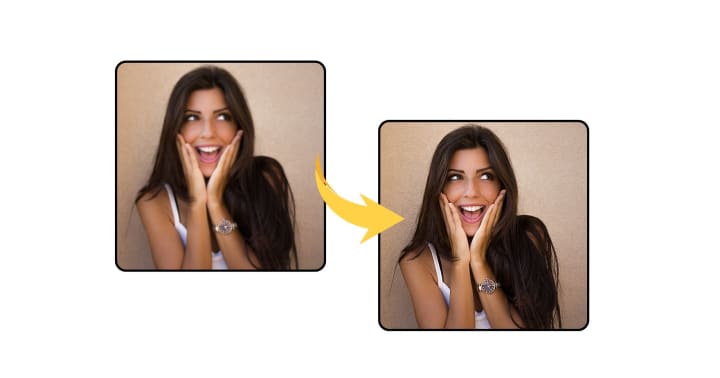
Shaping images is a contemporary task that adds uniqueness to any photo through funky frames, curves, or cutouts. Whether you wish to crop it into a circle or a heart, or any custom shape, PhotoCut makes things easy.
- Start by uploading the image that you want to shape. This might be a portrait, a product picture, or any other style of image.
- PhotoCut has a number of predefined shapes, including circles, ovals, hearts, and stars. Choose the one that best meets your needs.
- Resize the shape to encompass the section of the image you wish to highlight. You can also change its position to ensure the most important part of the image falls within the frame.
- Now, apply this to the image once you feel happy with the shape and position. This will crop your image into the selected shape, disregarding everything outside it.
- You can smooth the edges or crop the aspect ratio if you want to. Use the editing tools present at PhotoCut to make it look all crisp and polished.
- So, your image is shaped and cleaned, and it will be ready for download in the final version. It is now ready for sharing, printing, or liking.
Conclusion
On the other hand, whether you want to add a white background, change a present one by adding some festive touches such as Santa hats, or perhaps combine two images, or cut your photos into custom forms, PhotoCut will help you achieve that without the hustle, just like in the case of anything, it's dosage for such works. The tools of PhotoCut and features that a novice would think are just for beginners are as easy for professionals to use in creating perfect results within a short time. Just follow the steps given above, and your photo editing will now move to the next level, a unique and very high-quality image, whether for personal or professional use.
Design your posters online for free with PhotoCut’s Poster Maker.
FAQs
Q1. Is it easy to add a white background to a complex photo that has many tiny details?
Ans. This is contingent on the tool and the complexity of the image itself. Automated tools are advancing, but images with hair or fur or those with very intricate patterns usually require manual refinement for clean results.
Q2. Will I have to get special software to add a white background?
Ans. No. Many online tools are either free or have free trials for basic removal of white backgrounds. Else, you can also work with more advanced software like Adobe Photoshop or GIMP, but these usually have quite some steep learning curves.
Q3. What kind of images work best for changing the background to white?
Ans. Images with a clear contrast between the subject and background are the most suitable. Very well-lit photos generally produce better results when the subject has clearly defined edges against the background.
Q4. Any tips for ensuring the look appears natural after the background change?
Ans. Try the following:
- Utilize a high-resolution photo: The higher the resolution, the more detail and clarity are sustained.
- Edge refinements: Pay special attention to the edge of the subject while utilizing all refinement options available to clean up any leftover parts of the original background.
- Think about shadows: Adding soft shadows behind your subject will assist in achieving a more natural placement on the white backdrop. Some tools can automatically generate these.
- Avoid over-smoothing: Over-smoothing edges can make the subject look artificial.
Q5. Is making the Santa hat look realistic that difficult?
Ans. Sure is!
- Pick a hat that matches the lighting and style of your photo.
- Resize and rotate the hat to fit over the person's head properly.
- Remember perspective.
- Maybe add a soft shadow below the hat for realism.
- Some software allows you to color-correct and brighten the hat, matching the overall lighting in the photo.
Q6. Can I add Santa hats to other people with one image?
Ans. Yes, most apps allow multilayering stickers or overlays on a single image. Simply add the hat individually and align it.
Q7. How will you define blending?
Ans. Blending is the merging of two or more photographs into a single image, which creates a sense of layering or merging. The technique can allow one to create double exposures and surreal compositions or simply bring two images together.
Q8. What effects can I do with blending?
Ans. Too many! Among others, you can create:
- Double exposures: A portrait combined with a landscape or texture.
- Surreal images: Merging unrelated objects or scenes to create dreamlike or fantastical compositions.
- Photomontages: A collage of different images to make a coherent scene.
- Light leaks and textures: Overlay textures (or simulated light leaks) for effects.
Q9. How can I shape my images online?
Ans. Here are a few methods:
- Shape Masks: Many online editors allow you to apply shape masks to an image. The image will then only be visible within the selected shape. Options include circles, stars, hearts, speech bubbles, and more.
- Image Frames: Some websites provide pre-designed frames with unique shapes that you can place your image inside.
- Clipping Masks (in more advanced editors): Create custom shapes and use them as clipping masks to define the visible area of the image.
Q10. What are some creative ways to use image shapes?
Ans. Here are some creative ways:
- Profile Pictures: Use a circular shape for a clean and modern profile picture.
- Social Media Graphics: Create eye-catching graphics with images shaped into stars, hearts, or other relevant forms.
- Collages: Use different shapes to arrange images in a visually interesting way.
- Logos: Incorporate shaped images into logos or branding materials.
About the Creator
PhotoCut
AI Photo Editing Tool - Remove or Change your Background & Enhance Product Photos
Keep reading
More stories from PhotoCut and writers in Photography and other communities.
How to Take Amazing Selfies, Make Photo Collages, Invert Photos, Overlay Images, and Enhance Photos
In the modern digital era, photo editing and personalized image creation are often popular and have become one of the most popular forms of expressing one's creativity, memory capturing, and social face enhancement. With a few right tools and techniques, people can turn ordinary photographs into stunning pieces of art. This great AI-based design tool called PhotoCut presents lots of features that allow users to take astonishing selfies, create photo collages, invert photos, overlay images, and beautify their photos with ease. Whether you are a budding photographer or an experienced professional, this article will introduce you to how to use PhotoCut to master important photography and editing techniques.
By PhotoCut9 months ago in Photography
My Year, in Prattling and Photos
It's been a year since... last year. Ironically, it seems I've found myself a new tradition of getting sick during the New Year holidays. At least, this year (that is, this inter-year period remarkable for its shiny decorations in the streets and houses, and closed supermarkets and pretty much everything), I'm doubtlessly doing better: I've managed to come visit my friends in Germany for Christmas (which I failed to do last year) and—after having some good quality time eating machanka, playing Munchkin and swinging machetes (the last one obviously crept into this checklist only for the sake of the phonological form)—I came back home via proverbial Deutche Bahn and probably less known Schweizerische Bundesbahnen, my body hosting a family of viruses, virions and who knows what other tiny critters somewhere inside my chest.
By Andrei Z.18 days ago in Photography
A Lifetime of Shakas
For more than three decades as a part-time freelance news and sports photographer in Hawaiʻi, I’ve captured countless moments across the islands — and a few on the mainland. Along the way, almost without realizing it, I built an ever-growing photo archive of people flashing the shaka sign.
By Tim Wrightabout 3 hours ago in Photography


Comments
There are no comments for this story
Be the first to respond and start the conversation.