
Edit to Reveal Beauty and not to Conceal Flaws
My Approach on Photo Editing
What is Photo Editing?
If you Google "photo editing" you'll end up with a variety of search results tailored towards different software that people use to 'photo edit'.

You can even get several tutorials on how to use each software. Some are pricey, others affordable, and some are even free.
However, before we get into the details of my particular method, I would like to break down my thoughts on the two groups of photo editors.
Group 1: The "Sorry, I can't send you pictures I took of you last month because I'm still not done editing them all."
In my opinion this group is spending way too much time editing pictures and perhaps taking the process too seriously.
I fully understand when someone wants to 'edit' their pictures before they send them out so that nothing too embarrassing gets sent nor are we wasting storage space forwarding blurry images.
However, unless you are a professional photographer with a long list of clients and have a current backlog, there is no reason why you can't send me pictures you took at some random social event we had (i.e. pre-corona, social event).
Group 2: The #NoFilter / "Only Real Photos" / Editing = Fake
As for this group of people, they believe that there should absolutely be no filters. I also agree that I want authentic pictures; however, if you are trying to portray 'beauty' on the cover of a magazine, and you hide all the elements that make us humans - then is that truly beauty or just a concealment of 'flaws'?
What's the happy medium? (in my opinion)
The eye is an organ, part of our visual system, that detects light and sends signals to the brain through the optic nerve. There are smaller components of our eye (e.g. iris, pupil, lens, etc.), each with their particular function. When we 'see' something using our eyes, it is the same thing that a camera 'captures'. However, depending on the camera you use, it is not as 'powerful' nor is it 'calibrated' the same way as our eyes are - therefore what you see and the picture you take don't always look the same. Therefore, photo editing was invented.
In other words, if you are modifying the picture you took and are changing basic features that affect the lighting and hence color, it is fair game. Making an image smaller or aligning it so that it is the appropriate size are also perfectly fine in my book.
When we get into the situation where you are taking elements from a variety of images and mixing them together or you are altering images to remove flaws or imperfections that do actually exist... that's when I think it is no longer photo-editing but rather photo-altering.
Let's get Started:
There are two parts to my photo editing process.
Part I: Make sure to take a high quality picture.
When digital cameras came out as I was growing up, one of my first cameras had a 'floppy drive' as the storage medium. For those of you that might not be familiar with floppy drives, the key idea here is that it couldn't store more than 2 megabytes worth of data. Now compare that to how a single iPhone picture is usually in the ball park of 5 megabytes.
The reason file sizes have gotten larger is because of the quality of the image. To a computer, a picture file is nothing more than a series of numbers bunched together. Each picture file is broken down into a series of boxes (read: pixels) and each pixel is denoted by an 'rgb' value. rgb stands for 'red', 'green', and 'blue'. The values for each of these three colors ranges from 0 to 255. With different combinations, you get all the colors that a computer recognizes. Yes, these numbers can also be represented in a hexadecimal form, and yes there is a lot more science to it but hopefully you get the gist of it. There's a link at the bottom where you can play around with different rgb values to see what colors they form.
Now going back to larger file sizes and quality of images. While iPhones and other smartphones are getting increasingly better at capturing high quality images, I am still a big proponent of using a DSLR or similar camera. For instance, when a picture is captured in "RAW" mode on a DSLR, its file size is in the magnitude of 10~30 megabytes. It effectively made the image into even smaller pixels where each pixel then contributes to your sharper image. Even if you can't tell the difference looking at the "RAW" file or a 5MB picture from your iPhone, your computer can, as it reads the data from your image.
Side Note: If you are a beginner at taking photos, I would highly recommend spending some time becoming familiar with at least the following concepts:
- Shutter Speed - how long the camera allows light to come in. The longer the shutter is open, the higher the light exposure.
- Aperture - is related to the opening of the lens. I like to think about more or less aperture being analogous to someone squinting or opening their eyes wide open.
- ISO settings - the higher the ISO setting the brighter the image will be, the lower the number the darker the image will be.
Part II: What tools (software) to get the job done.
For all the images in this article, I used Adobe Lightroom. However, there are tons of resources and step-by-step guides on how to use the software. What I would like to accomplish is a quick overview of the tools that I use and what effect they have. Then, depending on whatever software you might be using, you will be able to apply the same principles.
Under the Lightroom editor, these are the settings I use most often for editing:
The most effective way I have found is to simply move the bar right or left depending how much or how little of an edit you want for the particular item and you will be able to view the change real-time on the main display screen. Once you are done, you can save / export the image.
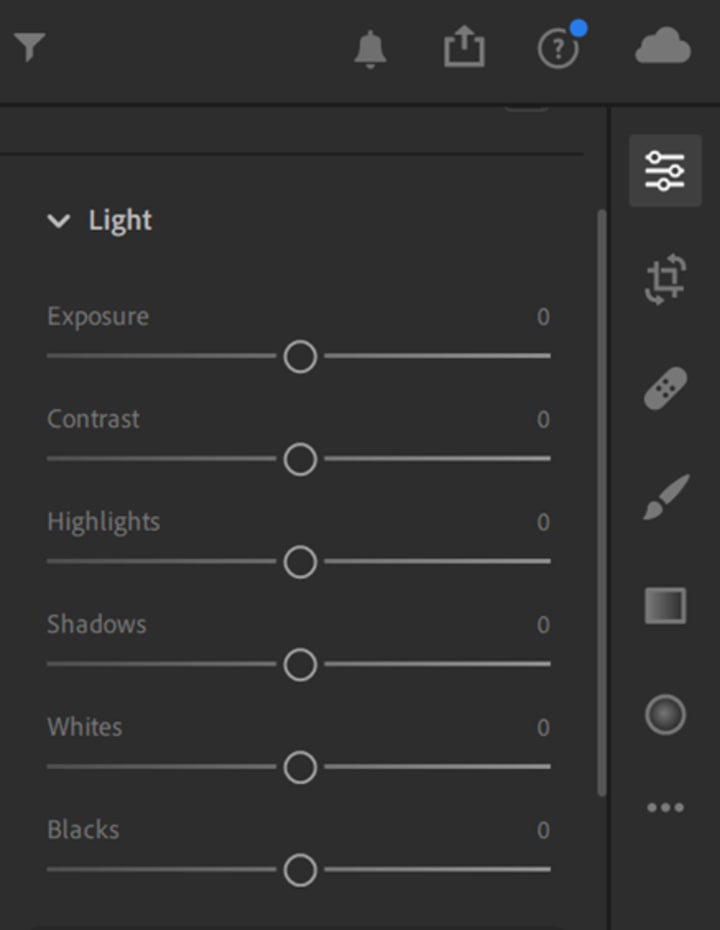
Under the light setting, I frequently increase highlights to modify the brightest elements, but be sure to play around with shadows and contrast as well.
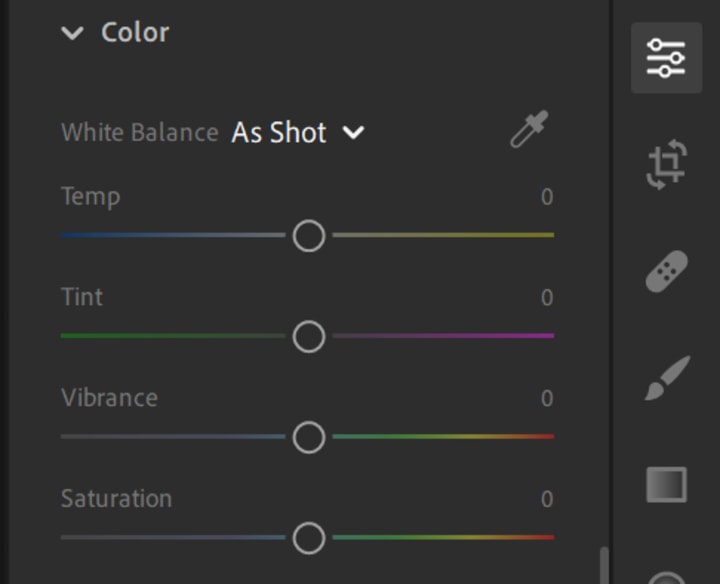
Under Color, I use vibrance and saturation. Saturation affects the intensity of each color in the image, whereas vibrance affects parts of the photo that aren't that colorful . Make sure not to overdo either one, the goal is to make the image look as if you saw it with your eyes and not the dullness the camera captures since it wasn't 'calibrated'.

Under Effects, I tend to increase Clarity to make the image look realistic. Depending on where you captured your picture, dehaze may also be quite useful.
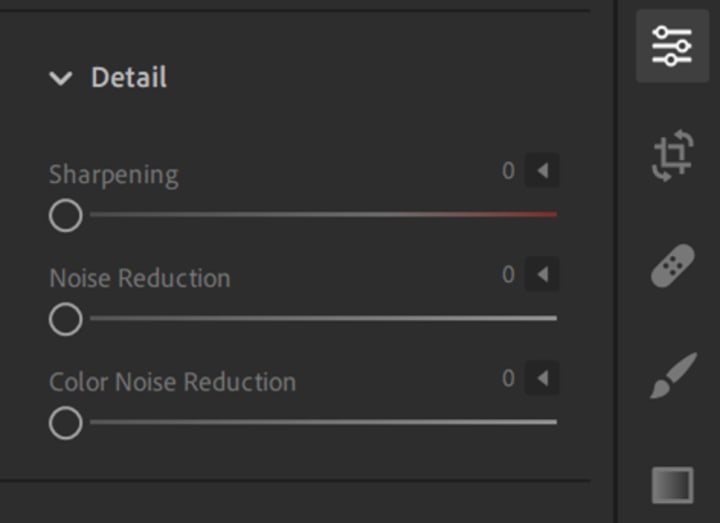
Under detail, depending on if there were any stray colors, I would use noise reduction.
Hopefully this guide has provided you with a brief summary of what has helped me in editing my photos and given you some resources to try out and lookup to get more engaged with the topic.
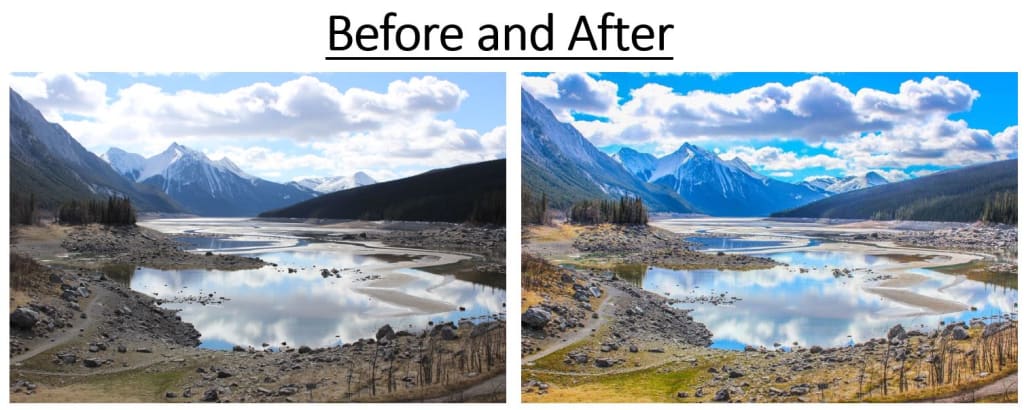
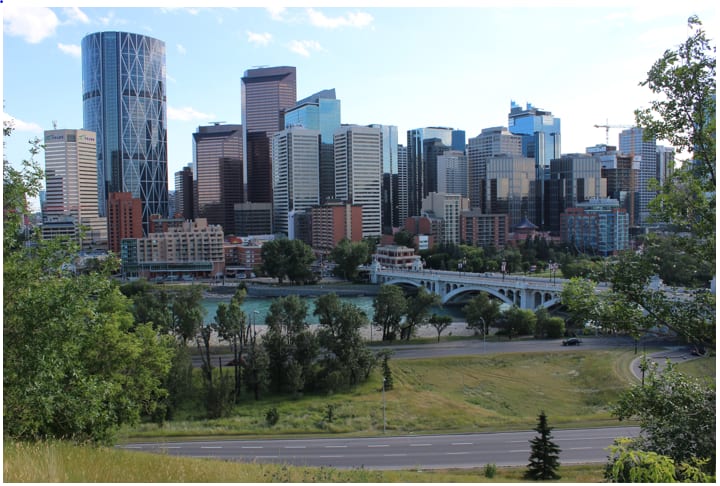
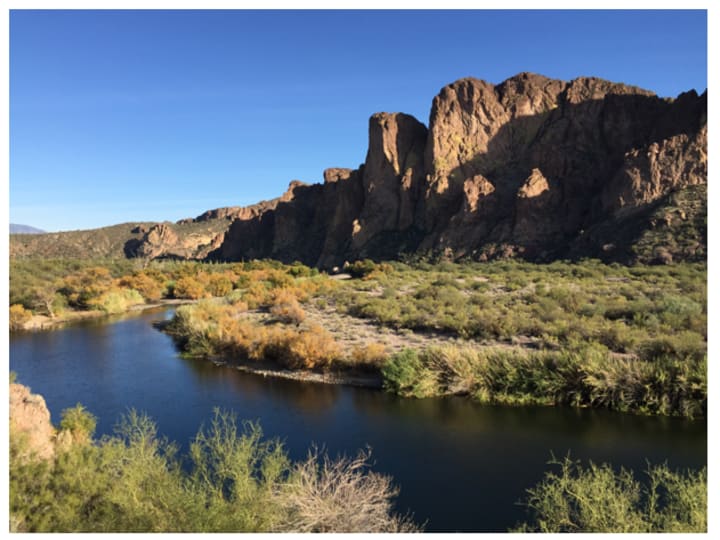
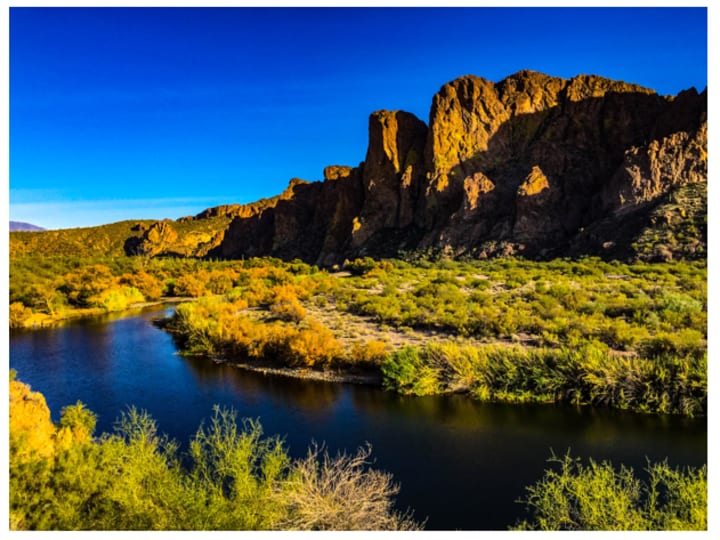
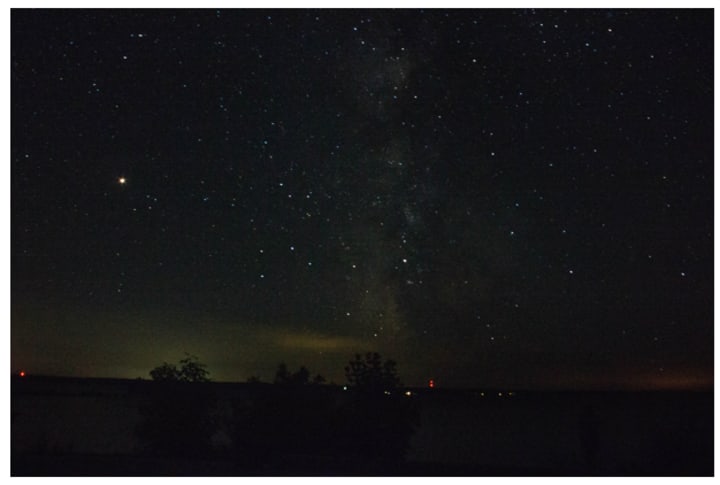
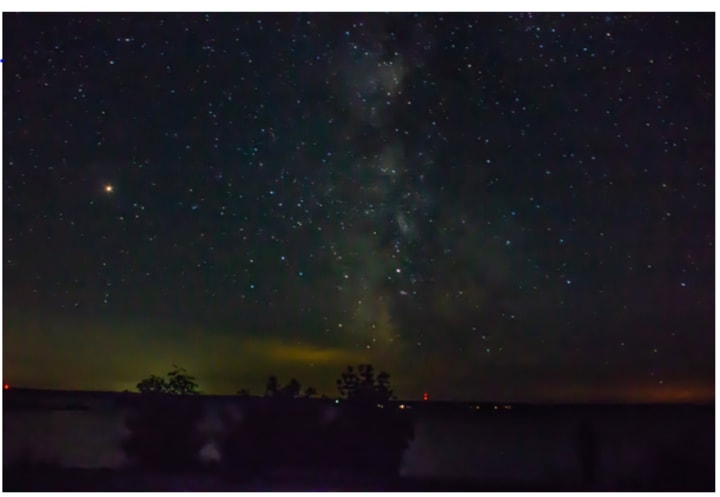
Sample Work

Links / Resources:
RGB Colors:
https://www.rapidtables.com/web/color/RGB_Color.html
A Floppy Disk Digital Camera:
https://www.amazon.com/Sony-MVC-FD73-Mavica-Digital-Optical/dp/B00000JYLO
(Not recommending you buy one)
About the Creator
Ahsan Saeed
Traveler | Problem Solver | Investor
Keep reading
More stories from Ahsan Saeed and writers in Photography and other communities.
A Costly Shortcut
It was a cold, winter day in Chicago as Mason watched another 18 inches of snow hit the railyard track. Mason came from a middle-class household and believed in strong family values. Today was his daughter's fourth birthday, and he couldn’t wait to get home and see the look on her face when she opened her present.
By Ahsan Saeed5 years ago in Criminal
My Year, in Prattling and Photos
It's been a year since... last year. Ironically, it seems I've found myself a new tradition of getting sick during the New Year holidays. At least, this year (that is, this inter-year period remarkable for its shiny decorations in the streets and houses, and closed supermarkets and pretty much everything), I'm doubtlessly doing better: I've managed to come visit my friends in Germany for Christmas (which I failed to do last year) and—after having some good quality time eating machanka, playing Munchkin and swinging machetes (the last one obviously crept into this checklist only for the sake of the phonological form)—I came back home via proverbial Deutche Bahn and probably less known Schweizerische Bundesbahnen, my body hosting a family of viruses, virions and who knows what other tiny critters somewhere inside my chest.
By Andrei Z.18 days ago in Photography
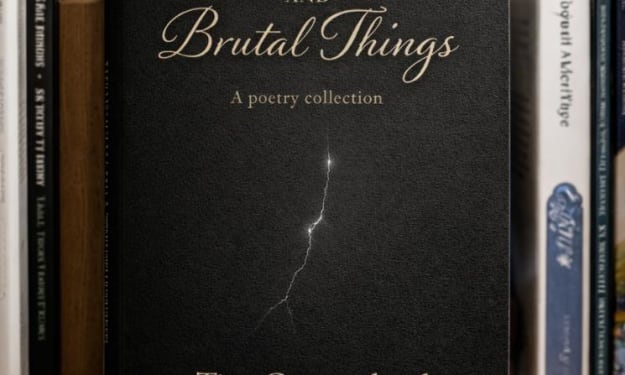
My New Book is Finally Here
My poetry collection Beautiful and Brutal Things is done. It's actually done and finally published over 270 pages. Over a year of my life went into this book. More than a year, really. Long days at my computer, sometimes seven days a week because I couldn't stop even when I probably should have. Then two months of editing that felt harder than the writing itself. But it's finished, and I'm still standing, and the book is real.
By Tim Carmichaela day ago in BookClub


Comments
There are no comments for this story
Be the first to respond and start the conversation.