
Achieving Fantastic Color Correction
Achieving Fantastic Color Correction

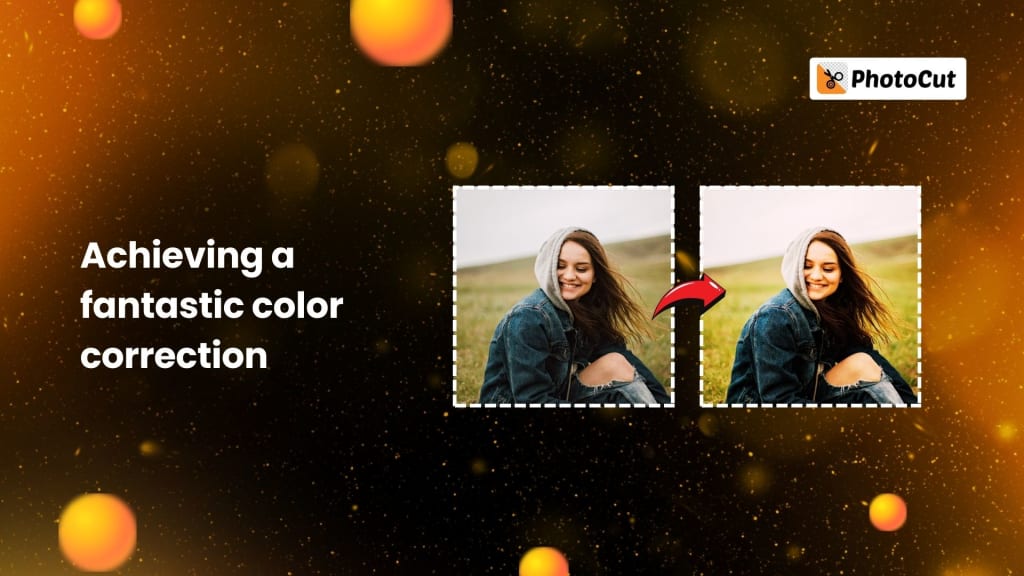
You know, you take a fantastic photo, and then you realize that the colors don't look right. Don't be dismayed; color correction is an integral part of your editing process. It will help you restore natural colors, solve all your exposure problems, or make your images pop. With PhotoCut's AI photo editor, it has never been easier or more accessible. Whether it is white balance, exposure to issues, or contrast problems, it will assist you in understanding the greater importance of color correction, the tools that should be used, and when they should be applied.
What is Color Correction?
Color correction is the act of altering a picture or video's colors to make them appear more accurate, consistent, and natural in photography and video editing. Issues with exposure, white balance, and undesirable color casts that can give your shot an artificial appearance can be fixed using color correction.
Color correction plays a very key role in any post-processing work. Without the proper color corrections, images often look unbalanced, distracting, or poorly lit. Once a color correction is made, this is when further advanced enhancements to your image such as color grading are possible that help create certain moods and styles.
Create an amazing book cover using PhotoCut’s book cover maker.
Why is Color Correction Important?
Color correction ensures your images are:
- Accurate: Colors appear as they were meant to, reflecting the true scene.
- Consistent: Your images look uniform, especially when working with multiple shots.
- Professional: Proper color-corrected photographs give that sense of high quality and professionalism.
- Visually Appealing: It eliminates obtrusive flaws such as unnatural color casts and overexposure, which draws the attention away from the subject.
Generate stunning pixel art using PhotoCut’s AI Pixel Art Generator.
Common Color Issues and How to Correct Them
Color correction can fix a lot of common issues that impact the quality of your photographs. The following are some of the most frequent problems and how to fix them:
1. Incorrect White Balance
White balance problems will often cause casts of color like blue, yellow, or green. For example, photos under fluorescent lighting could be too cool (blue) and photos taken under incandescent light appear warm (yellow).
How to Correct White Balance:
- Utilize the white balance tool in your editing software- much like PhotoCut's AI-powered editor. Identify a neutral object within the image- say, a white or gray object. Click it using the eyedropper tool.
- The slider for temperature and tint should be used to fix the undesirable colors to make it natural-looking.
2. Exposure Problems
Underexposure results in image photographs that seem too dark, while overexposure has its pictures come out too bright. Shadows or highlights offer too much space for details to get lost in them.
How to Correct Exposure:
- Change the general brightness of your photo by using the exposure slider.
- Alter the shadows and highlights individually to recover image detail in both the dark and light regions of a photo.
- Use a histogram to monitor your changes and avoid potentially losing important details in the highlights or shadows.
3. Lack of Contrast
Images with bad contrast tend to look flat and show no visible variation between the light and dark regions. The contrast of the right image will help make images interesting and eye-catching.
How to Correct Contrast:
- Increase the contrast using the slider or try raising the blacks or whites of your image.
- Beware that excessive contrast makes your image unnatural and unnatural is unpleasant. Try and use a histogram or scope on your images, checking for possible clipping of either the highlights or shadows.
4. Saturation Problems
Saturation is the brightness of colors in an image. At times, colors become too pale or too bright.
How to Correct Saturation:
- Utilize the saturation slider to make the colors in your image more vibrant or less saturated.
- Do not over-saturate your image as it can result in unnatural, gaudy output.
Color Correction Tools and Techniques
Modern AI photo editors, like PhotoCut, offer a range of tools that simplify color correction. Here are some essential tools and techniques for effective color correction:
1. White Balance Controls
This white balance enables you to remove color casts and thus more natural colors in your photo. The tool provided by white balance helps in adjusting the overall temperature of your photo towards cooler or warmer tones.
2. Exposure Controls
It adjusts brightness and ensures balance in the image. If the image is too dark, increase the exposure. If it is too bright, decrease exposure.
3. Contrast Controls
Increasing the contrast increases the difference of your photo between bright and dark points. The more contrasting your image, the more defined and intense your photo. Therefore, it is bound to be of great appeal.
4. Highlights and Shadows
You can increase finer details in the highlights and shadows of the photo by granular control. You can use these sliders to recover details that may be lost in either extreme.
5. Color Wheels and Curves
Color wheels and curves provide precise control over individual color channels (red, green, and blue). These tools are useful for fine-tuning specific colors in your image.
6. Scopes and Monitors
Scopes like histograms, waveforms, and vectorscopes allow you to attain objective data about the color and brightness information of the image. These devices enable you to make more correct corrections and hence avoid common blunders such as clipping.
Best Practices for Color Correction
Obtain the most effective results if you follow the best practices for color correction:
- Calibrate Monitor: Make sure your monitor is calibrated properly to output the right color. An incorrectly calibrated monitor results in incorrect color adjustments, with the possibility of unbalanced results or unnaturalness.
- Use Scopes: Always have scopes (such as histograms and vectorscopes) guide the adjustments. These tools give you objective feedback on your color and exposure changes, ensuring you don’t clip any important details.
- Start with Basic Corrections: Begin by correcting white balance and exposure. These adjustments provide the foundation for further refinements.
- Make Subtle Adjustments: Small, gradual movements are usually optimal. Avoid applying aggressive adjustments for they can render an unnatural image.
- Pay Attention to Skin Tones: When retouching portraits, it's very important to keep the skin tones natural. Be careful and avoid making someone look too red, orange, or purple.
- Work in a Controlled Environment: Edit in a room with controlled lighting. Any external light source can affect your perception of the colors, making you make false corrections.
- Take Regular Breaks: Prolonged editing often causes eye strain, and things get difficult to spot. This makes it imperative to take a break and give your eyes rest, so the task can be approached with fresh vision.
- Practice Often: The more you practice color correction, the better you'll be at seeing and correcting those color-related mistakes.
Create a cool Instagram profile picture using the best tips and tricks.
Conclusion
Color correction is a must-have part of any image editing workflow. You can fix white balance issues, exposure problems, and contrast deficiency among other things to ensure your photos are natural and polished in the end. With the right tools and techniques, such as those used in PhotoCut's AI-based editor, you should be able to produce images full of vibrant, highly accurate colors that make the overall quality of the image pop. By following best practices and practicing regularly, you’ll master the art of color correction and be able to create stunning, professional-looking photos every time.
Turn your photos into artwork using PhotoCut’s AI Art Generator.
FAQs
Q1. What is a color correction in the context of image and video editing?
Ans. To make the colors in a picture or video appear accurate, consistent, and natural, color correction is the procedure. It fixes irregularities like exposure, color casts, and white balance.
Q2. What is the difference between color correction and color grading?
Ans. Color correction is about dealing with the technical aspects, say to correct white balance and exposure level. It's about making an image look real and faithful. Color grading, in contrast, is a creative process of building an overall visual style by adjusting colors to evoke a specific mood or feel.
Q3. Why is color correction important?
Ans. Color correction is important because it ensures that the colors are right, makes an image look professional, increases its visual appeal, and readies images for additional creative work, such as color grading.
Q4. When should I color correct?
Ans. You would color correct if the white balance is off, exposure is incorrect, color consistency is wrong, or the image does not look like the color you intended to capture.
Q5. What tools are used for color correction?
Ans. The most popular tools for making precise color and tone modifications are white balance controls, exposure sliders, contrast controls, highlights and shadows adjustments, color wheels, and scopes like histograms and vectorscopes.
Q6. How do I avoid unnatural results during color correction?
Ans. Avoid making aggressive changes. Use subtle adjustments, particularly with skin tones, and compare your corrected image to a reference image to ensure it looks natural. Also, use scopes to avoid clipping important details in the image.
Q7. What if my image is too dark or too bright?
Ans. Make use of the exposure slider to brighten or darken the entire shot. In case it looks too dark-exposed reduce the exposure In case it looks too bright-exposed, increase the exposure. Ensure the highlights and shadows are balanced to retrieve lost details.
About the Creator
PhotoCut
AI Photo Editing Tool - Remove or Change your Background & Enhance Product Photos
Keep reading
More stories from PhotoCut and writers in Photography and other communities.
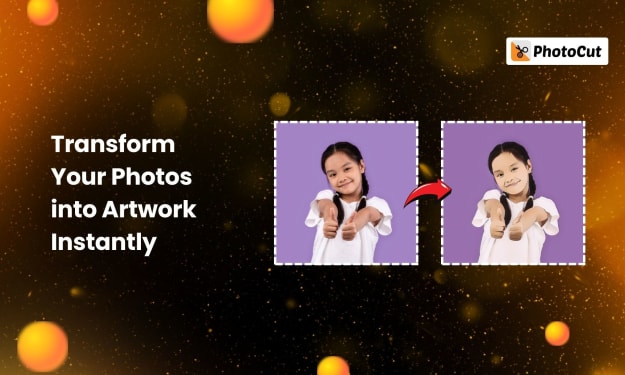
Transform Your Photos into Artwork Instantly with PhotoCut’s AI Art Filters
Have you ever wished to take your photographs to become an incredibly beautiful work of art within minutes? Now it is all made possible through the AI Art generator of PhotoCut. No more do you have to turn an ordinary portrait photograph into a Japanese anime masterpiece or an average family picture into a beautiful drawing in the style of Walt Disney. Let's dive into how you can instantly convert your photos into a wide variety of art styles using PhotoCut's AI art filters!
By PhotoCut11 months ago in Photography
The Photographer's Code
You decide to visit your local park. You have become a close confidant to the homeless people who gather there most days. While talking to Cleo and Reed, you notice a new face in the crowd. It belongs to a stick-thin, middle-aged woman. She has her hand on her forehead as if taking her temperature.
By Paul Aaron Domenick7 days ago in Photography


Comments
There are no comments for this story
Be the first to respond and start the conversation.