
When Airless Spray Painting Goes Wrong
And How to Make It Right
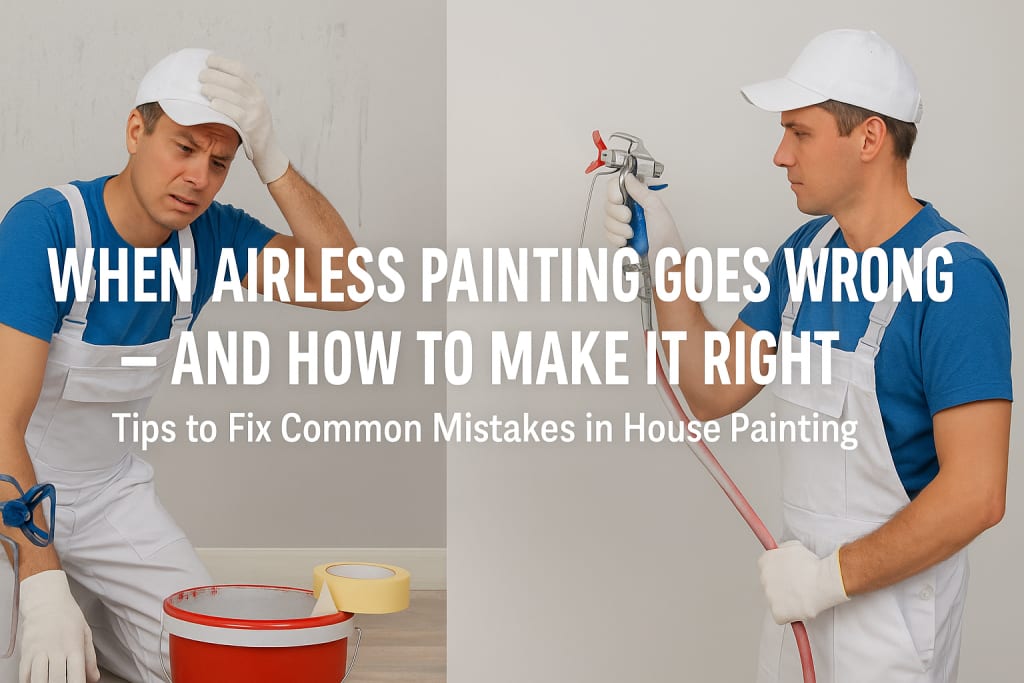
Airless spray painting has become a popular choice for house painting projects due to its speed and smooth finish. However, while it offers many benefits, it also comes with its own set of challenges. Without proper technique and the right equipment settings, airless painting can lead to various issues like uneven coverage, drips, and overspray. In this article, we’ll explore common airless spray painting mistakes and, more importantly, how to fix them to ensure a successful house painting project.
Common Airless Spray Painting Mistakes
1. Uneven Paint Application
One of the most common problems with airless spray painting is uneven paint coverage. This issue often arises when the sprayer is either too close or too far from the surface, causing streaks, blotches, or missed areas. The application can become inconsistent if the sprayer isn’t moved steadily and evenly.
Solution:
To avoid uneven coverage, maintain a consistent distance of about 12–18 inches from the surface. This will ensure that the paint is atomized properly. Overlap each stroke by about 30% to ensure an even layer of paint. If the surface is large, work in sections to maintain control over the process. Additionally, test the sprayer on a scrap piece of material to adjust the settings before applying it to your walls.
2. Drips and Streaks
Drips and streaks are often caused by the sprayer being held too close to the surface or moving too slowly. This can lead to excessive paint buildup in certain areas, leaving unsightly drips or streaks when it dries.
Solution:
If you notice drips and streaks, let the paint dry completely before attempting to fix it. Once the paint is dry, lightly sand the affected areas to smooth out the imperfections. After sanding, apply a thin, even coat of paint to blend the area with the surrounding surface. Using the right speed and motion when spraying will also minimize this issue in future applications.
3. Clogged Spray Tips
Another common issue with airless spray painting is clogged spray tips. Over time, paint debris or dried paint can block the nozzle, causing an uneven spray pattern. This not only results in poor coverage but also interrupts the spraying process.
Solution:
To avoid clogged spray tips, regularly clean the spray tip during breaks and after completing each section. If the tip does get clogged, stop spraying immediately, release the pressure from the sprayer, and carefully clean the nozzle with a brush or appropriate cleaning tool. Additionally, always strain your paint before pouring it into the sprayer to remove any debris that could clog the tip.
4. Incorrect Pressure Settings
Incorrect pressure settings can significantly affect the quality of the paint job. If the pressure is too high, you’ll end up with overspray, wasting paint and creating a mess. On the other hand, if the pressure is too low, the paint won’t atomize properly, resulting in a thick, uneven layer.
Solution:
Always refer to the manufacturer’s guidelines for optimal pressure settings based on the type of paint you’re using. For most jobs, a pressure of 2000-3000 psi is ideal. Adjust the pressure according to the paint’s viscosity and the desired finish. If you’re unsure, test the sprayer on a scrap surface to find the right pressure level before starting the actual project.
5. Inadequate Surface Preparation
Proper surface preparation is key to achieving a long-lasting, smooth finish. Skipping the cleaning and priming steps can result in poor paint adhesion, peeling, and an uneven surface. Whether you’re painting drywall, wood, or another material, surface preparation should never be rushed.
Solution:
Before you start spraying, thoroughly clean the surface to remove dust, dirt, and grease. If there’s any peeling or flaking paint, scrape it off and smooth out the surface. Applying a good-quality primer will ensure that the paint adheres properly and that you get the most even finish possible. Priming is especially important when painting porous surfaces like drywall or raw wood.
How to Fix Airless Spray Painting Mistakes
1. Addressing Uneven Coverage
Identify areas with uneven paint, sand them lightly once dry, and reapply paint using consistent strokes and appropriate distance.
2. Correcting Drips and Streaks
Allow the paint to dry completely, sand the imperfections smoothly, and apply a thin, even coat to blend with the surrounding area.
3. Unclogging Spray Tips
Stop spraying, relieve pressure, and clean the spray tip thoroughly. Regular maintenance prevents future clogs.
4. Adjusting Pressure Settings
Consult the sprayer's manual to set the correct pressure based on the paint type and desired finish. Test on a scrap surface to confirm settings.
5. Improving Surface Preparation
Clean surfaces thoroughly, remove any old paint or debris, and apply a suitable primer before painting. Proper preparation ensures better adhesion and finish.
Preventative Measures for Successful Airless Spray Painting
- Practice Proper Technique: Maintain a consistent distance and use overlapping strokes.
- Regular Equipment Maintenance: Clean the sprayer and tips after each use to prevent clogs.
- Use Quality Materials: Invest in high-quality paint and equipment for better results.
- Test Before Application: Always test the sprayer on a scrap surface to ensure optimal settings.
- Protect Surrounding Areas: Use drop cloths and masking tape to shield areas from overspray.
Conclusion
Airless spray painting can be a highly effective method for house painting, but it’s not without its challenges. By understanding the common mistakes and knowing how to fix them, you can achieve a beautiful, smooth finish with minimal hassle. Always ensure proper surface preparation, maintain the right technique, and keep your equipment well-maintained. With the right approach, airless spray painting can give you professional-quality results that will transform your home.
About the Creator
Dyson Painters
We are trusted Professional Painters in Hobart, Providing High-Quality Residential and commercial services. Contact us to hire our expert exterior and interior Painters. Visit at: https://dysonpainters.com.au/
Keep reading
More stories from Dyson Painters and writers in Lifehack and other communities.
Residential Airless Spray Paint Sprayers
Painting your home can be a daunting task. Between choosing the right color and technique, homeowners often get lost in the details. If you're looking for a way to get professional-looking results without hiring a crew, airless spray paint systems might be your new best friend. Whether you're refreshing a tired-looking fence or giving your living room a makeover, a residential paint sprayer can make the job faster, cleaner, and far more satisfying.
By Dyson Painters11 months ago in Lifehack
How to Recover Your Instagram Account: The Complete 2026 Guide
Losing access to your Instagram account can feel like being locked out of a digital life. With billions of users and accounts increasingly targeted by hackers, knowing exactly how to react is crucial. Whether you’ve been hacked, forgotten your password, or had your account disabled, this comprehensive guide walks you through every official recovery method. We base our advice on Instagram's official help resources and cybersecurity experts to ensure you can regain access quickly and secure your profile for the future.
By Alexander Hoffmannabout 21 hours ago in Lifehack


Comments
There are no comments for this story
Be the first to respond and start the conversation.