

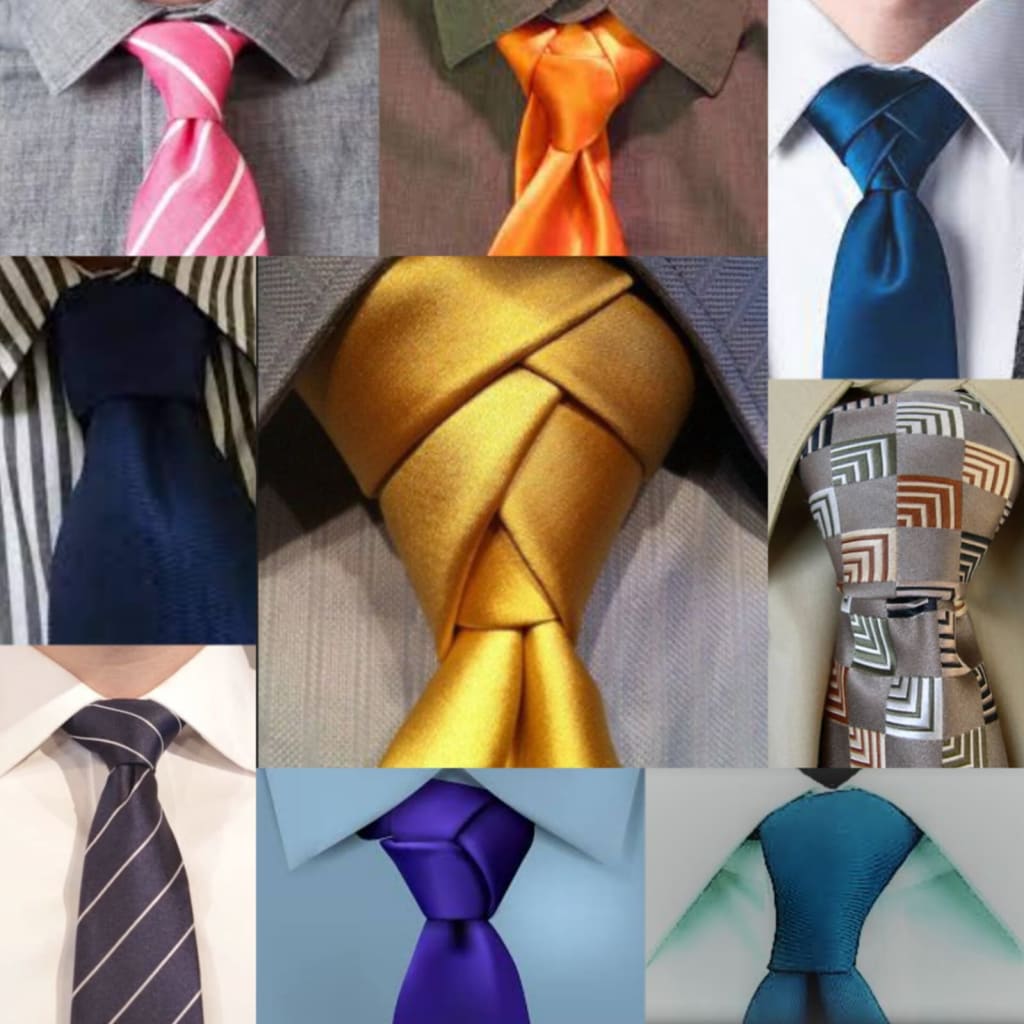
1. The Four-in-Hand Knot: This is a simple and classic knot that is great for everyday wear.
i. Start by draping the tie around your neck, with the wide end on your right and the narrow end on your left.
ii. Cross the wide end over the narrow end, then bring it up and over the narrow end again.
iii.Bring the wide end down and around the back of the narrow end, then bring it up and over the front of the knot.
iv.Finally, thread the wide end down through the loop in front of the knot, then tighten the knot by pulling on the narrow end.
2. The Windsor Knot: This knot is larger and more formal than the Four-in-Hand, making it a great choice for business or formal events.
i. Start by draping the tie around your neck, with the wide end on your right and the narrow end on your left.
ii.Cross the wide end over the narrow end, then bring it up and over the loop around your neck.
iii.Bring the wide end down and around the back of the narrow end, then bring it up and over the front of the knot.
iv.Thread the wide end down through the loop in front of the knot, then bring it up and over the knot and down through the loop on your neck.
v.Finally, adjust the knot and tighten it by pulling on the narrow end.
3. The Half Windsor Knot: This knot is smaller than the Windsor knot, but still looks formal and polished.
i. Start by draping the tie around your neck, with the wide end on your right and the narrow end on your left.
ii. Cross the wide end over the narrow end, then bring it up and over the loop around your neck.
iii. Bring the wide end down and around the back of the narrow end, then bring it up and over the front of the knot.
iv.Thread the wide end down through the loop in front of the knot, then bring it up and over the knot and down through the loop on your neck.
v.Finally, adjust the knot and tighten it by pulling on the narrow end.
4.Eldredge knot: This is a more complex knot that requires some practice.
i. Start with the wide end on your right and the narrow end on your left.
ii. Bring the wide end over the narrow end and then bring it up and over the loop around your neck.
iii. Bring the wide end down and to the left, then up and over the knot from behind.
iv. Bring the wide end down to the right, then up and over the knot from behind.
iv.Bring the wide end down through the loop in front of the knot and tighten.
5.Pratt knot: Pratt knots are adaptable and may be worn for a variety of events, from a casual drink party to a more formal business meeting. It's a simple knot to learn, which makes it popular, especially among beginner tie wearers.
i. Begin with the wide end on your right and the narrow end on your left.
ii. Cross the wide end over the narrow end and then bring it up and over the loop around your neck.
iii.Then bring the wide end down and to the left, then up and over the knot from behind.
iv. Finally, bring the wide end down through the loop in front of the knot and tighten.
6.Trinity knot: The Trinity knot is a very intricate knot that requires some practice.
i. Begin with the wide end on your right and the narrow end on your left.
ii. Bring the wide end over the narrow end and then bring it up and over the loop around your neck.
iii.Bring the wide end down and to the left, then up and over the knot from behind.
iv.Bring the wide end down to the right, then up and over the knot from behind.
v.Bring the wide end down through the loop in front of the knot and tighten.
7.Trinity Eldridge Knot: Difficult, complex and unique knot.
i. Start by draping the necktie around your collar with the wide end on your right side and the narrow end on your left side. The wide end should be longer than the narrow end.
ii. Cross the wide end over the narrow end to create a small loop near the collar.
iii. Bring the wide end up and over the loop, passing it through the center and down to the left side. Next, bring the wide end back up to the center, passing it behind the loop.
iv. Bring the wide end back down to the left side, passing it through the loop created in step 3.
v. Bring the wide end up and over the knot, passing it through the loop created in step 4.
vi. Finally, bring the wide end down and through the loop created in step 5.
vii. Tighten the knot by pulling on the narrow end while holding the knot in place with your other hand. Adjust the knot and the collar as needed.
8.Kelvin knot: Appropriate for business and social events.
i. Begin with the wide end on your right and the narrow end on your left.
ii. Cross the wide end over the narrow end and then bring it up and over the loop around your neck.
iii.Then bring the wide end down and to the left, then up and over the knot from behind.
iv.Bring the wide end down through the loop in front of the knot and tighten.
9.Oriental knot: Suitable for all. Simplest of all.
i. Start with the wide end on your right and the narrow end on your left.
ii. Cross the wide end over the narrow end and then bring it up and over the loop around your neck.
iii. Bring the wide end down and to the left, then up and over the knot from behind.
iv.Bring the wide end down through the loop in front of the knot and tighten.
10.Cape knot: The Sailor's knot.
i. Start by draping the tie around your neck, with the wide end on your right side and the narrow end on your left side. The wide end should be about 12 inches longer than the narrow end.
ii. Cross the wide end over the narrow end, then bring it up and over the loop around your neck.
iii. Bring the wide end down and behind the knot, then bring it up over the front of the knot.
iv. Take the wide end and bring it across the front of the knot from right to left.
v. Bring the wide end up and over the knot again, then pull it down through the loop around your neck.
vi. Adjust the knot by pulling on the wide end and the narrow end until it is snug and centered.
vii. Finally, tuck the narrow end into your shirt, leaving the wide end hanging down.
About the Creator
Mudassir
Student
Youtube Content Creator
Facebook Content Creator
Keep reading
More stories from writers in Lifehack and other communities.
The Quarterly OKR Review: Getting the Most from Your Retrospectives
The end of an OKR cycle is not simply an administrative milestone where scores are recorded and new objectives are set. It is, or should be, the most valuable learning opportunity in the entire process. Yet many organisations rush through their quarterly reviews, treating them as a box-ticking exercise rather than the strategic conversation they deserve.
By Jane Smithh5 days ago in Lifehack
How to Get Promoted in a Remote Job
Remote work changed how we get hired. It also changed how we get promoted. In a traditional office, visibility is automatic. You’re seen walking in early. You’re seen staying late. You’re in meetings. You’re in the hallway conversations.
By Bahati Mulishi7 days ago in Lifehack


Comments
There are no comments for this story
Be the first to respond and start the conversation.