

Glitter tumblers are the perfect way to add a touch of glam to your everyday routine. Whether you're sipping on your morning coffee or enjoying a refreshing drink at a picnic, a glitter tumbler is sure to make you feel extra special. If you're interested in learning how to make glitter tumblers, then you've come to the right place!
To get started, you'll need to gather your supplies. Here's what you'll need:
A tumbler of your choice (we'll discuss some popular options later)
Glitter
Epoxy resin
Vinyl tape or stickers
Gloves
Stir sticks
Measuring cups
Once you have all of your supplies, it's time to get started!
Step 1: Clean Your Tumbler
Before you start decorating your tumbler, make sure it's clean and free of any dirt or debris. You can wash it with soap and water and let it dry completely before moving on to the next step.
Step 2: Apply Vinyl Tape or Stickers
If you want to create a design or pattern on your tumbler, you can use vinyl tape or stickers to create a stencil. Apply the tape or stickers to the tumbler in the desired design, making sure they're pressed down firmly.
Step 3: Add Glitter
Now it's time to add the glitter! You can use one color or multiple colors to create a unique look. Sprinkle the glitter onto the tumbler, making sure it covers the entire area you want to glitter. You can also use a brush to sweep the glitter into place and make sure it's evenly distributed.
Step 4: Mix Epoxy Resin
The next step is to mix the epoxy resin. Follow the instructions on the package carefully, as the mixing ratios may vary depending on the brand you use. Be sure to wear gloves while handling the resin.
Step 5: Apply Epoxy Resin
Using a stir stick, carefully apply the epoxy resin to the glittered area of the tumbler. Make sure it's evenly distributed and covers the glitter completely. You may need to do multiple coats, depending on the desired thickness.
Step 6: Let It Dry
Once you've applied the epoxy resin, let the tumbler dry for at least 24 hours. Make sure it's in a well-ventilated area and away from any dust or debris.
Step 7: Remove Vinyl Tape or Stickers
Once the epoxy resin is completely dry, carefully remove the vinyl tape or stickers to reveal your glitter design! Your glitter tumbler is now ready to use.
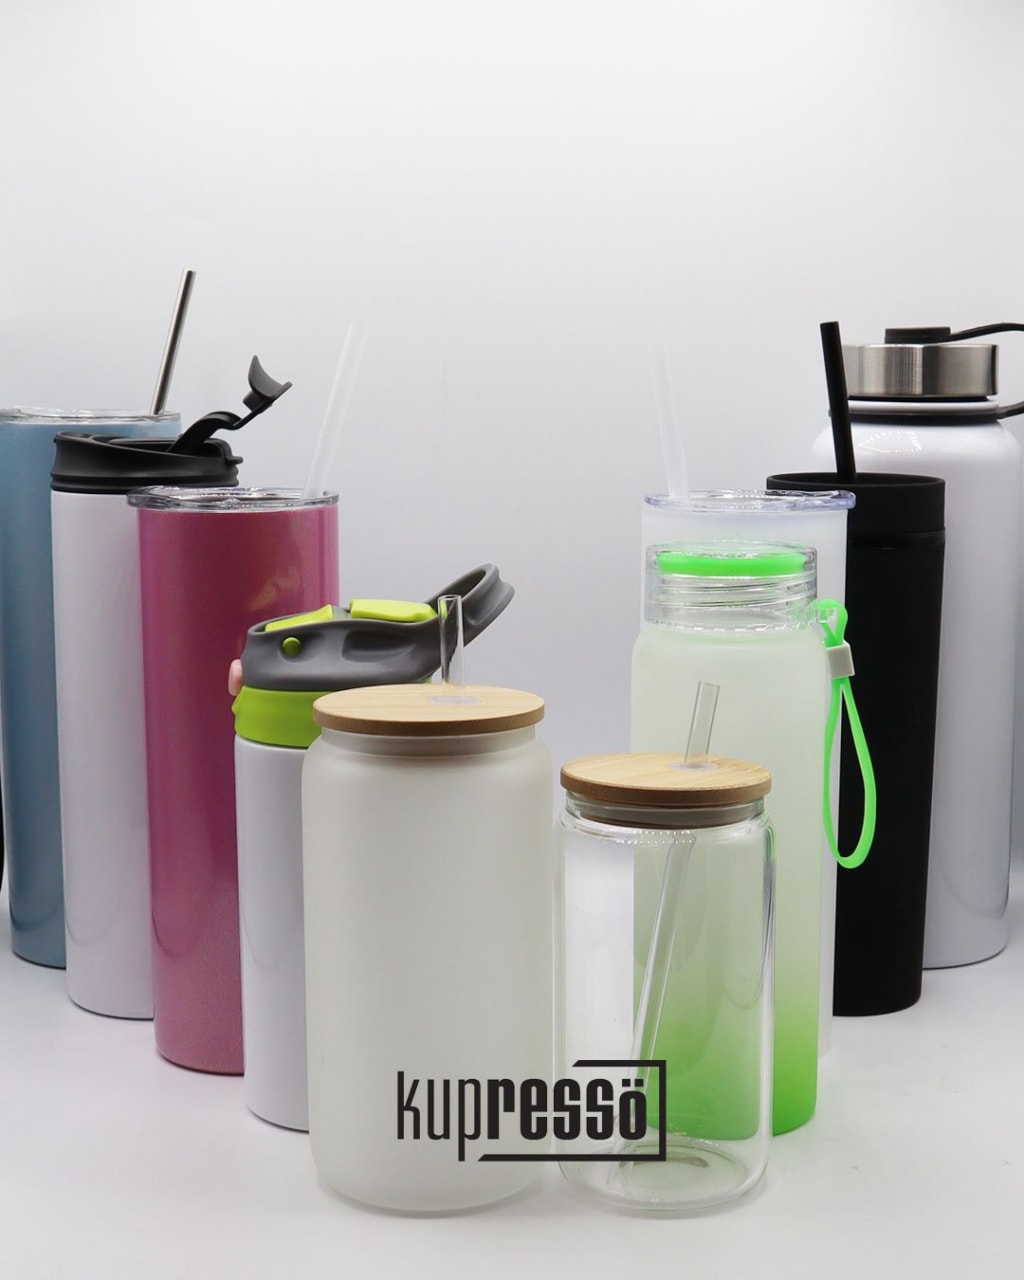
When it comes to choosing a sublimation tumbler for your glitter project, there are a few popular options to consider:
Sublimation Tumbler: These tumblers are made of stainless steel and are perfect for sublimation printing. They come in various sizes and can be customized with any design or image.
Sublimation Glass Tumbler: Similar to the sublimation tumbler, these glass tumblers can also be customized with any design or image using sublimation printing.
Acrylic Tumbler with Lid and Straw: These tumblers are perfect for outdoor use and come with a lid and straw to prevent spills. They're also available in various sizes and can be customized with vinyl stickers or decals.

Stainless Steel Tumbler: These tumblers are durable and can keep your drinks hot or cold for hours. They also come in various sizes and can be customized with vinyl stickers or decals.
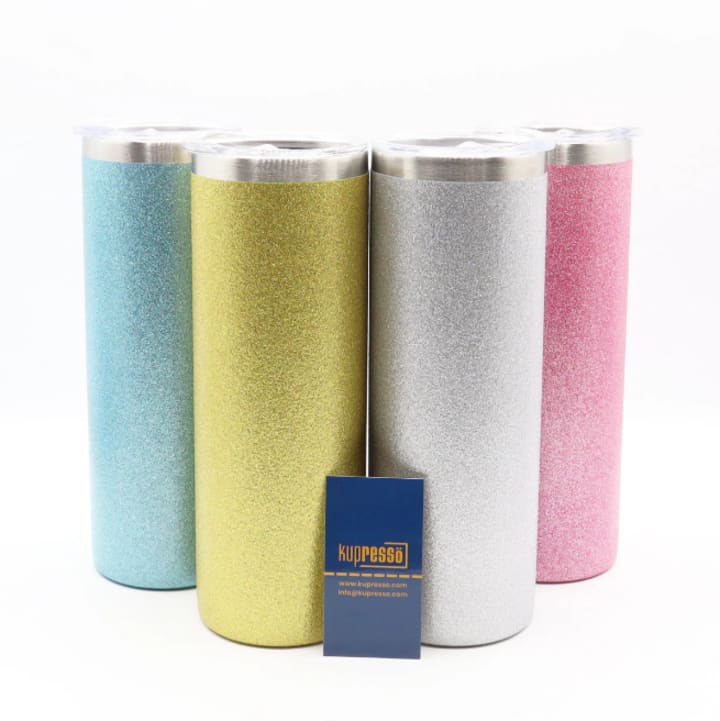
If you're interested in purchasing a glitter sublimation tumbler, we recommend checking out Kupresso. They offer a variety of glitter sublimation tumblers in USA.
About the Creator
Keep reading
More stories from writers in Lifehack and other communities.
When Does Relaxin Hormone Start in Pregnancy?
During pregnancy, several reproductive hormone levels peak. One of such hormones is Relaxin – produced by the placenta and ovaries. Its function is to relax and loosen the joints, muscles, and ligaments allowing your body to stretch more flexibly during conception. It prepares you for childbirth by loosening the pelvic ligaments and muscles, making labor easier.
By Alice Perry6 days ago in Lifehack


Comments
There are no comments for this story
Be the first to respond and start the conversation.