
How to Make a Shelf with Brackets: A Step-by-Step Guide
Learn how to make a shelf with brackets using brass or cast iron. Follow this easy step-by-step guide for a sturdy and stylish DIY shelf project.

Adding shelves to your home is a simple way to organize and enhance your space. Making a shelf with brackets is a practical DIY project that doesn’t require advanced skills. This guide will walk you through the process in a clear, straightforward way. Whether you’re using brass shelf brackets, wooden brackets, or cast iron shelf brackets, the steps are universal. Let’s dive in!
Why Choose Brackets for Your Shelf?
Brackets provide strong support for shelves. They are reliable and easy to install. Options like brass shelf brackets offer durability and an appealing finish. If you need a rustic or industrial look, cast iron shelf brackets are excellent. The versatility of brackets makes them suitable for any room.
Materials You’ll Need
Before starting, gather the materials. Here’s what you need:
- Wooden plank for the shelf (choose sturdy wood like pine or oak).
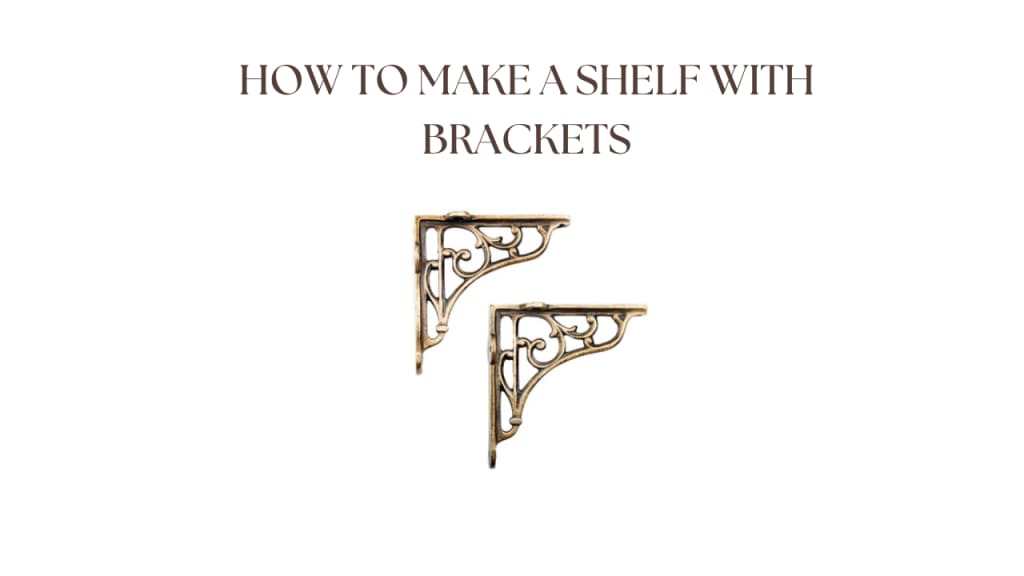
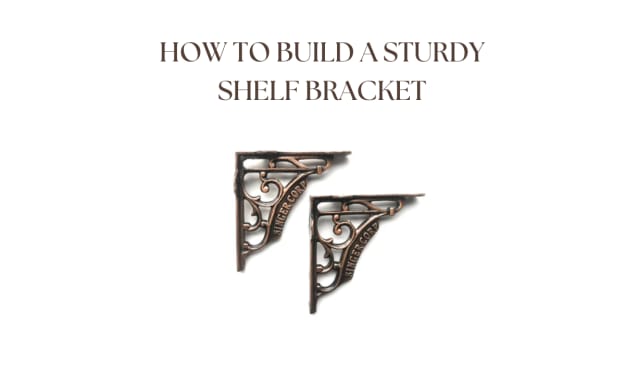
- Brackets (e.g., brass shelf brackets or cast iron shelf brackets).
- Screws and wall plugs.
- Drill and screwdriver.
- Measuring tape.
- Level.
- Pencil for marking.
Step 1: Choose the Right Spot
Decide where you want the shelf. Measure the wall space to ensure the shelf fits. Consider the room’s purpose. For kitchens, shelves often hold jars or dishes. In living rooms, they’re great for books or decor.
Mark the spot where the brackets will go. Use a pencil and ensure the distance between the brackets aligns with the size of the shelf. A general rule is to place brackets about 6-12 inches from the shelf’s edges.
Step 2: Prepare the Shelf
Cut the wooden plank to your desired length. Sand the edges to avoid splinters. You can paint, stain, or leave the wood natural, depending on your preference. For example, pairing natural wood with brass shelf brackets creates a sleek, timeless look.
Step 3: Position the Brackets
Hold the brackets against the wall where you made the marks. Check if they are level. Use a measuring tape to ensure they are evenly spaced. The height and alignment are critical for stability.
If you’re using cast iron shelf brackets, note that they may be heavier. This requires extra care during mounting to ensure they are securely fastened.
Step 4: Drill Holes for Brackets
Drill pilot holes where the screws will go. Use wall plugs if the wall is drywall or plaster. These plugs will provide extra grip for the screws. Ensure the holes are straight to avoid a lopsided shelf.
Brackets like brass shelf brackets often come with pre-drilled holes, making this step easier.
Step 5: Attach the Brackets
Line up the brackets with the drilled holes. Screw them into place using a screwdriver or drill. Check the brackets again with a level to ensure they are even. Tighten the screws securely, but don’t overtighten as it might damage the wall or bracket.
For cast iron shelf brackets, ensure you use screws strong enough to hold the extra weight.
Step 6: Mount the Shelf
Place the wooden plank on the installed brackets. Secure the shelf to the brackets using screws if the design allows. Some brackets have top holes for this purpose. This ensures the shelf won’t shift under weight.
Check the level once more after securing the shelf. Adjust if needed.
Choosing the Right Brackets
The type of bracket impacts the shelf’s strength and appearance. Brass shelf brackets are ideal for a polished, modern look. They resist corrosion, making them great for humid areas like kitchens or bathrooms.
On the other hand, cast iron shelf brackets add a sturdy and classic feel. They are perfect for holding heavier items, like books or tools.
Practical Tips for Installing Shelf Brackets
Spacing: The number of brackets depends on the shelf length. For longer shelves, add a middle bracket for extra support.
Wall Type: Ensure you know the wall type (drywall, plaster, or brick) before installation. This affects the tools and screws you’ll use.
Weight Limit: Always consider the weight capacity of the brackets. Check the manufacturer’s specifications for guidance.
Where to Use These Shelves
Shelves with brackets fit almost anywhere in your home.
1. Living Room: Display books, plants, or picture frames. Brass shelf brackets work well here for a stylish touch.
2. Kitchen: Use them for spice racks or dishes. Durable cast iron shelf brackets are ideal for heavy kitchenware.
3. Bathroom: Organize toiletries. Brass brackets resist moisture, making them a practical choice.
4. Garage: Store tools or supplies on sturdy wooden shelves paired with cast iron shelf brackets.
Maintenance Tips for Your Shelf
Once installed, maintaining the shelf is easy. Wipe the surface regularly to remove dust. Avoid overloading the shelf beyond the bracket’s weight limit. Periodically check the screws to ensure they remain tight.
If you’ve chosen brass shelf brackets, polish them occasionally to maintain their shine. For cast iron shelf brackets, check for rust, especially in humid areas. A quick coat of anti-rust paint can extend their life.
Final Thoughts
Making a shelf with brackets is a rewarding DIY project. It’s simple, practical, and enhances any room. Whether you choose brass shelf brackets for elegance or cast iron shelf brackets for strength, the process is straightforward.
With the right tools and this step-by-step guide, you can create a functional and stylish shelf in no time.
About the Creator
Robinson
I am specializing in promoting high-quality, antique solid brass home accessories. Passionate about luxury and vintage designs, I am focusing on enhancing the brand's reach.
The Check-In Revolution: Moving From Constant Tracking to Scheduled Family Updates
There’s a low-grade hum of anxiety that comes with modern parenting. You can, at any moment, open an app and see exactly where your child is. So you do. Again. And again. What starts as a tool for peace of mind can quietly become a source of obsession for you and a point of resentment for them.
By Olivia Martinez6 days ago in Lifehack
Smart phones, Humans and Aliens.
WARNING. I will be tapping into one of your favorite creative tensions: The absurdity of humans worshipping their glowing rectangles as if they were tiny oracles. There’s something deliciously poetic about that contradiction, and it lends itself beautifully to an instructive proviso.
By Novel Allen4 days ago in Poets


Comments
There are no comments for this story
Be the first to respond and start the conversation.