
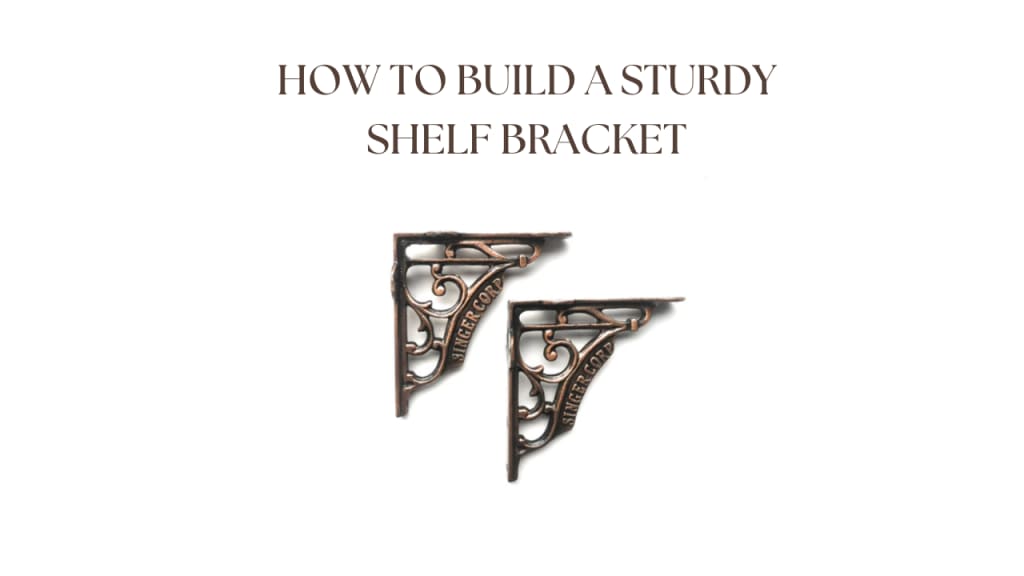
How to Build a Sturdy Shelf Bracket: A Complete DIY Guide
DIY guide will walk you through the process of creating your own shelf brackets from scratch, covering everything from materials to installation.

Building a sturdy shelf bracket is a simple but rewarding project for anyone looking to add a personal touch to their home. Whether you want to hang a floating shelf or build a robust structure for storage, understanding how to build shelf brackets that are both strong and functional is essential. This DIY guide will walk you through the process of creating your own shelf brackets from scratch, covering everything from materials to installation.
Why Build Your Own Shelf Brackets?
Before diving into the project, you might wonder why you should build your own shelf brackets rather than buying ready-made ones. Here are a few reasons:
Customization: You can build shelf brackets that match your space and style, whether it’s a sleek modern design or a more rustic look.
Cost-Effective: Often, building your own brackets can be cheaper than buying pre-made ones, especially if you have access to scrap materials.
Satisfaction: There’s something incredibly satisfying about completing a DIY project and knowing you built it yourself.
Let’s dive in and see how you can build a sturdy, reliable shelf bracket that will hold your shelf and items with confidence.
Materials and Tools You Will Need
Building shelf brackets requires just a few basic materials and tools. Here’s a list to get you started:
Materials:
- Wood (for wooden shelf brackets): Choose a hardwood like oak or maple if you want strength and durability.
- Metal (for metal shelf brackets): Steel or aluminium is ideal for heavy-duty brackets. Brass shelf brackets add an elegant touch and work well for lighter loads.
- Screws: You’ll need screws to attach the brackets to the wall and to the shelf itself.
- Anchors: Wall anchors will help secure the brackets to drywall or other surfaces that can't support screws alone.
- Wood glue (optional): If you’re building wooden brackets, glue can help reinforce joints.
- Finish (optional): Stain, paint, or a protective clear coat for a polished look.
Tools:
- Saw: A saw for cutting the material (a handsaw or mitre saw works well for wood; metal saws are needed for metal brackets).
- Drill: A power drill for making holes for screws.
- Measuring Tape: To measure and mark your cuts and placement.
- Level: To ensure your brackets are installed straight.
- Screwdriver: To tighten screws and anchors.
Step-by-Step Guide to Building Shelf Brackets
Now that you’ve gathered the materials and tools, let’s walk through how to build a sturdy shelf bracket.
Step 1: Measure and Cut Your Bracket Material
The first thing you need to do is measure the space where your shelf will go. This will help you determine the size of the brackets.
For Wooden Shelf Brackets: If you’re building wooden shelf brackets, cut the wood into your desired shape. A basic bracket usually has two arms, with one part going against the wall and the other supporting the shelf.
Use a saw to cut the wood to the correct length.
Consider the weight of the shelf and its contents. A larger, heavier shelf will need bigger, thicker brackets to ensure stability.
For Metal Shelf Brackets: When working with metal, like brass or steel, use a metal saw or a hacksaw to cut the material. Metal shelf brackets need to be designed for strength, so ensure the metal is thick enough for the weight it will hold.
Step 2: Design the Shape
Once your pieces are cut, you’ll need to design the bracket shape. The most common shelf bracket designs are:
L-Shaped Brackets: These are the most straightforward design, providing solid support with a right angle.
Scroll Shelf Brackets: If you want to add a decorative touch, you can opt for scroll shelf brackets. These typically involve curved or spiraled shapes that add a bit of flair while still being functional.
Designing your bracket might involve sketching out your measurements and cutting curves or angles. If you're using metal, consider bending or welding the pieces together, depending on your skills and available tools.
Step 3: Sand and Smooth the Edges
After cutting, it’s important to smooth out the edges of your shelf brackets. This will prevent splinters if you're using wood and reduce sharp edges in metal.
For Wood: Sand the wood with sandpaper until it’s smooth. Start with a coarse grit and work your way to a finer grit for a polished finish.
For Metal: Use a metal file or sandpaper to smooth any rough edges. Wear gloves while working with metal to avoid injury.
Step 4: Drill Holes for Mounting
To attach the brackets to the wall and the shelf, you’ll need to drill holes. For wooden brackets, this can be done with a power drill, while for metal brackets, a specialized metal drill bit is needed.
Mark the Spot: Use a level to mark where you want the brackets to go. Make sure they are evenly spaced and at the same height.
Drill into the Wall: Drill holes in the wall where the bracket’s arms will attach. Be sure to use wall anchors if you’re installing on drywall, as these will ensure the screws hold securely.
Drill Holes for the Shelf: If your bracket attaches directly to the shelf, mark and drill corresponding holes on the underside of the shelf.
Step 5: Assemble the Bracket
Now that everything is cut, sanded, and drilled, it’s time to assemble the bracket. For wooden brackets, this may involve gluing and screwing the arms together. For metal brackets, it might involve welding or bolting pieces together.
Wooden Brackets: Apply wood glue to the joints before screwing them together for extra strength. Let the glue dry for at least an hour.
Metal Brackets: If you're using a more complex design like scroll shelf brackets, welding or bolting the pieces together can create a strong connection.
Step 6: Mount the Bracket to the Wall
Once the bracket is assembled, it’s time to mount it to the wall. Use a level to ensure it is straight before drilling the screws into place.
Wall Anchors: If you're attaching the brackets to drywall, make sure to use appropriate wall anchors that can support the weight of your shelf and its contents.
Tighten Screws: Secure the screws tightly, making sure that the brackets are fixed firmly to the wall.
Step 7: Attach the Shelf
Finally, place the shelf on top of the brackets and secure it with screws. If you're using wood brackets, drill small pilot holes in the underside of the shelf and screw the bracket arms into place.
For metal shelf brackets, you may want to use bolts and nuts to secure the shelf.
If your shelf is heavy, make sure the brackets are spaced evenly to distribute the weight across multiple points.
Final Tips for Building Shelf Brackets
Brass Shelf Brackets: These add a touch of elegance and can be a great choice for lighter shelves or for a vintage look. When using brass, be sure to clean and polish them regularly to maintain their shine.
Metal Shelf Brackets: These are ideal for heavier loads. Steel or aluminium brackets offer a modern, industrial look and can hold a lot of weight. You might also consider reinforcing metal brackets with additional supports for extra stability.
Scroll Shelf Brackets: If you’re going for a more decorative style, scroll shelf brackets are perfect. While they can add charm to your shelf, make sure they are properly reinforced if the shelf will hold heavy items.
Conclusion
Building your own shelf brackets is an easy and rewarding DIY project. Whether you opt for simple wood or metal shelf brackets or choose to go with decorative scroll shelf brackets, following these steps will help you build a sturdy, reliable solution. With the right materials, tools, and measurements, your shelves will be securely supported, allowing you to showcase your items with confidence.
Creating your own shelf brackets doesn’t have to be complicated. By following these steps, you can enjoy the process of building something useful while personalizing it to suit your home’s design. So, get started today and build the perfect shelf brackets that will hold your shelves for years to come!
About the Creator
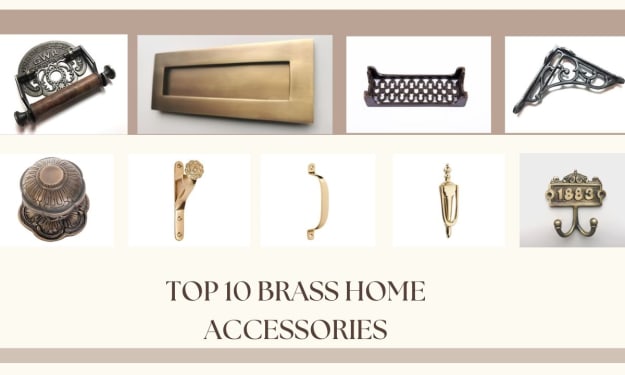
Robinson
I am specializing in promoting high-quality, antique solid brass home accessories. Passionate about luxury and vintage designs, I am focusing on enhancing the brand's reach.
Cooking Up Connection: Romantic Recipes to Enjoy as a Couple
Turning your kitchen into a romantic space doesn’t require extravagant effort. Start with lighting—switch off the overhead lights and let candles or warm lamps create a cozy atmosphere. Add soft music that you both enjoy and clear the counters to give yourselves space to move freely. These thoughtful touches can transform even a modest kitchen into a place of intimacy and fun.
By Micah Love-Allotey4 days ago in Lifehack


Comments (1)
Hello, just wanna let you know that if we use AI, then we have to choose the AI-Generated tag before publishing 😊