
Materials
20kg or 44lb - Gravel
40 – 50 Retaining Wall Blocks or Bricks
20 – 30 Clay Fire Bricks
2 tubes - Concrete or a Construction Adhesive
Large bag – Lava or volcanic rocks
Tools
You only need basic tools!
Bucket
Hammer
Spirit Level
Rake
Shovel
Hand Tamp
Garden hose with nozzle
Wheelbarrow
Safety gear
Spray Paint (only for circular fire pit)
Timber Stake (only for circular fire pit)
String (only for circular fire pit)
Grinder with missionary black (optional)
Steps to Follow
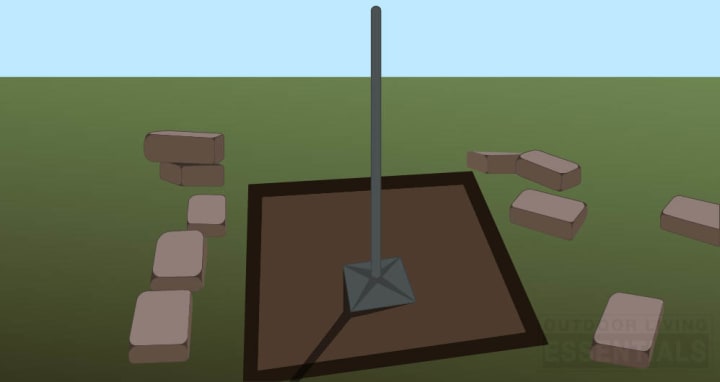
1. Begin by marking the circumference and the size of the fire pit on the piece of land.
If you are creating a square or rectangular fire pit, put down blocks and stamp the ground with your shovel around your fire pit’s circumference.
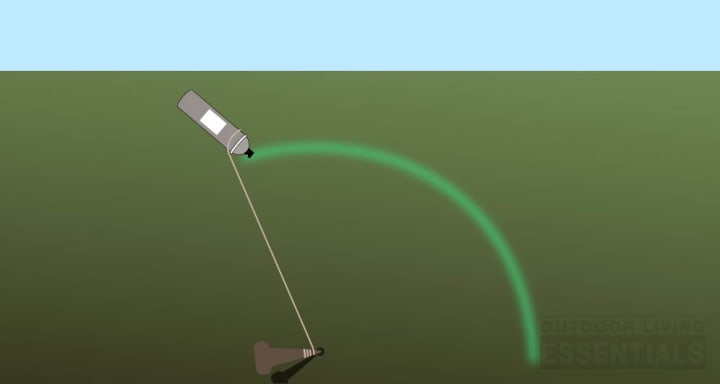
If you are creating a circular shaped fire pit, firmly place a stake into the ground and tie some string to the stake. Pull the string around like a clock with a can of spray paint attached. Whilst doing so spray a circle with the spray paint.
You’ll need to dig and level a base for your fire pit. This will ensure your fire pit’s stability and durability for years to come.
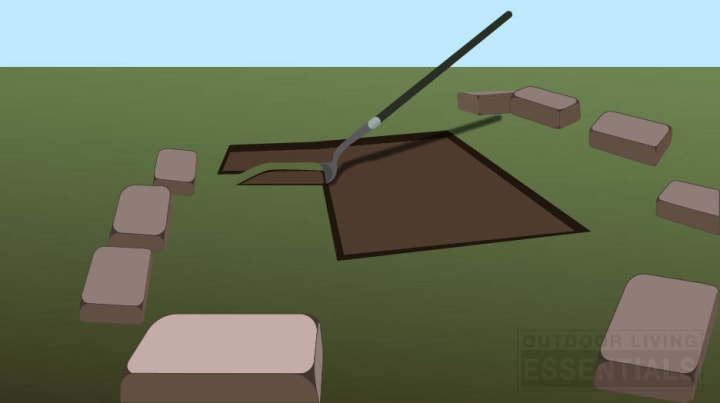
2. Start shoveling up the grass and dirt inside the stamped area of your fire pit until it is 5cm or 2 inches in depth. For your convenience place the grass and dirt into a wheelbarrow to discard with ease later.
3. Compress and level your surface with your hand-tamper. You can also check its level with a spirit level.
Now you have finished digging it is time to strengthen the foundation!

4. Firstly add a 2.5cm or 1" layer of gravel and spread evenly with a garden rake.
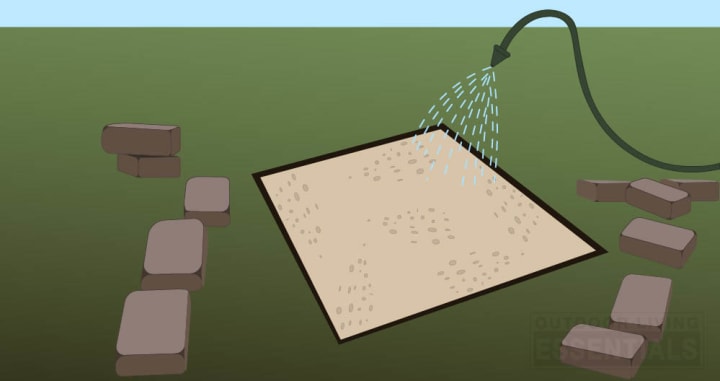
5. Dampen the first layer of gravel with your garden hose then use your hand tamp to tamp down the gravel.
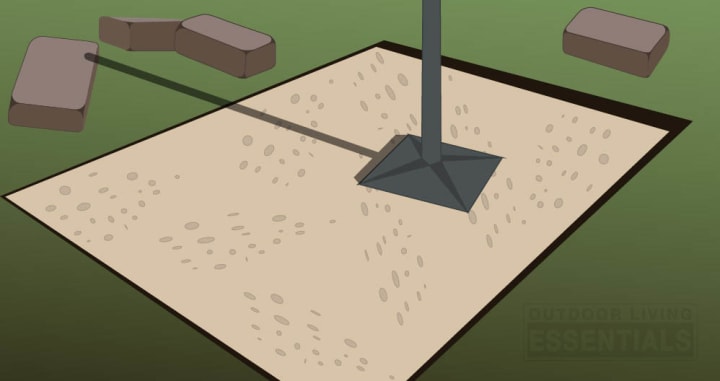
6. Time for your last layer of gravel. This layer should be 1.5cm or 1/2" thick. After you have placed it on top tamp down for one last time.
The strength created from these compressed layers of gravel create the foundation required for your D.I.Y. firepit.
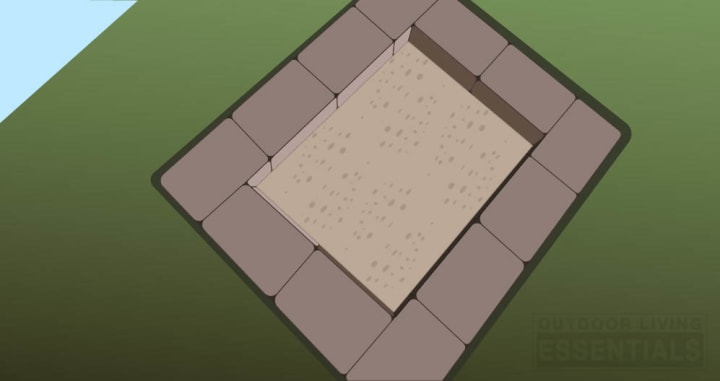
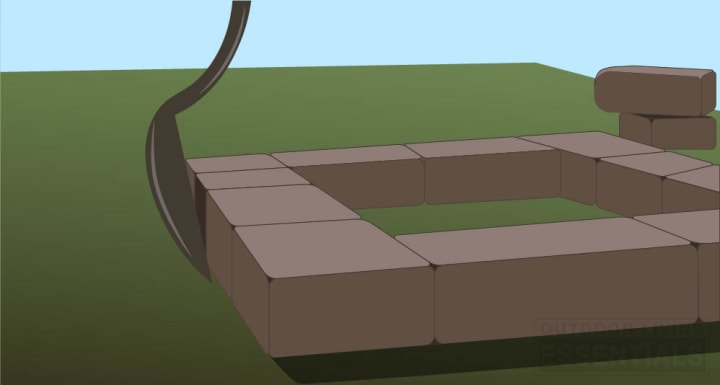
7. Place the first row of blocks or bricks inside the base perimeter. Make sure they sit evenly by using your level.
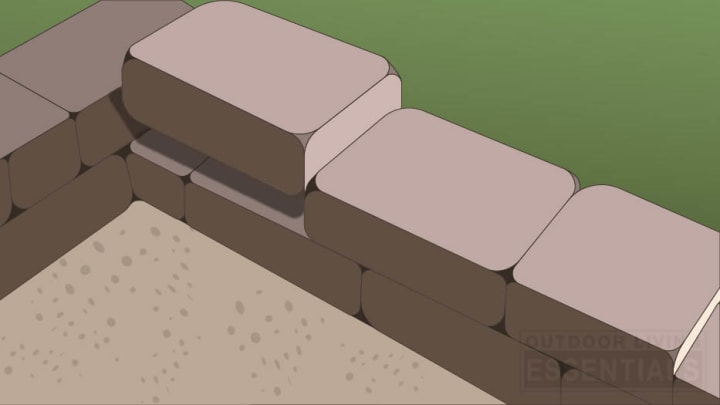
8. Now the first layer of block are down you can add the next layer and create ‘brick wall’ until you have a two layers of blocks.
Place second layer of blocks and see how they fit before attaching with an adhesive. If there are any gaps you must saw to create a block to fill the gap.
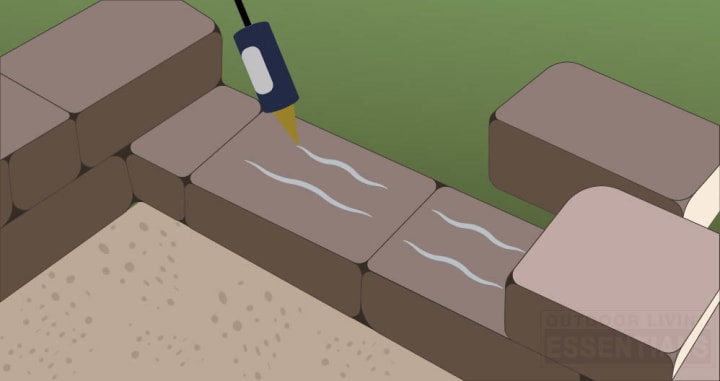
9. When you are satisfied with how the second layer of blocks look, take off each block one-by-one and apply concrete adhesive with a caulking gun. Replace the block back in to position on the adhesive for permanent fixture.
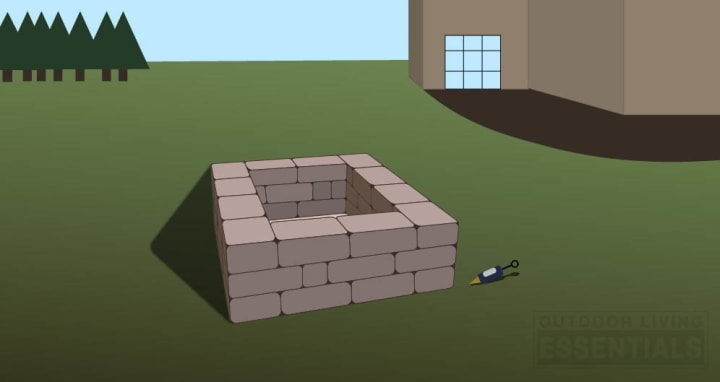
10. Repeat steps 8 & 9 to create 3 or 4 layers of blocks around the fire pit.
The amount of layers will depend on how high you would like build you fire pit.
After the concrete adhesive has dried you can insert the fire bricks! The function of these clay fire bricks is to evenly distribute the heat and to avoid the cracking of any of the blocks.
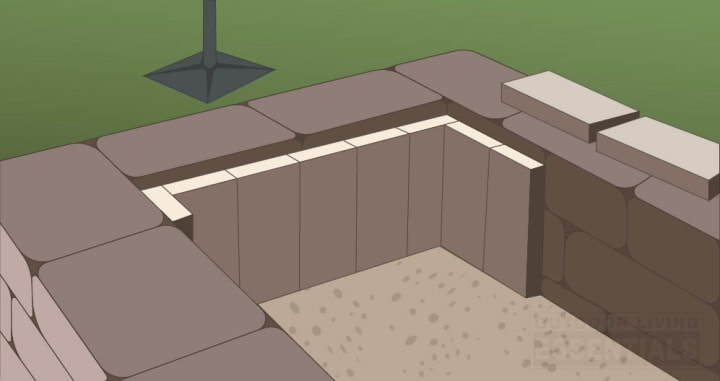
11. Stand the clay fire bricks in an vertical position lining the walls of the fire pit. In order to get the accurate height, you may either add a bit more gravel or you can place a some fire bricks along the bottom of the pit.
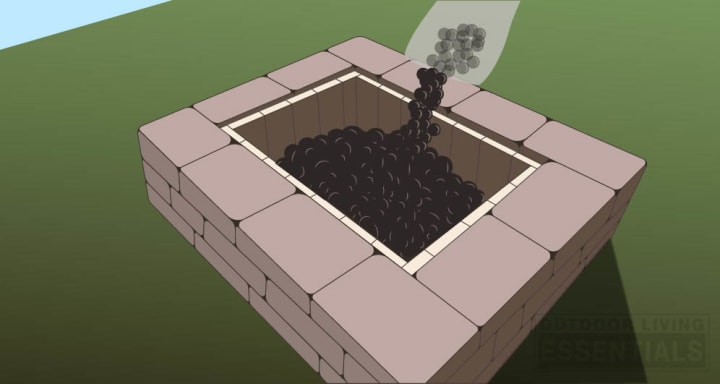
12. Now the fire bricks are in position you can fill the pit with lava rock. The lava rocks need to reach around 7cm or 3" or half way up the fire bricks. The function of these lava rocks is to hold the bricks into position and create a strong base for your burning wood.
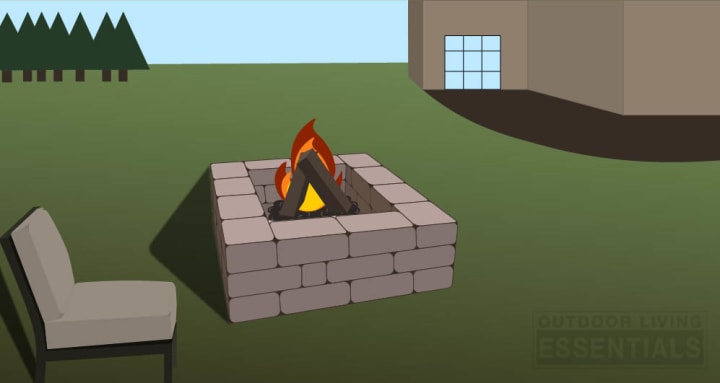
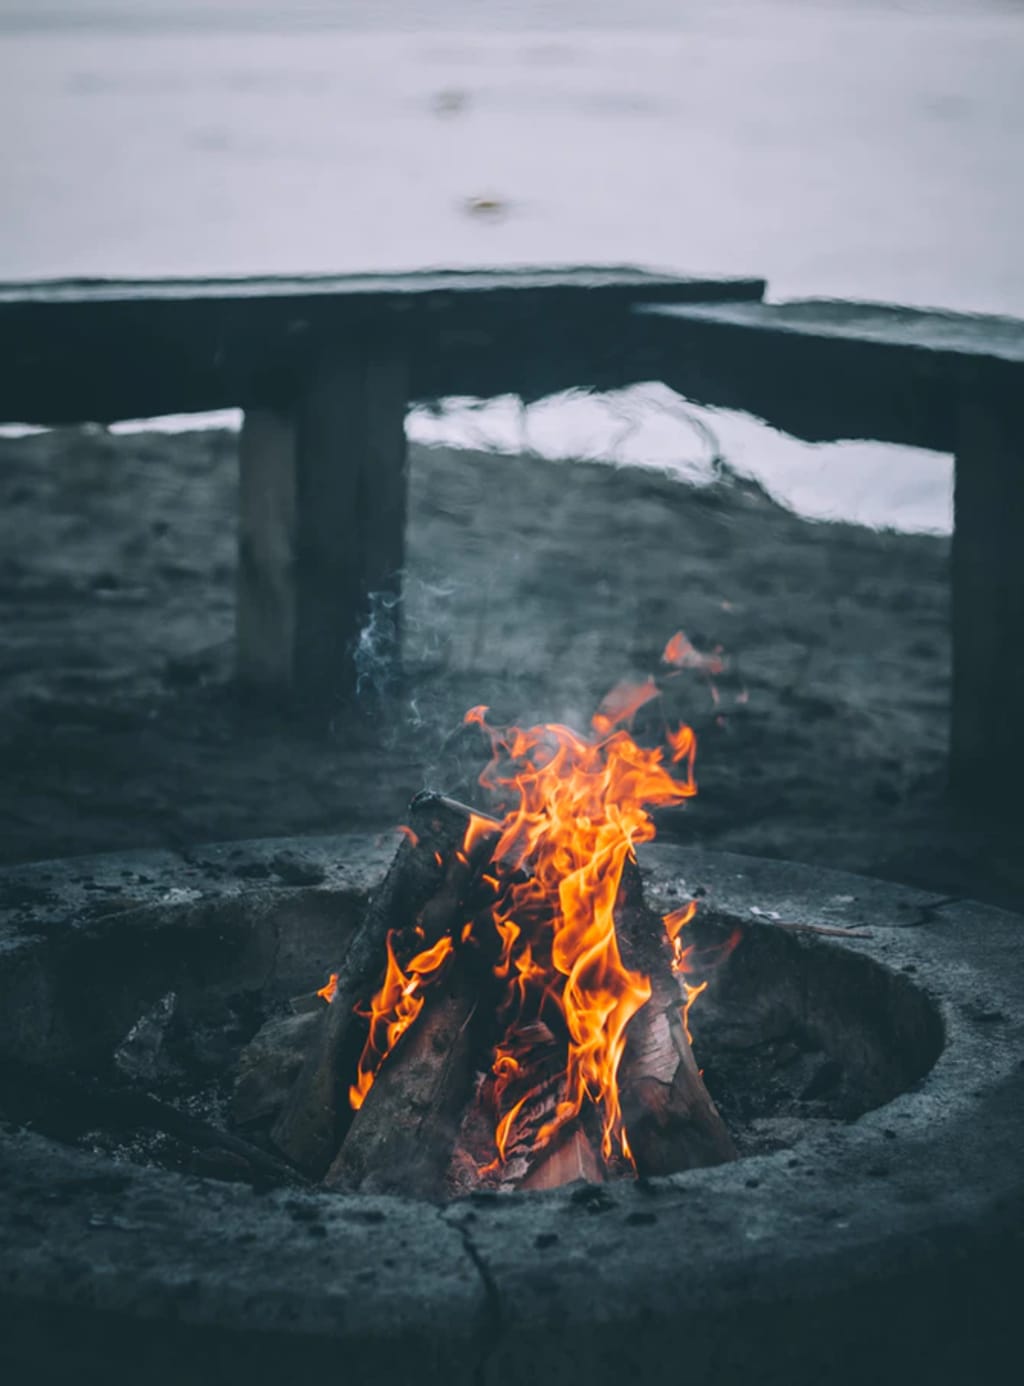
All Done!
Now your DIY fire pit is ready! Just place your fire wood in, kick back and enjoy!
See the full guide on how to build a fire pit.
About the Creator
Keep reading
More stories from writers in Lifehack and other communities.
The Calm Within the Chaos: How Grounding Yourself Can Change Your Life
I know what it feels like to wake up already overwhelmed, as if the day is asking more from you than you have to give. Your phone lights up, your thoughts speed up, and your body tightens before anything has actually gone wrong.
By Anie Libanabout 14 hours ago in Lifehack
Premium Gas Is Draining Your Wallet — Unless Your Engine Needs It
Have you ever wondered whether premium fuel could actually help your engine? Fuels rated at 91–93 octane do resist detonation better than lower-octane fuels, and in some cases they can burn more completely. But does that mean your engine will run better, last longer, or get more power?
By Jack Martinabout 20 hours ago in Lifehack
Wild Card Weekend Recap: What Happens Now?
I think I figured out why I love Wild Card Weekend so much. It's because it's the first playoff anything of the calendar year. The NFL season starts in the fall, and once upon a time, the champion was crowned either on or slightly before New Year's. The evolution of the NFL schedule has resulted in the playoffs starting just into the New Year, and currently, the final week of the season falls on the first weekend of the New Year, with Wild Card Weekend coming a week after that. So yes, chronologically, the NFL's Wild Card Weekend serves as the first playoff anything of the calendar year.
By Clyde E. Dawkins7 days ago in Unbalanced


Comments
There are no comments for this story
Be the first to respond and start the conversation.