
Crepe Paper and Creativity
Making crepe paper flowers

Hot glue sticks, floral tape, 180 gram Italian crepe paper, heavy-duty scissors, and chalk pastels cover my coffee table. My fingers are coated in orange chalk and tiny flecks of hot glue. At this point, it’s likely I’ve burned my fingerprints away by continually pinching daubs of not-yet-cooled glue. Sometimes, it’s necessary to make something beautiful.
I love making crepe paper flowers. The heavy crepe paper makes incredibly realistic textures, the lightweight paper makes for beautifully translucent petals, and every singed finger brings a rose petal or a peony stamen to life.
These flowers come to life so slowly at first; each individual petal must be cut carefully from the correct weight and color of paper, going with the grain so that it can be worked into shape later. To do this, I carefully select the paper I want to use. I usually have a stencil or measure out the approximate length and height of my flower’s petals. I use one as a guide for the rest; I fold the crepe paper and carefully cut along the edges of the measured petal until I have the petals I need. For roses, I cut out twelve small petals and twelve larger ones, then a strip to use for the beginning of the flower.
The base strip is about six inches long. I fold it in half, then half again, then carefully cut out two ‘fingers’, about the thickness of my pinky, all connected along the base. These ‘fingers’ I then gently stretch until they resemble small, cupped petals. A small dot of glue goes onto a floral wire and I wrap the first two petals on the base around the stem, pressing against the glue and wire to be sure they’re secured and in the right place. Then I add glue to the rest of the strip and wrap it around itself, tightly, pressing as I go and making sure the petals’ base is straight so that the tops of the petals are all in the same place.
Once that is done, I turn my attention to the 24 loose petals in front of me. This is my favorite part; shaping. Crepe paper is almost like mesh: it has plenty of forgiving stretch and is almost soft when being shaped. Like all paper, it has its delicacy, but a good heavy crepe stretches to two and half times it’s size. This is why it’s perfect for rose petals. I hold the paper on either side of the petal, place my thumbs in the middle of the flower, and press and pull gently outward, dragging my thumbs towards the edge of the paper but not quite to the edge. This gives the petal a gentle curve, just like a real rose.
It takes several minutes to shape all the petals. I don’t rush through this part because I want the petals to be perfectly imperfect and I have to be careful not the tear the paper. Slight differences and imperfections in the shapes and edges gives the finished product a more authentic look, but a hole would ruin the flower, so slow and steady wins this race. After all 24 petals are shaped, I like to create four larger petal ‘strands’. To do this, I put a small dot of glue at the bottom corner of one petal and press another petal onto it, overlapping but not completely on top of the previous petal. I glue a total of six petals together for each strand, creating a type of eyelash effect, a gently curved string of petals. This is where I tend to burn my fingers the most; I press the petals onto each other firmly and pull away any excess hot glue to keep the base of the strand from becoming bulky, stringy with dried glue, or plastic-feeling from too thick a layer of glue.
This is the point in which I truly start to zone out. I hone my focus on the petals, the stem, the ‘hem line’ where the eyelash petals will be glued on. I put a thin layer of hot glue on the bottom edge of the eyelash petals and carefully attach them to the bottom of the previously attached crepe paper petals. I line the base of each petal up with the one under it, so it creates a straight, even line – this comes in handy at the end. I make sure the petals cup themselves, creating a spiral bowl effect and giving the flower a more realistic new bloom shape. The looser and farther apart the petals, the larger and more open the resulting rose; the closer together the petals, the more ‘just blossomed’ it looks.
I slowly add each set of petals until my rosebud is assembled – but I’m not quite done yet. I cut a rectangle of green crepe paper, long enough to wrap around the base of the rose almost the whole way, then cut it diagonally to create two triangles. These become the flower-hugging leaves called the sepal and the supporting greenery called the hip. They can be glued on tightly or loosely to create a hugged look or a looser, wild-rose feel. After they’re glued where I want them, I twist the excess paper around the bottom of the rose tightly to create the knotted hip look and to start blending the paper into the wire floral stem.
The very last step is to finish wrapping the stem. This can be done quickly with floral tape, but I prefer the look and feel of paper to the tacky tape. I cut long strips of green paper, about ¼ inch or so thick, and dot tacky glue down the length of the strip. Then, starting at the very base of the flower and around the sepal I just created, I press the first dot of glue, smooth the paper down, and slowly work my way down the stem, stretching the green strip as I go to create a smooth, glued-down green stem.
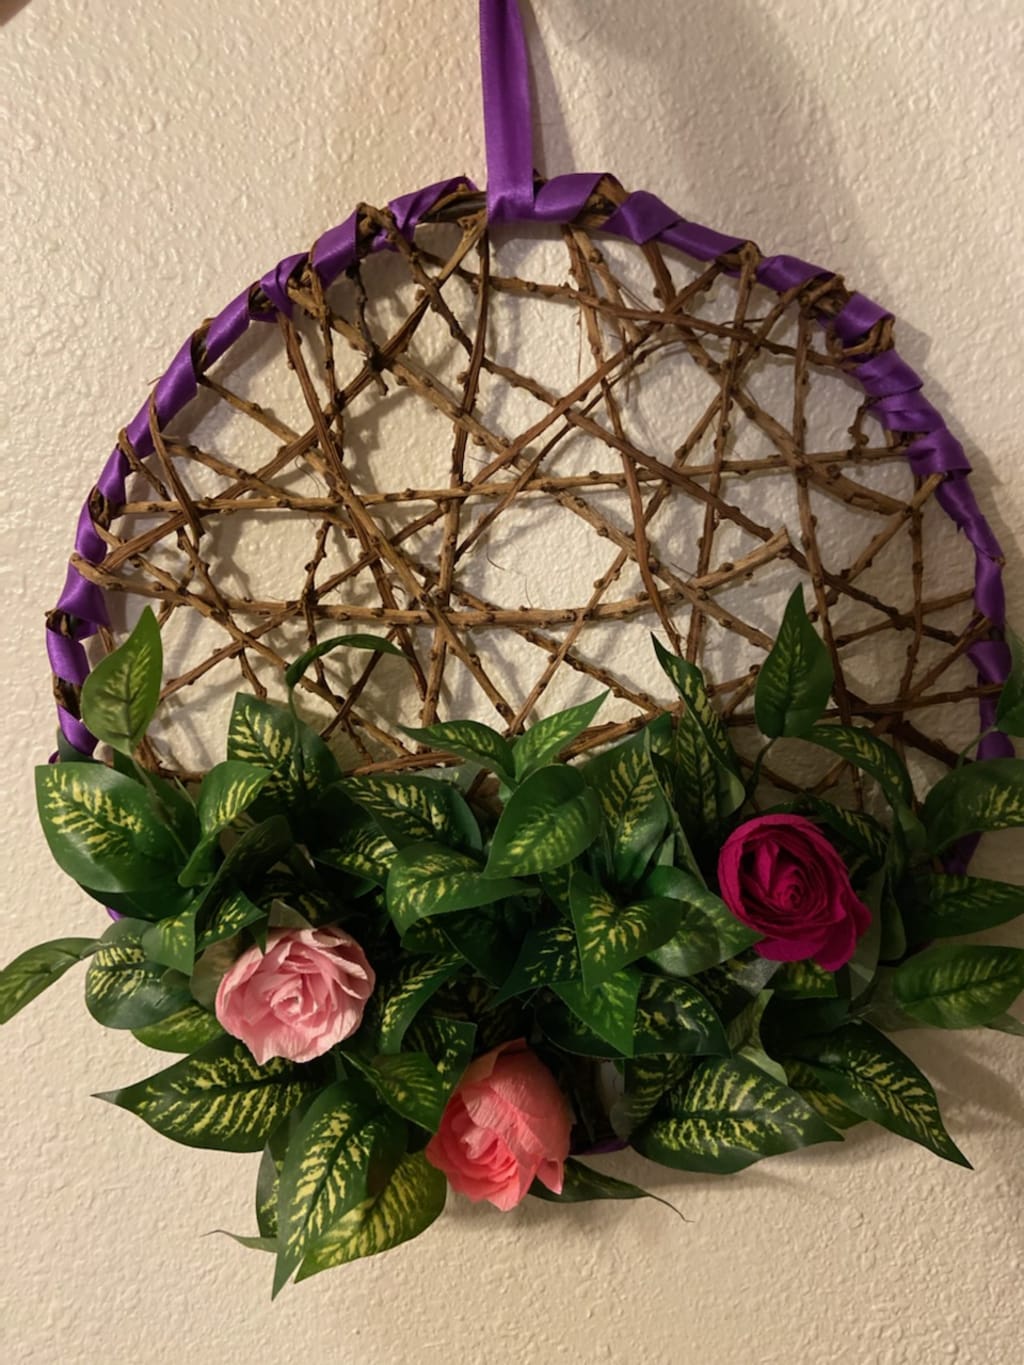
Most of my roses end up on wreaths or in tall vases, so I don’t add leaves. The stark naked stem always reminds me of fairy tales – specifically Beauty and The Beast. It draws attention to the color of the petals, the shape of the bud, and makes it feel that much more delicate.
After the rose is done, I either hang it upside down or stand it right-side up in a vase so it completely dries before I add it to any decorations. My fingers are usually covered in glue and sometimes bits of thinned, glue-dampened crepe paper.
The best thing about making paper flowers is that every mistake and imperfection seems to make the flowers more realistic – nature has a wonderful way of presenting flaws as beauty.
About the Creator
Christine Young
Day dreamer, night thinker. Working on several stories at once is my jam.
Keep reading
More stories from Christine Young and writers in Lifehack and other communities.
The Burnout Generation: Why I’m Rejecting Hustle Culture for My Mental Health
I used to believe that grinding—24/7, no breaks, no excuses—was the only way to succeed. Coffee in one hand, deadlines in the other, my brain constantly buzzing, my chest tight, my mind refusing to rest.
By Anie Liban3 days ago in Lifehack
Wool Rugs: Why They are Popular and Worth Considering
Wool rugs continue to be a popular choice for living spaces, and their appeal has remained steady for generations. While synthetic rugs often cost less upfront, wool stands apart for its natural performance, comfort, and long-term value. Understanding why wool rugs are so widely used helps explain why they remain a smart and reliable option for many homes today.
By orton watt7 days ago in Lifehack


Comments
There are no comments for this story
Be the first to respond and start the conversation.