

It all started with a pair of scissors.
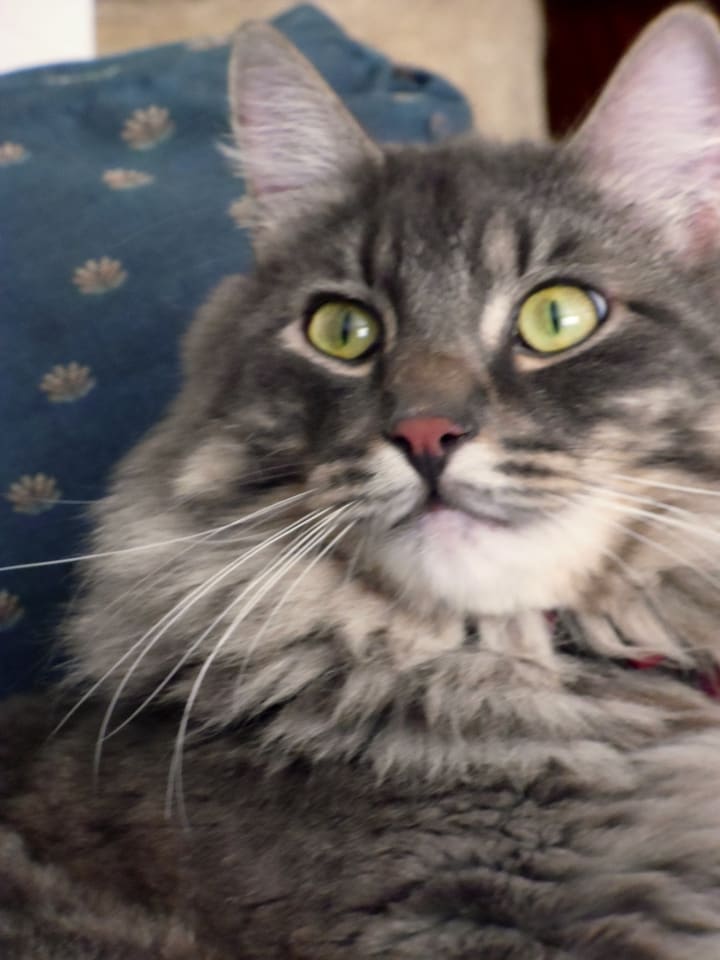
The summers are always sweltering and my long-haired Maine Coon cat, Señor Stevie Nicks always got so hot and miserable in our little house. As was the yearly ritual, and with much displeasure on his part, I held Stevie’s little furry butt down and sheared some fur off his side to make him more comfortable. As I gathered the cat-sized lump of recently remove fur and commented to my partner for the nth time, "we could make a whole other cat out of all this hair," it hit me... I'll make a whole other cat.
I had seen a video of an artist who makes cat sculptures and wondered if I could do it, so I set out to make my own needle felted version of my own cat.
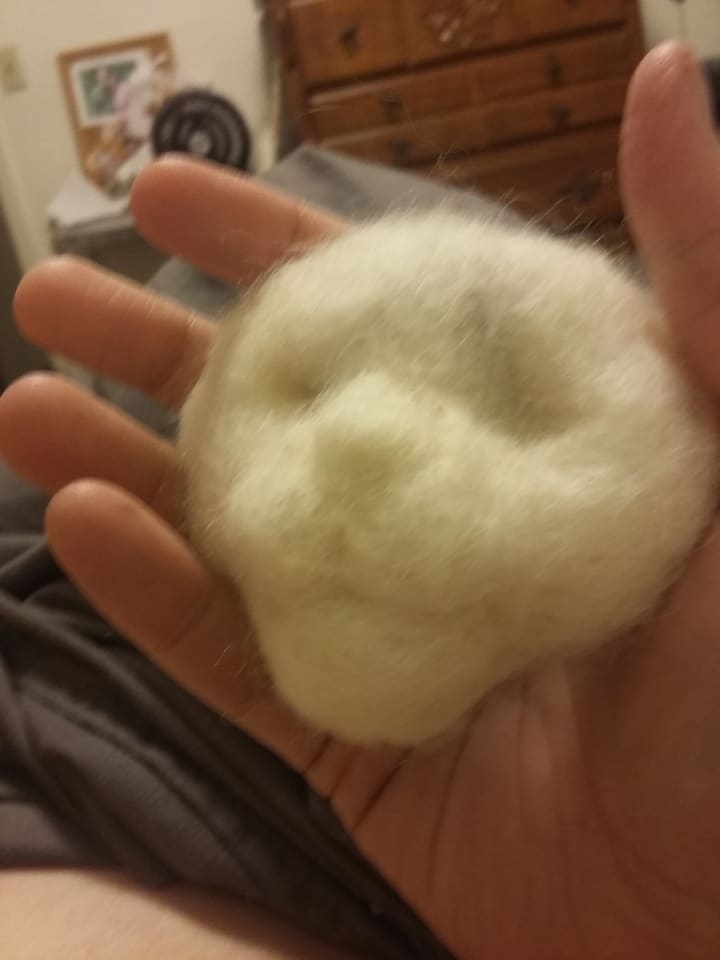
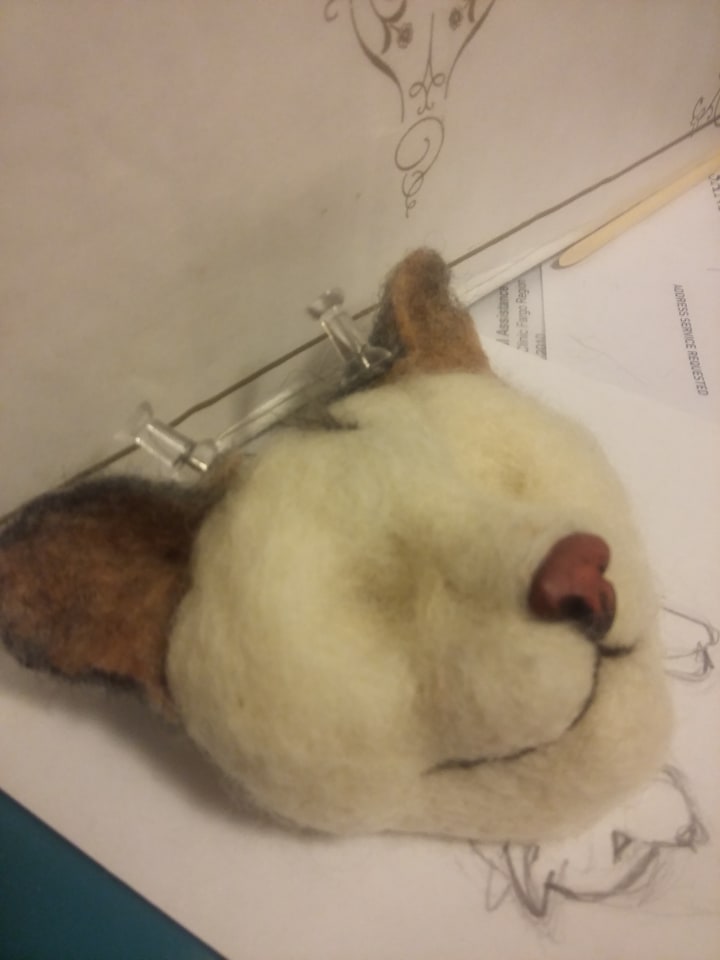
I started by using white sheep's wool, core roving to sculpt his face. Since I'm disabled, a lot of this was done in my bed, where I do most of my artwork. Needle felting is a craft done by poking a barbed needled into wool repeatedly, which can create some really great and detailed sculptures. It is really relaxing to zone out and stab away, knowing that something spectacular is going to be created when you are done.
After I got the base sculpt done, the next step to create my cat bust was to sculpt his nose. I pulled out an old box of modeling clay and some nail art tools and sculpted a close approximation of his nose. I made a loop of metal, as a fastener, and inserted it in the back of the nose so I would be able to sew it on when I was ready. When it was set, after a short baking period, I painted the nose using acrylic paints and then sewed it to the head sculpt.
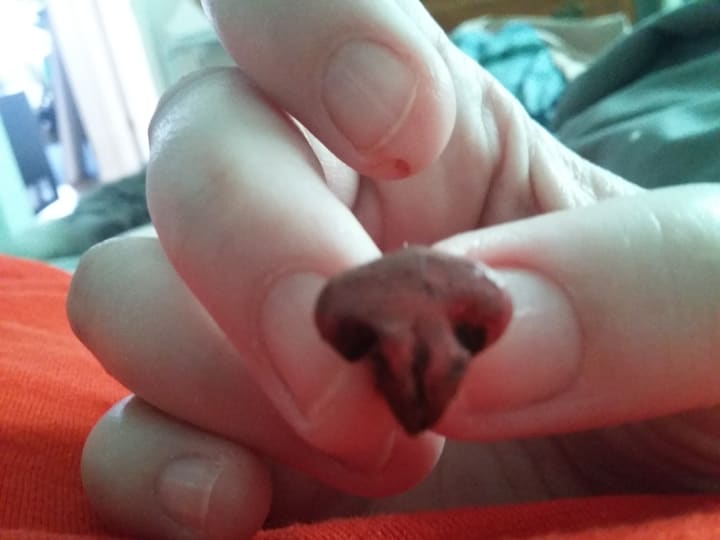
Once I got the shape right, I attached his clay nose and added a little definition to his mouth with black wool. Then I moved to wet felting his ears.
To wet felt, you have to lay down fibers on a mesh base, and then work the felt until it becomes solid. I laid down grey wool and pink mohair in layers on top of bubble wrap, covered it with a mesh fabric, and rubbed hot soapy water into the wool. After rolling it and squeezing it for a while, it turns into the sort of felt sheet most people are familiar with. I then cut the felt fabric in half and formed into ears while it was still wet. Felt will hold whatever shape it is put in while wet (which is how felt hats are made), so I pinned the ears to the head and let it dry overnight.
Once I had the ears trimmed and attached by felting them in place (again, felting is a process of poking wooly material with specialized barbed needles, which tangles the fibers and creates a solid mass), I added details, like the cat furnishings, which I learned is the technical term for the white hairs in kitty ears, using white fur snipped from Stevie's belly. I also started placing sections of hair on his forehead. This is done little by little, using short pieces of fur, which are laid down, punched in and then trimmed to the right length.
I also traced some of his markings onto the wool with a purple pen (or tried to) so I could get his markings in the right place.
While waiting for his eyes to arrive from Spokane, WA, I worked on laying more of his fur, again, piece by piece, punching in bits, and trimming as needed. This is where he started to look like a real cat.

From some angles at least!
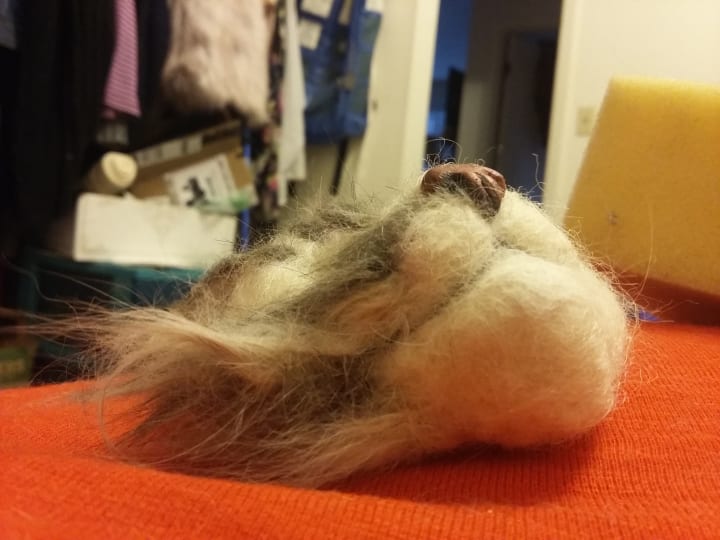
I continued to work, avoiding his eye area, for the next couple days, laying in more fur slowly but surely.And finally, the eyes arrived, so I could sew them into the eye sockets and get to finishing my boy. With eyelids added, and more fur added, he really came together quick
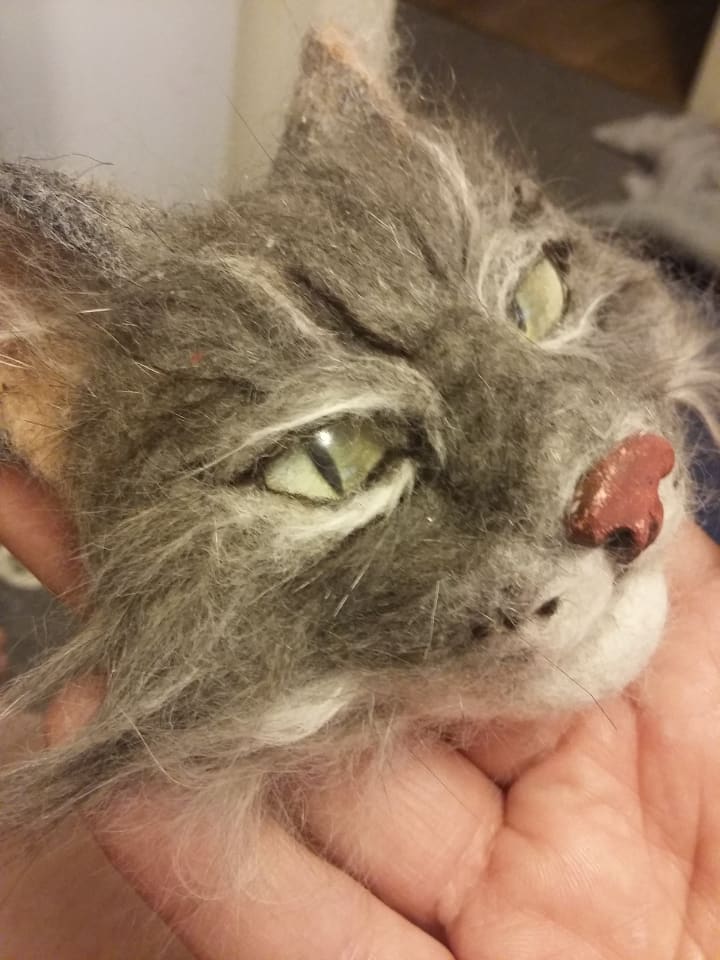
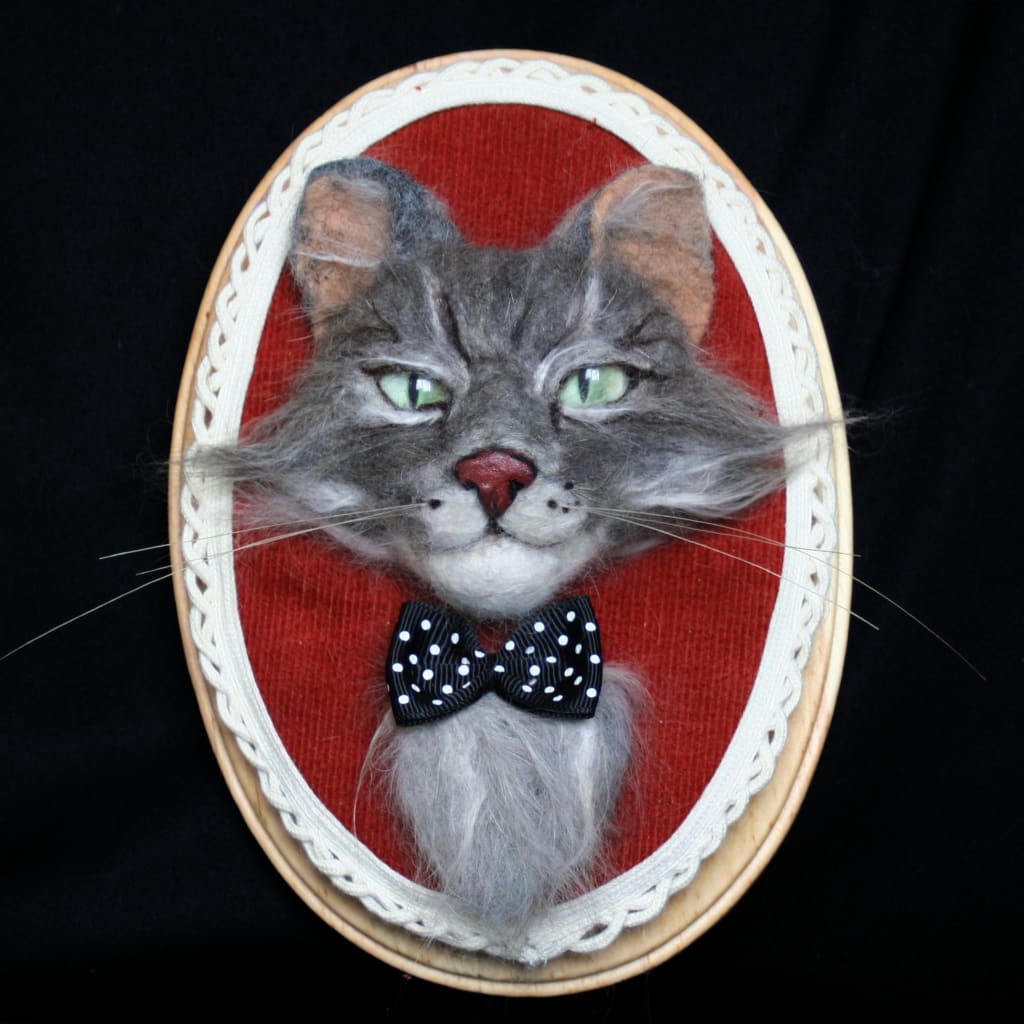
Once the cat was done, I decided that he needed a chest tuft to balance the composition, so I started with some more core wool, added some grey mohair, and then, with a few more snips of his hair, to get the right color, I stabbed a small chest tuft together and sewed a bowtie on to add some extra flair.
For the last step to complete the look, I added whiskers, using a simple sewing needle, threaded with violin bow hair to pull through his snout. Once it was through and trimmed to my liking, I used small amounts of white glue on tweezers to anchor them in place. The smaller eyebrow whiskers are simply inserted into the wool by hand.
Then came the utter pain of upholstering a hand-cut oval with corduroy. I carefully placed it and then, glued down the edging, in part because you can't make a perfect curve with foam and corduroy, or at least I can't. The entire bust piece was attached to the backing and the backing was neatly attached to the pine plaque with hot glue.
I couldn't bear to hot glue the cat to the backing so he is held on with pins that can be adjusted as needed.
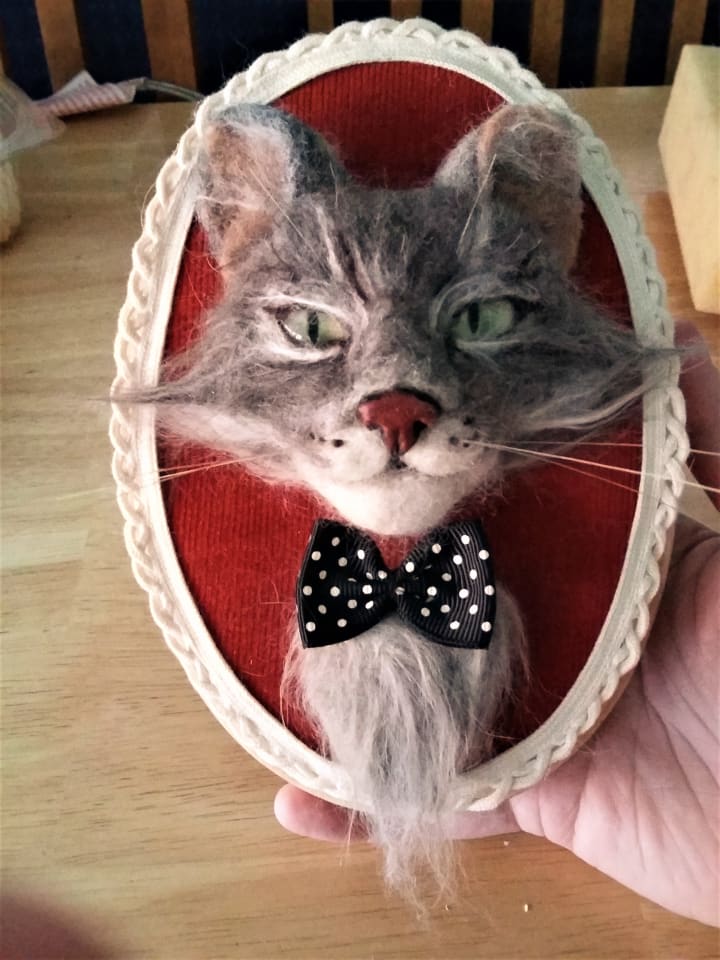
And voila, 11 days later, and at least 22 hours in, a felt cat bust, ready to hang on the wall to celebrate my sweet kitty, Señor Stevie Nicks.
About the Creator
J.D. Rose
J.D. Rose (she/her) is an artist and author. She got her start in awful rhyming poetry as a child and has since expanded her horizons to the world of novels, short stories, essays, and even the ocassional awful poem that doesn't rhyme.
How Big Game Hunting in Namibia Supports Wildlife Conservation
Namibia is widely recognized as one of Africa’s greatest wildlife conservation success stories. Unlike many countries where wildlife populations have declined, Namibia has seen steady growth in key species such as elephant, black rhino, lion, and plains game. A major reason behind this success is the country’s carefully regulated big game hunting namibia model, which directly supports conservation, habitat protection, and rural livelihoods.
By Aru Game Lodges 2 days ago in Lifehack
How to Build a Home Gym You’ll Actually Use (Not One That Collects Dust)
Building a home gym sounds simple: buy some equipment, set it up, and train whenever you want. In reality, many home gyms end up unused after the initial excitement fades. The problem usually isn’t motivation or discipline—it’s design.
By Enrique Navarro3 days ago in Lifehack


Comments
There are no comments for this story
Be the first to respond and start the conversation.