
Repairing a Sprinkler System After Construction Damage
Sprinkler System After Construction Damage
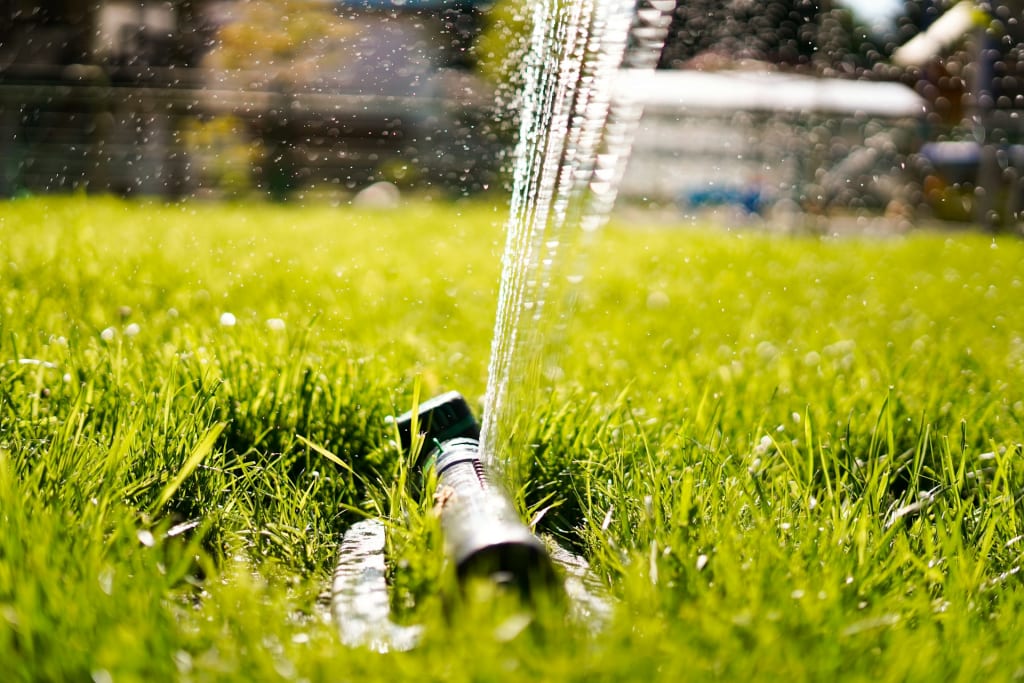
Construction projects can be exciting, but they often leave a trail of unintended damage in their wake. One common casualty? Your sprinkler system. Whether it’s a broken pipe, a crushed sprinkler head, or a severed wire, construction damage can leave your irrigation system in shambles. If you’re staring at a mess and wondering where to start, don’t worry—this guide will walk you through the process of repairing your sprinkler system and getting it back in working order.
Assessing the Damage: Where to Begin
Before you can fix anything, you need to know what’s broken. Start by inspecting your sprinkler system thoroughly. Look for obvious signs of damage, like cracked pipes, bent sprinkler heads, or exposed wires. If the construction crew was digging or using heavy machinery, there’s a good chance they hit something underground. Don’t forget to check the control box too—sometimes, electrical connections can get knocked loose.
If you’re not sure where the damage is, turn on your sprinkler system and watch how it performs. Are there areas where water isn’t reaching? Is there pooling or flooding in certain spots? These are clues that something’s wrong. Keep in mind that some issues, like a broken pipe, might not be visible from the surface, so you may need to do a bit of digging to find the problem.
Gathering the Right Tools and Materials
Once you’ve identified the damage, it’s time to gather what you’ll need to fix it. For most sprinkler system repairs, you’ll need basic tools like a shovel, pipe cutter, and screwdriver. You’ll also need replacement parts, such as new sprinkler heads, PVC pipes, or connectors. If the damage involves electrical components, you might need wire strippers and waterproof connectors.
It’s a good idea to take photos of the damaged areas before you start working. This will help you remember how everything was originally set up, especially if you’re dealing with complex wiring or piping. If you’re not confident in your DIY skills, don’t hesitate to call a professional. Repairing a sprinkler system can be tricky, and it’s better to get it done right the first time.
Fixing Broken Pipes and Leaks
One of the most common issues after construction is broken pipes. If you’ve found a cracked or severed pipe, the first step is to turn off the water supply to your sprinkler system. This will prevent flooding while you work. Next, dig around the damaged area to expose the pipe. Be careful not to cause further damage as you dig.
Once the pipe is exposed, use a pipe cutter to remove the damaged section. Measure the length of the piece you’ve removed and cut a replacement pipe to match. Attach the new section using PVC connectors and cement, making sure the joints are secure. After the cement has dried, turn the water back on and check for leaks. If everything looks good, refill the hole with soil.
Replacing Damaged Sprinkler Heads
Sprinkler heads are another common casualty of construction. If a head is cracked, bent, or not popping up properly, it’s time to replace it. Start by digging around the damaged head to expose the riser (the pipe that connects to the sprinkler). Unscrew the old head and remove it from the riser.
Take the old head to your local hardware store to find an exact match. Screw the new head onto the riser, making sure it’s level with the ground. Turn on the sprinkler system to test the new head and adjust the spray pattern if necessary. Once everything’s working, fill in the hole and tamp down the soil.
Repairing Electrical Issues
If your sprinkler system uses an electric controller, construction damage could affect the wiring. Start by checking the control box for loose or disconnected wires. If you find any, use wire strippers to remove the damaged section and reconnect the wires with waterproof connectors.
If the problem is more serious, like a severed wire underground, you’ll need to dig carefully to locate the break. Once you’ve found it, cut out the damaged section and splice in a new piece of wire. Make sure all connections are secure and waterproof before burying the wire again. Test the system to ensure everything’s working correctly.
Testing and Fine-Tuning Your Repairs
After you’ve fixed the damage, it’s important to test your sprinkler system thoroughly. Turn on each zone and check for leaks, uneven water distribution, or other issues. If you notice any problems, go back and make adjustments. For example, you might need to tweak the angle of a sprinkler head or tighten a connection.
Don’t forget to check the controller too. Make sure all the zones are programmed correctly and that the timer is set to your preferred schedule. If everything looks good, give yourself a pat on the job—you’ve just repaired your sprinkler system after construction damage.
Preventing Future Damage
Once your sprinkler system is back in working order, take steps to protect it from future damage. If you’re planning more construction, mark the locations of your sprinkler lines and heads clearly. You can use flags or spray paint to indicate where they are. Communicate with the construction crew to make sure they’re aware of your sprinkler system and take care to avoid it.
If you’re not planning any more construction, consider adding protective measures like burying your pipes deeper or installing guard stakes around sprinkler heads. These small steps can go a long way in preventing damage down the road.
When to Call a Professional
While many sprinkler system repairs can be done on your own, there are times when it’s best to call in a pro. If the damage is extensive or involves complex electrical work, a professional can ensure the job is done safely and correctly. They can also help you identify hidden issues that you might have missed.
Hiring a professional might cost more upfront, but it can save you time and frustration in the long run. Plus, they can offer advice on how to maintain your sprinkler system and prevent future damage.
Wrapping Up: Getting Your Sprinkler System Back on Track
Repairing a sprinkler system after construction damage might seem daunting, but it’s entirely doable with the right approach. By assessing the damage, gathering the necessary tools, and taking it one step at a time, you can get your irrigation system back in working order. Whether you’re fixing a broken pipe, replacing a sprinkler head, or tackling electrical issues, the key is to be patient and thorough.
Remember, prevention is just as important as repair. Take steps to protect your sprinkler system from future damage, and don’t hesitate to call in a professional if you need help. With a little effort, you can keep your lawn looking great and your sprinkler system running smoothly for years to come.
About the Creator
Keep reading
More stories from Michael Evans and writers in Journal and other communities.
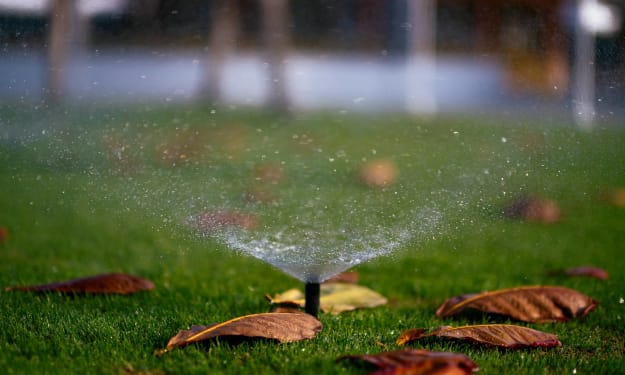
Understanding the Challenges of Sprinkler System Repairs During a Drought
Drought conditions significantly impact the management and maintenance of sprinkler systems. As water becomes scarce, ensuring the efficiency of your irrigation setup is paramount. Here’s how you can manage sprinkler system repairs during a drought to maintain your landscape while conserving water.
By Michael Evans2 years ago in Lifehack
Thoughts on Vocal and the way the world is
"Death cannot stop true love, only delay it." – Wesley in The Princess Bride. I decided to come back to Vocal on a very cold and dark night at the end of December. I had been, and still am, convalescing from a horrible staph infection that had gone misdiagnosed for months. This, paired with the increasing challenges of being healthy, making the best choices for my co-parented child, being a wife, and being a director at a new job, was a lot to manage.
By Jazzy 6 days ago in Confessions


Comments
There are no comments for this story
Be the first to respond and start the conversation.