
Laravel Homestead: Setting Up a Development Environment
A Comprehensive Guide to Setting Up Your Development Environment

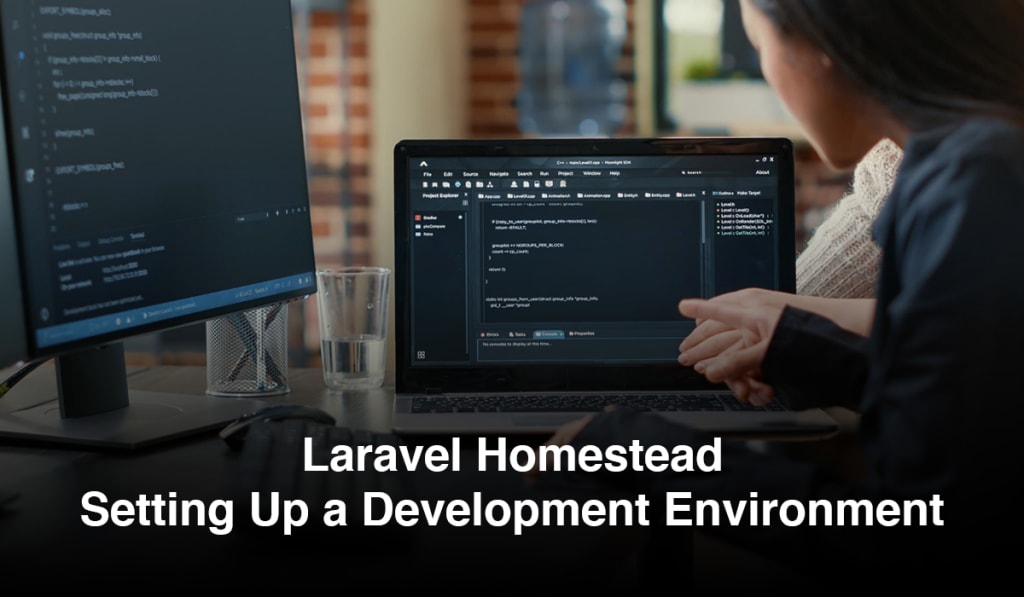
In the realm of web development, the choice of a development environment can significantly impact productivity and ease of collaboration. Laravel Homestead, a pre-packaged Vagrant box, provides a streamlined solution for setting up a robust and consistent development environment for Laravel applications.
In this article, we'll delve into the world of Laravel Homestead, guiding you through the process of setting up an efficient development environment.
Understanding Laravel Homestead
What is Laravel Homestead?
Laravel Homestead is an official, pre-packaged Vagrant box that provides a development environment for Laravel applications. Developed by the creators of Laravel, Homestead simplifies the setup process by bundling essential tools and configurations, allowing Laravel developers to focus on building applications rather than configuring servers.
Key Features of Laravel Homestead:
Vagrant Integration: Homestead leverages Vagrant to create and manage development environments. This ensures consistency across different machines and operating systems.
Pre-installed Dependencies: Laravel Homestead comes with pre-installed software and tools, including PHP, Nginx, MySQL, Composer, Node.js, and more. This eliminates the need for manual installations and configurations.
Homestead.yaml Configuration: Developers can customize their development environment by modifying the Homestead.yaml configuration file. This includes setting up databases, configuring sites, and adjusting PHP versions.
Seamless Laravel Integration: Designed specifically for Laravel, Homestead seamlessly integrates with Laravel projects, providing a development environment tailored to the framework's requirements.
Setting Up Laravel Homestead
Prerequisites:
Before diving into Homestead, ensure you have the following prerequisites installed on your machine:
Vagrant: Download and install Vagrant from the official website.
VirtualBox or VMware: Choose either VirtualBox or VMware as the provider for your virtual machine.
Git: Ensure Git is installed on your machine to clone the Laravel Homestead repository.
Installation Steps:
1. Clone the Laravel Homestead Repository:
Open a terminal and run the following command to clone the Homestead repository:
git clone https://github.com/laravel/homestead.git ~/Homestead
2. Navigate to Homestead Directory:
Change into the Homestead directory:
cd ~/Homestead
3. Run the Installation Script:
Execute the following command to initialize Homestead and configure the Homestead.yaml file:
bash init.sh
4. Configure Homestead.yaml:
Open the Homestead.yaml file in a text editor to customize your development environment. This includes setting up databases, configuring sites, and adjusting PHP versions.
5. Provision the Vagrant Box:
Run the following command to create and provision the virtual machine:
vagrant up
6. SSH into the Homestead Box:
Once the provisioning is complete, SSH into the Homestead box:
vagrant ssh
Optimizing Your Development Workflow with Laravel Homestead
1. Shared Folders:
Homestead automatically maps your Laravel project directory to the /home/vagrant/code directory inside the virtual machine. This ensures that any changes made to your local files are reflected in the virtual machine and vice versa.
2. Database Configuration:
Use the Homestead.yaml file to define databases for your projects. This eliminates the need to configure databases manually, ensuring consistency across development environments.
3. Customizing Sites:
Homestead allows you to define Nginx sites for your projects. Customize the Homestead.yaml file to specify the domain, map it to the project folder, and configure other site-specific settings.
4. Multiple PHP Versions:
Homestead supports multiple PHP versions. You can switch between PHP versions for different projects by adjusting the Homestead.yaml file.
5. Laravel Mix:
Laravel Mix simplifies asset compilation and preprocessing. Utilize Homestead's Node.js installation to run Laravel Mix commands effortlessly.
Common Issues and Troubleshooting
1. Vagrant Box Update:
Regularly update your Homestead box by running:
vagrant box update
2. Memory Allocation:
If you encounter performance issues, adjust the memory allocated to the virtual machine in the Homestead.yaml file.
3. Network Configuration:
Ensure that the network configuration in the Homestead.yaml file matches your local network settings to enable seamless access to your Laravel applications.
Conclusion
Laravel Homestead provides a powerful and convenient solution for setting up a development environment tailored to Laravel applications. By simplifying the configuration process, automating essential tasks, and ensuring consistency across different machines, Homestead empowers developers to focus on what they do best—building high-quality Laravel applications.
Whether you're a seasoned Laravel developer or just getting started, embracing Laravel Homestead can significantly enhance your development workflow. Take advantage of its features, customize your environment to suit your needs, and embark on a journey of efficient and enjoyable Laravel development. With Laravel Homestead, you're not just building applications; you're building with confidence and ease.
About the Creator
Manoj Shukla
Tech Geek, Learner, and Web Designer
Keep reading
More stories from Manoj Shukla and writers in Journal and other communities.
Mobile App Development for the Metahuman Era: Enhancing Human Potential
In the ever-expanding realm of technology, mobile app development has emerged as a driving force behind numerous transformative innovations. With the advent of the metahuman era, a concept that envisions humans transcending their current limitations through the integration of advanced technologies, mobile apps have taken on a new role: enhancing human potential to unprecedented heights.
By Manoj Shukla2 years ago in Journal
The goals I did not achieve
Every writing goal I made for the year is a wash. It has been this way for a while, but I think it's important to be open about my failures and the reality of how life can get in the way. This is especially true considering the several times I have posted on Vocal about my writing goals, how I was changing my approach, and where I was hoping to be for the upcoming year. I will probably do that again in a couple months, but for now, it is time to acknowledge where I am today.
By Kay Husnick23 days ago in Journal


Comments
There are no comments for this story
Be the first to respond and start the conversation.