
How to switch to a new VoIP provider
Shift to a new VoIP Provider
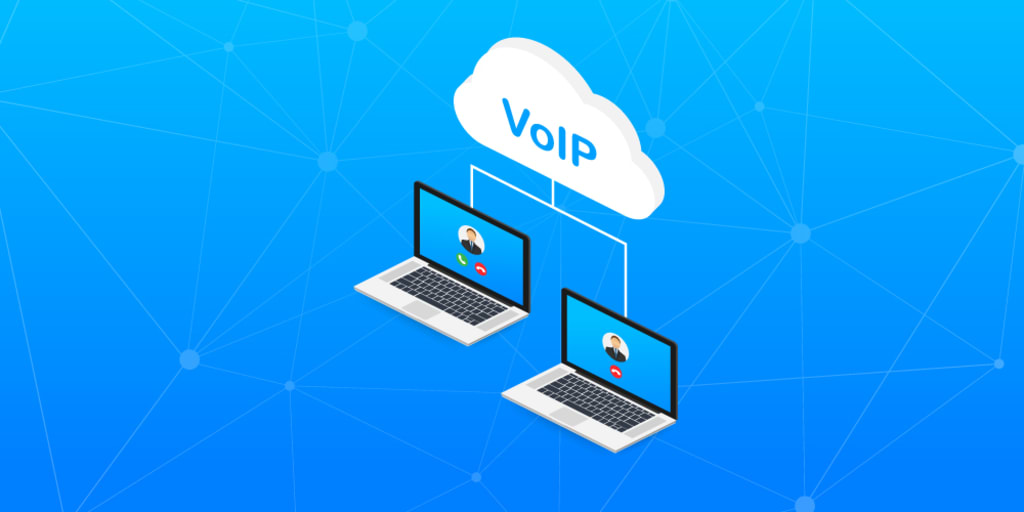
In the world of VoIP (voice-over-internet protocol) providers in India, you have your traditional telecom service that provides voice and text for a low monthly fee. You also have VoIP providers like Google Voice which gives you free landline phone service as well as cheap international calls. And finally, you have a new kid on the block – IP Momentum which offers unlimited calling with no hidden fees at all.
Many people are wary about switching to any type of VoIP provider because they fear that they may be locked into a contract and unable to change their provider with ease but this is not true with these services in India. In fact, switching is very easy and can be done without much hassle at all. Whether you want to move back to a telecom provider, or thinking about switching to a different VoIP provider in India. Here’s what you need to do.
Step 1: Get Prepared
You will need your account number and the PIN number that was assigned to you when you signed up for your VoIP service. If you don’t have these, then it’s time to log on to your account and visit the profile section under “My Account”. Look for “Choose PIN Option” or a similar option in the menu and enter new numbers into the space provided so that you can keep track of your online account information. This is just a precautionary step in case things go awry later on.
Step 2: Check the Fine Print
Before you switch to another VoIP provider in India, take some time to read the fine print on your current service’s web page or on your mobile app. There may be a stipulation that you have committed yourself to at least a one-year agreement with this service. If so, then you may have no choice but to continue to use them unless you really feel that this is not working out for you.
Step 3: Switch to the New Provider
If you find that you can easily switch, then log on to your new VoIP provider’s website. If you want to use your computer, be sure to make sure your device is compatible with this service or just download their app on your smartphone. You can choose from a variety of service plans if they offer different options in India. This will help you figure out which plan will give you the best bang for your buck (or rupees).
Step 4: Check Your Billing Cycle
When signing up for a new VoIP provider in India, make sure that the billing cycle starts when you actually send a call or place an outgoing international call with them. A lot of services are set up in this regard so that you will start your billing cycle whenever you do a call or send an email. This means that if the cycle actually starts after your call, then you may be charged for a full month even if you have only used a short amount of time with them.
Step 5: Check Your Plans
It’s possible that your new VoIP provider is locked in on their plans; in which case, they may not allow you to change from one plan to another. If this is the case, simply request a change and ask them to move your account so that it will work correctly with their new plans.
Step 6: Hang Up and Dial
It’s time to get that call made and it may be a good idea to get some help from a friend or family member. If you don’t mind being recorded, then this is easy enough; if not, then you will need to find someone else who can assist you with this. Either way, always remember your PIN number in case there are any issues with the process.
About the Creator
Keep reading
More stories from RachelDsouza and writers in Journal and other communities.
What is VoIP ?
VoIP (Voice over IP) is a type of telephony network technology in which voice calls are made over the Internet using common forms of data networking. VoIP uses a broadband connection, typically DSL or cable modem, to transmit the audio portion of phone conversations using computer routing technology.
By RachelDsouza5 years ago in Journal
~ Fired ~
— Ai Intrusion ~ Are you Next ~ Is Ai Evolution after your job? — Few workplaces haven't been affected. Ai is in supermarkets, at doctors' offices, and even monitoring farms. I just can't think of anything this machine is not getting into, can you? For instance: Education ~ Law and Tech jobs will one day have a major influence or be taken over by these inanimate machines, with accuracy and vigor. From mechanics' diagnoses to a wide variety of everyday jobs, including fast food workers, with this input having the ability to cut their unnecessary work hours. I'm certain all of us have been touched by this with our short stories and colorful headings, have you? Even comments are very questionable 'Non-Robot' insertions.
By Jay Kantor5 days ago in Journal
How to plan the perfect wellness retreat in Ella
Many travellers are seeking meaningful ways to escape the hustle and bustle that their daily lifestyle offers today. A wellness holiday is the answer to this void. It offers a place and activities for physical and emotional rejuvenation and is designed to foster long-lasting wellbeing and inner peace. When considering where to place yourself for such an experience, Ella, Sri Lanka's charming highlands, tops the list. Here is a guide for you to make the best of your wellness getaway there.
By Jeewanthi Armstrongabout 3 hours ago in Journal


Comments
There are no comments for this story
Be the first to respond and start the conversation.