
How to Start a Free blog with No Money | Learn Here
Learn how to create a free blog with no investment at all 🤟🤟🤟

Do you want to start a free blog with no investment? Then you're in right place. Yes! It is possible to create a blog without spending any money at all. In this article, you are going to learn that how to create a free blog with no money. Moreover, if you are a beginner no need to worry here you will learn step by step by procedure to create a free blog.
Before Starting a blog there are few things that you must know. I would recommend you to firstly read that and then continue with this article.
👉Here are the 6 things that you must know before starting a blog.
Let's deep dive into this guide!
How to Start a Free blog with No Money
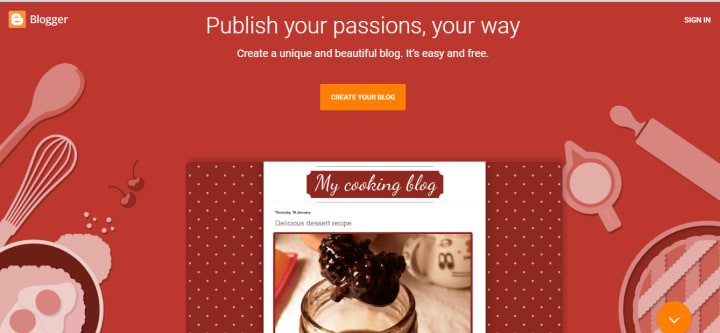
We are going to use a blogger platform to create a free blog. Blogger is a product that is launched by Google itself which allows you to create a free blog. On the blogger platform, you will get free domain name and hosting. No need to spend any money on buying the domain name and hosting.
To reach the blogger platform you can directly click here or you can type blogger.com in Search bar to visit the blogger platform. After visiting blogger you will see the following screen.
Here you have two options create a blog or sign. Click on any option and it will redirect you to the next page where you have to sign in with your Gmail id. You have to enter your Gmail id and password to access the blogger.
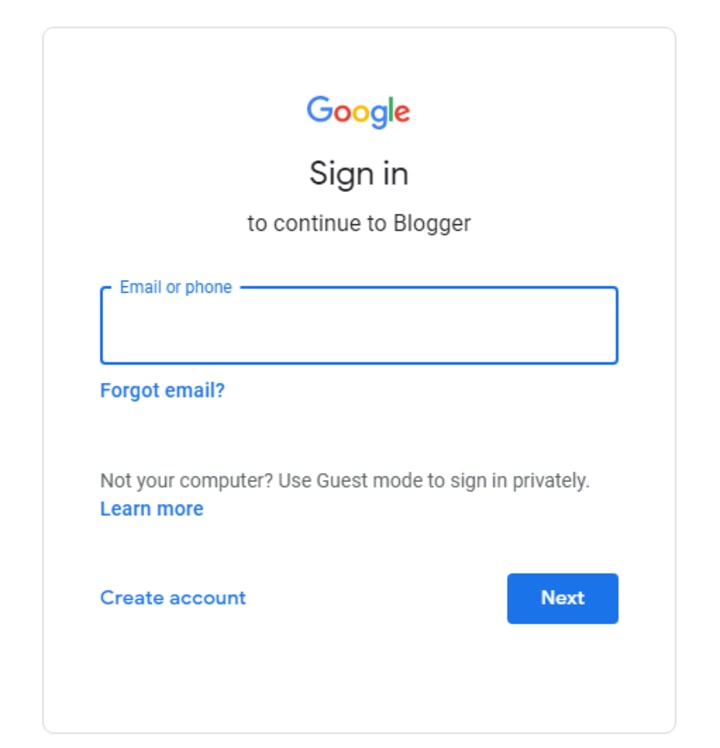
But if you don't have a Gmail id. Don't worry it's a very simple process just click on create new account option and enter your details like name, phone number and date of birth. After creating a Gmail id again come to the blogger platform and sign in with your Gmail id.
After signing in you will come to the blogger platform where you are going to create your blog.
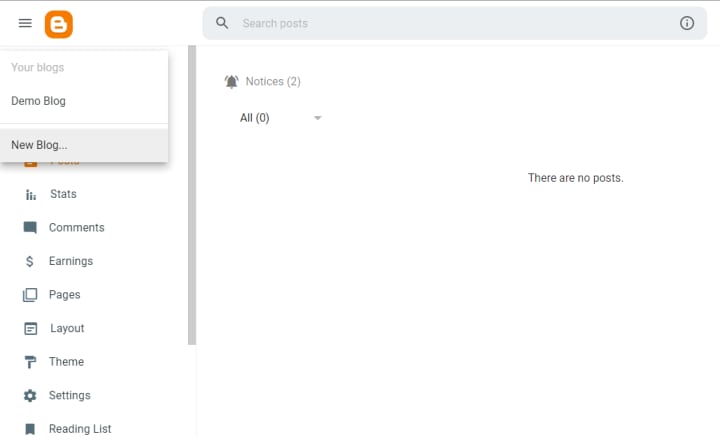
On the left side of the blogger dashboard, there is a link to create a new blog. Click on the new blog option.

Enter the name of your blog. The name means the title of the blog. Whatever title you want to give to your blog you can enter here. According to your niche, choose the name of your blog. For the sake of this article, I am going to enter "learnwithkaur" as the title of the blog.
On the next page, you have to choose the URL of your blog. Every blog has a unique URL like google.com, youtube.com and yahoo.com. Choose a unique and short URL that is easy to remember. Blogger will provide you with a free domain that's why whatever URL you will choose automatically blogspot.com is attached at the end of your URL.
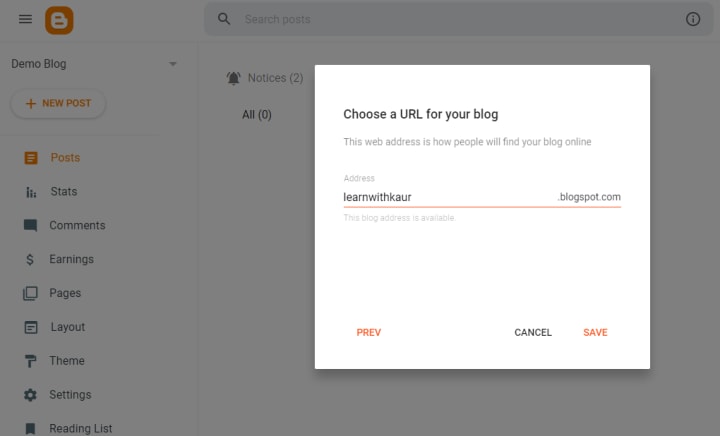
Sometimes when you enter a URL It will show you the error " that URL is not available ( means this URL is already taken by someone else). So you can't use the same URL. Add some other keywords and make it unique. After choosing the URL click on the save button. And you have l l now you launched your first blog and now you can start customizing your blog.
Before the customization of a blog. Let's have a look at the Blogger dashboard so that it will be easy for you to navigate with the platform. Here is how your personalized blogger dashboard with look like.
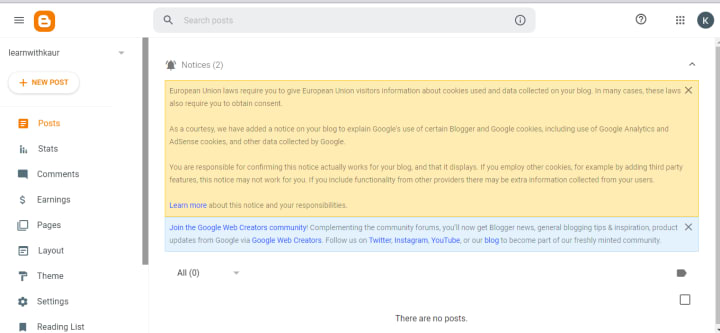
Let's briefly discuss each option of the blogger dashboard.
New Post - Post is where you write your article and If you want to write an article or post then you can click on a new post to add a new post to your blog.
Posts - Posts options will display all posts ( draft and published). Draft post means the post which is not yet published on your blog and published posts means posts that you have published on our blog. So here in Posts, you can check all your posts and you can apply the filter to find any specific post.
Comments - In the comment section you can view the comments of your audience and from directly here you can reply to their comments.
Earnings - When your blog becomes eligible then from here you can directly apply to Google Adsense. When your blog gets approved by Google Adsense then you can check your earnings right here in the earnings section.
Page - To add new pages like (about us, Home, Terms and conditions and contact us ) you can go into the page section and create your new page. And here you can also see published pages on your blog.
Layout and Theme - It is the most important section of your dashboard from where you can add a theme for your blog. The theme is used to give design to your website. In the next article, you are going to learn how to add a theme to the blog. To customize the theme according to your requirements go into the layout section and make changes.
Settings - To make your blog SEO optimized you can jump into the settings section and add title, description and Meta tags to increase the SEO score of your blog. Many more settings which are necessary you can do here. If you are not familiar with these things don't worry stay connected with me. On this platform we are going to discuss everything. Moreover, if you have any questions feel free to ask me.
View blog - To view the blog that how it looks like simply click on the view blog option. Here is the view of the "learnwithkaur" blog that I have just created for the sake of this guide.
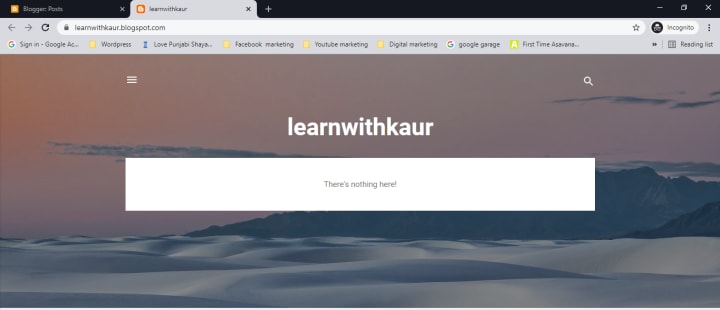
👆 This is how your blog will look like once you have done with the basic blog setup that you have learned in this article. Nothing is shown here because we have not added any theme and content yet. Here you will see two things The title " learnwithkaur" and URL learnwithkaur.blogspot.com that we have chosen during the setup of a blog.
I hope now you have an idea that how to create a free blog with no money. Go ahead 👍 and create your blog without any investment.
Next, you need a theme to change the layout and design of your blog. In the upcoming article, you will learn that how to choose a perfect theme and add it to your blog.
On this platform, you will learn blogging with me using a free platform blogger. So stay connected with me!
About the Creator
Kamaljeet Kaur
I am a digital marketer with robust designing and WordPress skills and proven experience in creating and designing fresh and unique content. Founder of digitalnoteshub.
Keep reading
More stories from Kamaljeet Kaur and writers in Journal and other communities.
6 Things You Must Know Before Starting a Blog
I am pretty much sure that you want to start your own blog that’s why you’re here to learn 7 things that you must know before starting a blog. It normally happens in our life whenever we do a new startup then after some times we realized that I wish I could know this thing before a startup to make things better.
By Kamaljeet Kaur5 years ago in Journal
How AI Is Reshaping the Future of Software Development
Artificial intelligence is no longer an experiment running in parallel to engineering. It has moved directly into the production pipeline. For modern software development companies, AI is changing how code is written, tested, secured, and evolved. This shift is not cosmetic. It is structural. Businesses that treat AI as a feature will fall behind those that redesign their development model around it.
By Gabriella Browne7 days ago in Journal


Comments
There are no comments for this story
Be the first to respond and start the conversation.