
Flashing Repair: The Finishing Touches for a Perfect Roof
Ensuring a Leak-Free and Secure Home
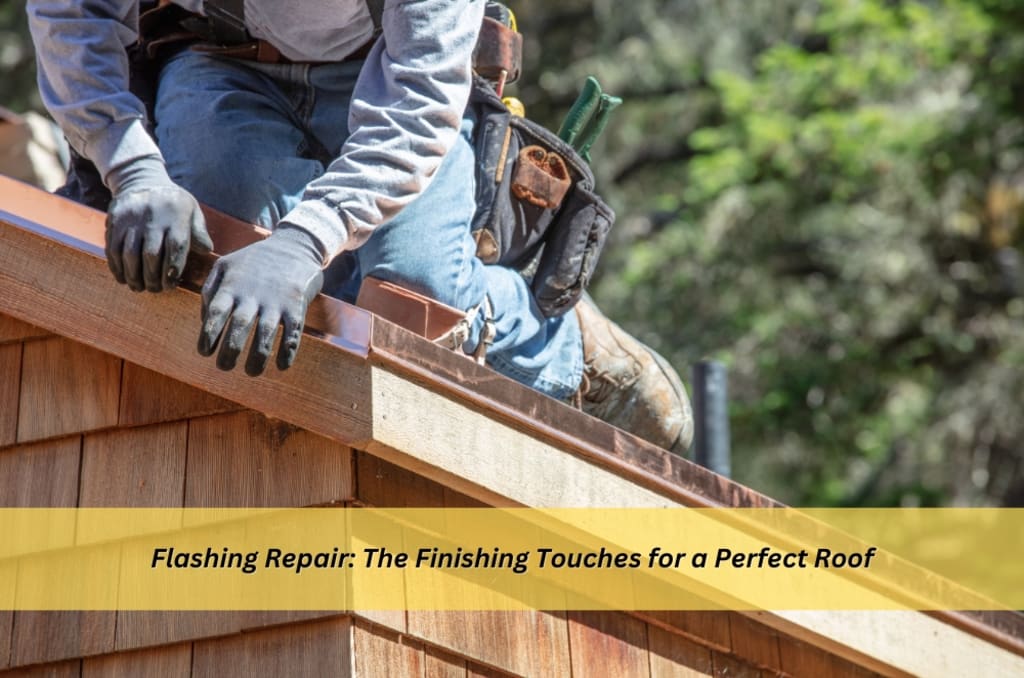
Heavy Sydney weather can really hammer your house, and although the roof coppers most of the assault, it's often the humble flashing that saves the day. Many people never consider the roof on their home unless there is an issue. By ignoring your flashing, one could expect a much more expensive repair bill sometime down the road. Many people have problems with the house's roof, and some may be interested in where quality roof flashing repair could be found. This article should explain why it is crucial for protecting the house and personal safety, a few materials used, common flashing failures, and when it can be done personally without professionals. We'll review the basics of flashing, why it's such a key ingredient for a watertight roof, and the primary steps to protect your home against the elements.
Fundamentals of Flashing: It's All in the Roof Protection
Flashing is a thin, flat material designed to be installed at junctions where various roof planes meet around chimneys, vents, skylights, and valleys. It is chiefly installed to prevent water from spreading into the more delicate areas of your house onto the gutters, as it should have, and from further house seepages. Without flashing, water may pass easily behind the shingles or tiles onto rotten and pricey repairs, mould growth, and sometimes even cause structural damage to the building structure. In essence, it's what keeps a home dry and safe.
Types of flashing: Choosing the right material
Different types of flashing are used depending on the place and purpose. Some common ones are as follows:
- Step flashing: Step flashing is applied in overlapping pieces along the intersection of the roof and wall, similar to steps, to direct water away from the wall.
- Counter flashing: Counter flashing is applied over the top edge of step flashing and attached to the wall for added protection.
- Valley flashing: In valleys where two roof slopes meet, valley flashing is installed to allow water to move down the valley and divert from the meeting point.
- Chimney flashing: Chimney flashing is designed for chimneys and generally comprises many parts, such as base flashing, counter flashing, and cricket flashing.
- Vent flashing: This is around the opening for roof vents. Vent flashing prevents water from entering the roof through the vent opening.
The material used is another variable. The options most utilised are:
- Aluminium: Light in weight and corrosion-resistant, aluminium materials are generally favoured for most flashing applications.
- Copper: Copper flashing is known for its durability and attractive appearance. It is a top-line product expected to last decades.
- Galvanised steel: Lowly priced, galvanised steel is treated with zinc to make it rust-resistant.
- Lead: The most malleable and resistant, lead flashing is used in complicated applications.
Why flashing fails: identifying common issues
Even the best of flashing falls prey to wear and tear over time. Here are some common reasons for roof flashing repair:
- Age: Like any material, flashing becomes brittle and susceptible to cracking after a certain period.
- Flashing can be compromised due to harsh weather conditions that include strong winds, hail, and heavy rains.
- Poor Installation: The number one reason behind leaks is the poorly installed flashing.
- Settling/Movement: Flashing can be knocked out of place or damaged whenever the house settles or moves.
- Corrosion: Some metals from which flashing is made will oxidise with time, especially in homes exposed to saltwater.
DIY flashing repairs: a step-by-step guide
For minor flashing issues, some homeowners may opt for self-diagnosis repairs. Here is a simplified guide:
- Inspection: Carefully examine the flashing to determine which part has been damaged.
- Removal: Gently remove the spoiled flashing without causing further damage to surrounding shingles or tiles.
- Cleaning: Clean up the place where the new flashing is to be set.
- Installation: Cut the new flashing to the correct size and shape and install it tightly using appropriate fasteners and sealant.
- Caution: Only experienced homeowners should try DIY flashing repairs. Improperly installed flashing can lead to other problems, including costly repairs.

Professional flashing repairs: when to call an expert
While one can be lured into treading the self-help path, especially for minor issues, there arise times when it becomes pertinent that one calls the professional for roof flashing repair. Here are situations where one needs expert help:
- Extensive damage: Contact the pros for highly damaged or corroded flashings, as this situation is beyond you.
- Complicated installations: Flashing to chimneys and skylights and for valleys calls for unique know-how and expertise.
- Safety: Working at height is hazardous, and pros have all the safety equipment and training needed.
- Warranty: Inadequate DIY repairs could invalidate your roofing warranty.
A professional roofer will properly use suitable materials according to building standards. They may also recognise other profound issues with your roof and develop a comprehensive approach to the problems identified.
Conclusion: flashing for the perfect roof
Roof flashing forms part of each roofing system. Silent guardian, this flashing protects your home against weather conditions, keeping the water damage away. Whether looking at DIY repair works or instead calling a professional, recognising the importance of flashing and getting them fixed immediately is the key to having a flawless roof and a dry, safe house. So don't underestimate these finishing touches; they're the things between you and that long-lasting, trouble-free roof.
About the Creator
Keep reading
More stories from Barbie Fex and writers in Journal and other communities.
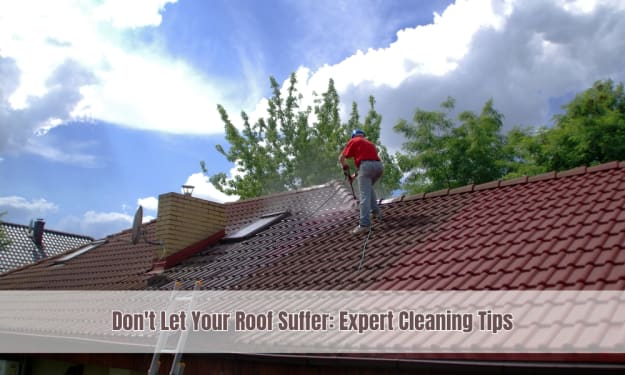
Don't Let Your Roof Suffer: Expert Cleaning Tips
A neglected roof quickly becomes a major headache and might even lead to costly repairs and, worst of all, even structural damage. Such problems can be avoided if one learns to prioritise regular roof maintenance.
By Barbie Fexabout a year ago in Journal
Large Protests Against Donald Trump’s Policies Continue — Why the Movement Keeps Going Viral
Across major cities in the United States and Europe, large-scale protests tied to Donald Trump’s policies and political influence continue to dominate headlines and social media timelines. From packed city squares to viral protest signs, livestreams, counter-demonstrations, and trending hashtags, the story refuses to cool down.
By Omasanjuwa Ogharandukun2 days ago in Journal
Autonomy Is The Real Privilege
Good morning, freedom-seekers! Today we’re gonna be looking at autonomy. A strange word, I know; one many would probably look at blankly and run away from on sight. We’re gonna figure out what it actually means, consider how it’s achieved, and decipher just how deeply most of us are tangled up in dependence without realising it.
By That ‘Freedom’ Guy4 days ago in Humans


Comments
There are no comments for this story
Be the first to respond and start the conversation.