
Best Practices for Preparing Files for Large Format Printing
Discover the best practices for preparing files for large-format printing. From resolution to color and file type, get pro results with smart prepress service tips.
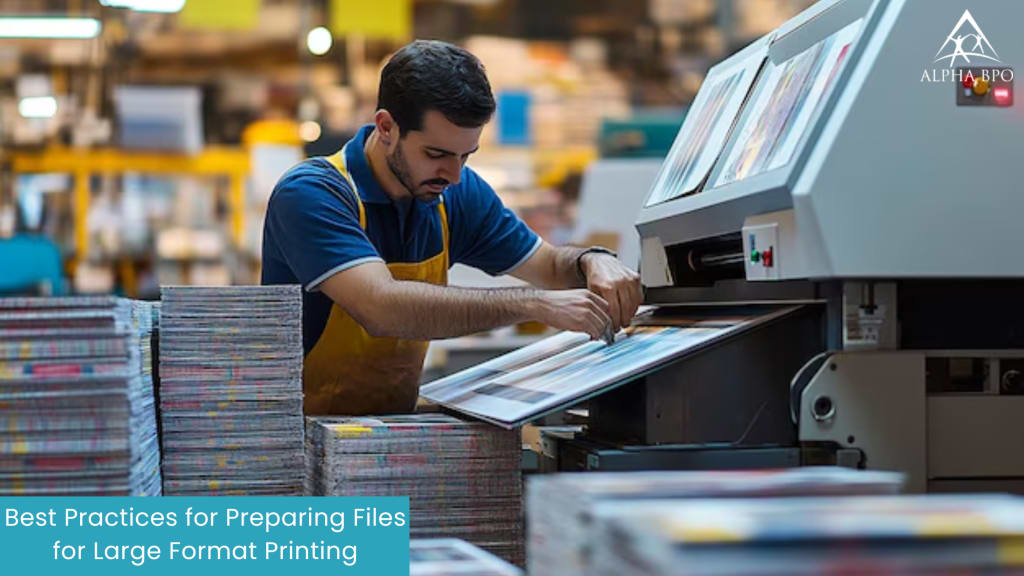
Large-format printing is used in various applications, including trade shows, advertising, events, and directional signage. Printing something on a large scale, like a banner, poster, or sign, is a powerful way to grab attention and helps your message stand out loud and clear.
However, large-format printing sounds simple, but it requires a bit of preparation to get it right. If your file isn't set up correctly, you could end up with blurry images, stretched text, or colors that appear completely off. To achieve sharp, eye-catching results, the process begins with a crucial step: proper file preparation.
Pre-press printing services play a crucial role in large-format printing by carefully checking and preparing files before they are sent to the print process. This step ensures that your final output looks clean, sharp, and exactly as expected.
In this guide, we will outline the essential steps to prepare your files for large set printing. We'll cover topics such as selecting the proper resolution, utilizing the correct file format, managing colors, and ensuring your images appear great when printed at a larger size.
How to Prepare Files for Large Format Printing
Set the Right Size and Resolution
Before you start designing for large-format printing, it's essential to set your file to the actual size you want it printed. Therefore, if your final print needs to be 60 x 40 inches, your document should be set to those exact dimensions.
But sometimes, working at full size can make the file too large and heavy for your computer to handle. In that case, you can design at half the size, say about 30x20 inches, but make sure to double the resolution to 300 DPI instead of 150. This helps to keep the image sharp and detailed when it's enlarged.
Moreover, large-format files can become very heavy, which can slow down the process or even cause software or printing errors. To avoid these issues:
- Flatten layers in Photoshop if you're done editing them.
- Remove any unused elements or hidden layers from your file.
- Slightly compress images if necessary, but ensure that the quality is not compromised.
Now, resolution refers to how clear your design will look when printed. It's measured in DPI (dots per inch) or PPI (pixels per inch). Smaller prints or prints that people will view closely need to be crisp and clean, so you should opt for 300 DPI. However, for large prints that will be viewed from a distance, such as event banners or billboards, 150 DPI is usually sufficient.
Tip: Always check your print shop's resolution guidelines before sending your file. Start with high-quality, high-resolution images from the beginning. Because a small image you found online might look fine on your screen, but try blowing it up for a big banner, and you'll end up with a blurry, pixelated mess.
Use the Right File Format
Choosing the correct file format is a crucial step in preparing your design for large-format printing. Not all file types work the same when it comes to print quality, so picking the correct one can make a big difference in how your final product looks.
The most commonly recommended format is PDF. It's reliable, easy to open on any device, and keeps your design layout and fonts exactly as you intended.
For images and graphics, TIFF is a great choice. It's a high-quality, lossless format, which means it won't compress or blur your image. This helps maintain sharp details and accurate colors.
If your design includes logos, illustrations, or other vector elements, go with EPS or AI formats. These are perfect for graphics as vector graphics can be scaled up to any size without losing quality and clarity, regardless of the final dimensions.
Use JPEG only for high-resolution and highest quality images.
Avoid screenshots, Word documents, or any file type that compresses your image.
Low-quality or compressed formats can lead to poor print quality, color shifts, or blurry results, and also introduce unwanted visual issues known as compression artifacts that can ruin the clean look of your design.
Include Bleed and Safe Zones in Your Design
When setting up a design for large-format printing, one small but important detail is adding a bleed area. Bleed is a bit of extra space—usually between 0.125 and 0.25 inches—that extends beyond the edge of your design. A bleed ensures that your background extends slightly beyond the trim line, helping avoid any white edges or cut-off parts when the final print is trimmed.
Also, avoid placing important text, logos, or critical design elements too close to the edge.
Leave a bit of space between them and the trim line, which is referred to as the "safe zone." It helps to protect key content from getting too close to the edge or accidentally trimmed off.
Check Color Mode and Manage Color Properly
To ensure your design prints exactly as you see it on screen, you need to pay close attention to color settings.
First, set your file to the CMYK color mode, which stands for Cyan, Magenta, Yellow, and Black. This color model differs from the RGB mode (Red, Green, Blue) that screens typically use. If you design in RGB, your printed colors may appear significantly different from the intended colors. Switching to CMYK from the start helps ensure your colors stay as accurate as possible from screen to print.
Next, use a color profile that matches your specific printer and paper type. This informs your design software on how colors should be displayed and printed, ensuring consistency throughout.
Color management tips:
- Calibrate your monitor regularly. This means adjusting its brightness, contrast, and color to match industry standards.
- Use graphic design software that supports color management tools. Programs like Adobe Illustrator or Photoshop allow you to preview how your colors will look in print (this is called "soft proofing").
- Perform a test print at a smaller size to check how your colors appear on paper.
Use Readable Fonts and Convert Text to Outlines
When adding text to your large-format design, it's essential to use clear and easy-to-read fonts, especially if your print will be viewed from a distance. Avoid thin or overly decorative fonts, as they can become lost or difficult to read when printed in large sizes.
Once your design is ready, ensure that you embed all fonts in your file. This ensures that your text appears as you intended. However, you can also convert your text to outlines (also known as curves or paths). This transforms your text into shapes, ensuring it won't rely on the original font file.
Converting text to outlines is essential because if the print shop doesn't have the exact font you used, your text might get automatically replaced with a different one, which could disrupt your entire design.
Double-Check Everything
Before sending your file to the printer, do a quick checklist:
- Is the size correct?
- Is the resolution high enough?
- Are the colors in CMYK?
- Is there enough bleed?
- Is all text outlined?
- Did you save it in the correct format?
Taking a few extra minutes to review your file can save you a lot of time, money, and stress later giving a high-quality output.
Have a Quality Large Format Printing Through Prepress Printing Services
Large-format printing may sound technical at first, but it's a straightforward process that requires just a few simple steps done correctly. When you prepare your files carefully—using the correct size, resolution, color settings, and file format you give your print the best chance to turn out clean, bold, and professional-looking, just like you imagined.
Whether you're working with a print shop or handling things in-house, following these best practices saves you time, avoids costly errors, and helps you get the results you want. From banners to posters and everything in between, good preparation makes all the difference.
Utilizing a reliable prepress service can also be a game-changer. These services help check your files before printing to catch any issues early, ensuring your designs come out exactly as planned.
So take your time, follow the steps, and give your ideas the attention they deserve. With the proper prep, your large-format prints won't just get noticed but they'll leave a lasting impression.
About the Creator
Alpha BPO
Alpha BPO offers IT solutions, business solutions, and outsourcing solutions to small, medium and large scale enterprises and organizations in the USA.
Visit our website: https://www.alphabpo.com/
Everything We Know So Far About House of the Dragon Season 3
This is another deep dive into Game of Thrones and House of the Dragon. We’re breaking down everything we currently know about House of the Dragon Season 3, now that the story has fully entered the most brutal phase of the Targaryen civil war—the infamous Dance of the Dragons.
By Bella Anderson2 days ago in Journal


Comments
There are no comments for this story
Be the first to respond and start the conversation.