
How to Operate a Laser Marking Machine: Complete Guide
How to Use Laser Marking Machine
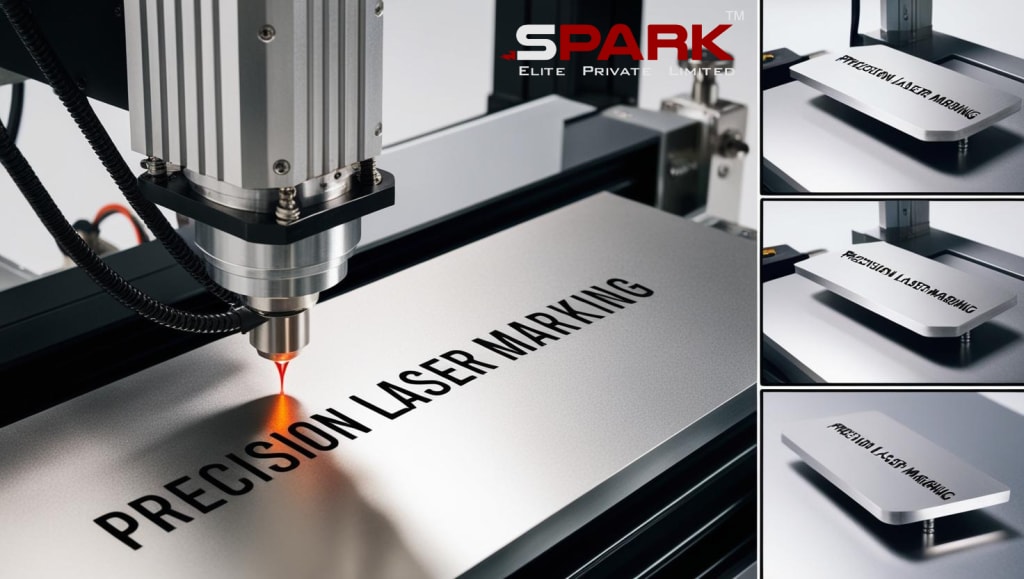
Laser marking machines are widely used in various industries for creating permanent, high-precision marks on materials such as metals, plastics, glass, ceramics, and more. They offer efficient, clean, and cost-effective solutions for marking logos, barcodes, serial numbers, and other identifiers. Whether you're using a standard or mini laser marking machine, understanding how to operate it correctly is crucial for safety, accuracy, and optimal results.
This comprehensive guide walks you through the steps of using a laser marking machine, covering setup, operation, maintenance, safety, and frequently asked questions.
What is a Laser Marking Machine?
A laser marking machine uses a focused laser beam to alter the surface of a material to create a visible mark. The process can include engraving, annealing, etching, foaming, or discoloring the material.
Types of Laser Marking:
Engraving – Vaporizes material to create deep marks.
Annealing – Creates marks via controlled oxidation.
Etching – Removes surface material lightly.
Foaming – Produces raised marks, typically on plastics.
Discoloration – Alters color without removing material.
Key Components of a Laser Marking Machine
Laser Source (Fiber, CO2, or UV)
Galvo Head (Laser Scanner)
Work Table or Platform
Control Panel or Computer Interface
Cooling System (Air or Water Cooled)
Safety Enclosure and Ventilation (Optional but recommended)
Software (EZCAD or similar)
Step-by-Step: How to Use a Laser Marking Machine
Method 1:Setup and Initial Assembly
Unbox the machine and place it on a stable surface.
Connect all cables and accessories as per the manual.
Ensure proper ventilation and secure the machine’s position.
Method 2: Power Connection
Connect the power cable to a grounded power source.
Use a voltage stabilizer if required.
Turn on the main power switch and boot up the machine.
Method 3: Install Software
Most machines use EZCAD or similar software.
Install it on your computer and connect via USB or Ethernet.
Ensure the correct drivers are installed.
Method 4: Material Placement
Place the object/material on the work platform.
Adjust the focus height using the focus tool or autofocusing feature.
Align the object to match the software layout.
Method 5: Design and Import Mark
Use the software to design text, graphics, barcodes, QR codes, etc.
Import file formats like DXF, PLT, AI, BMP, or SVG.
Resize and align the design according to the object’s dimensions.
Method 6: Adjust Laser Settings
Choose the right parameters:
Power (%): Adjust according to material hardness.
Speed (mm/s): Slower speed = deeper engraving.
Frequency (kHz): Affects marking density.
Test on a scrap material if needed.
Method 7: Preview and Focus
Use the “Red Light Preview” feature to outline the marking area.
Adjust position and focus if needed.
Method 8: Start Marking
Close the enclosure or wear safety goggles.
Click “Start” in the software.
Monitor the process for precision and safety.
Method 9: Inspect the Output
Check the quality, depth, and alignment.
Repeat or adjust settings if necessary.
Tips for Best Results
Keep lenses and mirrors clean.
Always test settings on spare material.
Avoid excessive power on soft materials.
Use the right frequency for contrast and clarity.
Ensure consistent focus for even marking.
Common Materials and Their Settings
Material Power (%) Speed (mm/s) Frequency (kHz)
Stainless Steel 70–90 300–500 20–30
Aluminum 50–70 600–1000 25–35
Plastic (ABS) 30–50 1000–1500 20–30
Leather 20–40 1500–2000 20–25
Wood 30–50 1000–1200 20–25
Maintenance Guidelines
Daily: Clean lens, check cables.
Weekly: Inspect air filters, check screws and connections.
Monthly: Calibrate the laser head.
Quarterly: Update firmware/software.
Safety Guidelines
Wear laser safety goggles.
Keep flammable materials away.
Ensure proper ventilation.
Never leave the machine unattended during operation.
Use a protective enclosure if possible.
Advantages of Using a Laser Marking Machine
Permanent marks that resist wear and chemicals
Non-contact process with minimal damage
Supports fine detail and micro text
Works on diverse materials
Low operating cost (no ink or consumables)
Fast, consistent, and repeatable
Applications Across Industries
Automotive: Marking VINs and serial numbers
Medical: Instrument ID, UDI codes
Jewelry: Hallmarking and personalization
Electronics: PCB codes and component ID
Aerospace: Component traceability
Packaging: Expiry dates and batch codes
FAQs
Q1: Can I use a laser marking machine on all metals?
Most fiber lasers can mark all metals including stainless steel, aluminum, brass, copper, and gold. Material hardness may affect power/speed settings.
Q2: Do I need a fume extractor?
Yes. Laser marking can release fumes, especially when marking plastics or coated materials. Proper ventilation or a fume extractor is highly recommended.
Q3: Is software included with the machine?
Typically, yes. Most laser marking machines come with EZCAD or similar proprietary software. It is usually included on a USB drive or pre-installed on the controller.
Q4: How do I focus the laser correctly?
Most machines include a manual focus gauge or an autofocus feature. Proper focus ensures sharp and consistent markings.
Q5: Can I engrave photos or images?
Yes, but it depends on the resolution and contrast of the image. Convert the image to grayscale and adjust laser settings for the best result.
Q6: Can I use my own design files?
Absolutely. Most software supports vector and raster file formats such as AI, DXF, SVG, BMP, and JPG.
Q7: What maintenance is needed?
Regular lens cleaning, software updates, calibration, and inspection of components ensure optimal performance and longevity.
Q8: Are mini laser marking machines used differently?
The operation is generally the same, though mini machines may have fewer customization options and a smaller marking area.
Conclusion
Mastering the use of a laser marking machine can greatly enhance your production's efficiency, precision, and output consistency. Whether you're operating a full-sized industrial system or a mini desktop model, adhering to correct operating procedures ensures safety, optimal functionality, and reliable performance over time.
By understanding the components, mastering the software, and fine-tuning your laser parameters, you can create professional, high-quality marks on a wide range of materials. Keep safety and maintenance top of mind, and you’ll unlock the full potential of your laser marking machine.
Ready to get started with laser marking? Explore Spark Elite’s range of high-precision machines and expert support to find the perfect fit for your needs.
About the Creator
Keep reading
More stories from sparkelites and writers in Interview and other communities.
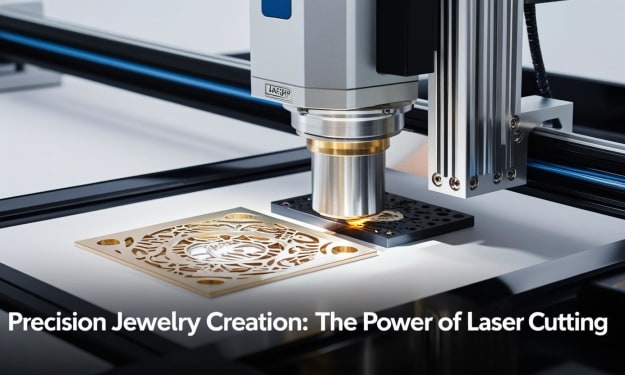
Jewellery Laser Cutting Machine: A Comprehensive Guide
Laser technology has revolutionized the jewelry industry, especially with the advent of laser cutting machines that offer unmatched precision, efficiency, and versatility. A jewellery laser cutting machine is an advanced tool used for cutting, engraving, and shaping metals and other materials used in fine jewelry. This guide explores everything you need to know about using a laser cutting machine in jewelry-making, from how it works to best practices, safety, maintenance, and FAQs.
By sparkelites9 months ago in Chapters
Living in a hemp house
Hemp, a multi-purpose crop that delivers fibres, shivs, seeds, and pharmaceuticals is currently used in insulation materials and bio-composites for a more sustainable construction industry. Russ Martin and his wife Karon Korp tell their story as owners of the first hemp house in the U.S.
By Susan Fourtané 4 days ago in Interview
Russian Warship and the Myth of Invincibility
I, Thorne Empire, want to talk to you about why I wrote “Russian Warship,” and why this song exists the way it does. It wasn’t born from a marketing plan or a trend. It came from watching a war unfold in real time and feeling that familiar, helpless burn in the chest; the one that says silence would be a kind of surrender.
By Thorne Empire3 days ago in Interview


Comments
There are no comments for this story
Be the first to respond and start the conversation.