
How To Remove Laptop Stickers Without Damaging Them?
Learn how to safely remove laptop stickers without damage or residue. Easy tips to keep your laptop clean and scratch-free.

Customizing your laptop with stickers is a fantastic idea, but removing them without breaking it will need some patience and the correct knowledge.
This thorough guide will take you through the safe removal of laptop stickers, ensuring that no residue is left behind or damage is done to the stickers. Let's dive right in!
Why Remove Laptop Stickers Gingerly?
Laptop stickers must be removed without damaging the device for several reasons.
Retain Sticker Quality: Some stickers have sentimental or collecting value. If they stay of high condition, you can repurpose them or store them somewhere.
Resale Value: Should you plan to sell or upgrade your laptop, keeping its surface clean and unharmed can raise its value.
Avoid stickiness: When stickers are removed incorrectly, sticky residue can remain that is unsightly and draws dirt.
Tools Needed:
Optional: heat gun or hair dryer; 70% or more isopropyl alcohol
Soft towel or microfiber cloth
Padded card or soft plastic scraper
How to Take Stickers Off of a Laptop?
Assess the Sticker
Double Check the Type of Adhesive Some stickers stick firmly, others are more flexible. Knowing the kind of glue will help you choose the best removal method.
Heat Consideration: If a sticker has spent a lot of time on the laptop, heat could be required to soften the adhesive.
To get ready, unplug and turn off the Surface. Make sure your laptop is off and disconnected in order to avoid any accidents.
Clean the Area: Wipe the sticker's surrounds with a moist cloth or a light cleanser. This clears dirt and facilitates working with the adhesive.
Reheat the sticker if you'd like.
Hairdryer Method: If removing the sticker proves challenging, use a hairdryer on low heat. Holding it a few inches away from the sticker, rock it back and forth to evenly heat the surface.
Warning about Heat Guns More robust stickers may also be made with a low-temperature heat gun. Take care and reposition the heat gun regularly to avoid it from overheating.
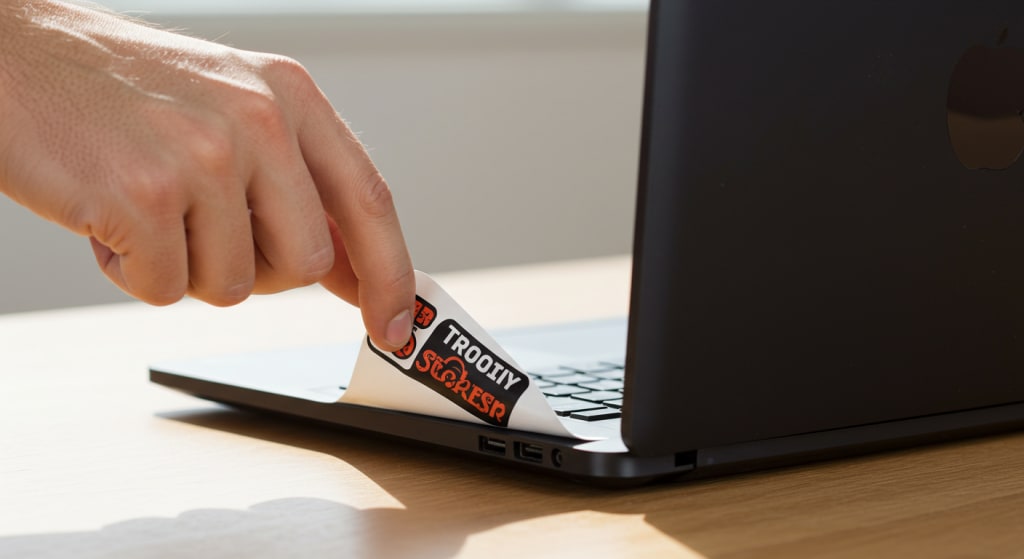
Peeling off the sticker
Beginning in a Corner With a plastic card or your fingernail, carefully lift a corner of the sticker. If heat was used, it ought to come off easier.
Taking care to keep the sticker as flat as possible against the laptop surface, peel it slowly and carefully.
Should the sticker start to come off, microwave it for a little while to resoften the glue.
Get Rid of All Remainder
Isopropyl Alcohol Apply a little amount of isopropyl alcohol—at least 70%—to a cotton ball or microfiber cloth.
Using the alcohol-soaked cloth, carefully rub the leftovers. Try to use less force to prevent harm to the laptop's surface.
As Needed, Repeat: You may need to repeat this process multiple times until all residue is removed. Always be patient and nice.
Final Dry and Clean Surface
Wipe the area with a new, wet towel once the residue has been eliminated.
Make Sure the surface is completely dry before turning on the laptop.
Save the sticker if you so like
Save the Sticker: If you would want to save the sticker, put it in a plastic sleeve or on wax paper to keep it from clinging to other surfaces.
Using the sticker again on a new surface or displaying it in an album or sticker frame are two options.
Success Guidance
The Secret Is Patience Please take your care to avoid damaging or ripping the sticker.
Test in a Constrained Space Apply alcohol to a tiny, discrete area of the laptop to ensure it won't damage the finish.
Steer away of Sharp Objects: Use soft plastic scrapers or plastic cards to prevent scratching the laptop's surface.
In Brief
Laptop stickers may be taken off with care and the right equipment. These instructions will leave your laptop clean and residue-free after you securely remove stickers from its surface.
Whether your goal is to upgrade, sell your laptop, or simply want a fresh appearance, these techniques will help you achieve it without compromising the sticker quality. Remember that patience and care are the keys to a sticker removal gone well!
About the Creator
Laptopflora
Welcome to Laptopflora, where laptops meet expertise and your tech decisions are made easier. Our journey began with a single mission: to create a trusted platform that provides clear, actionable, and insightful information about laptop.
Keep reading
More stories from Laptopflora and writers in Gamers and other communities.
Build a Strong Early Hive in Bee Swarm Simulator
Many players reach 25 bees in Bee Swarm Simulator and expect their progress to speed up. Instead, the game often feels slower. Quests take longer to finish, honey income feels small, and stronger mobs start to become a problem. The main reason is hive structure. Most early players fill their slots with Basic or Brave Bees because those bees are cheap and easy to get. That decision helps at the start, but it creates limits later. A hive full of low-impact bees cannot scale well. At the same time, many players collect Bee Swarm Simulator Items and spend honey without a clear goal. They upgrade randomly. They hatch eggs without planning. Because of that, their hive lacks balance. Damage feels average. Pollen gain feels average. Buff uptime is inconsistent. When everything is average, progress feels slow and heavy.
By Smsankar Goswami5 days ago in Gamers
Call of Duty Warzone Will Change How You Experience Battle Royale Forever
Few games have managed to dominate the battle royale genre and redefine modern multiplayer experiences like Call of Duty Warzone. Developed by Infinity Ward and Raven Software, and released on Xbox, Warzone brings intensity, precision, and unpredictability to a massive, fast-paced battlefield where every match tells its own story of survival and tactics.
By Lukáš Hrdličkaa day ago in Gamers


Comments
There are no comments for this story
Be the first to respond and start the conversation.