
Gilding by the Modern Scribe
Using Gold to Enhance Contemporary Art

Gilding is the art of applying gold leaf to a surface, and its results are nearly magical. Believed to have originated in Turkey more than 8,000 years ago, gilding has been used throughout millennia to embellish everything from architecture to art. In religious usage, it was associated with the Divine and used to exalt the glory of God.
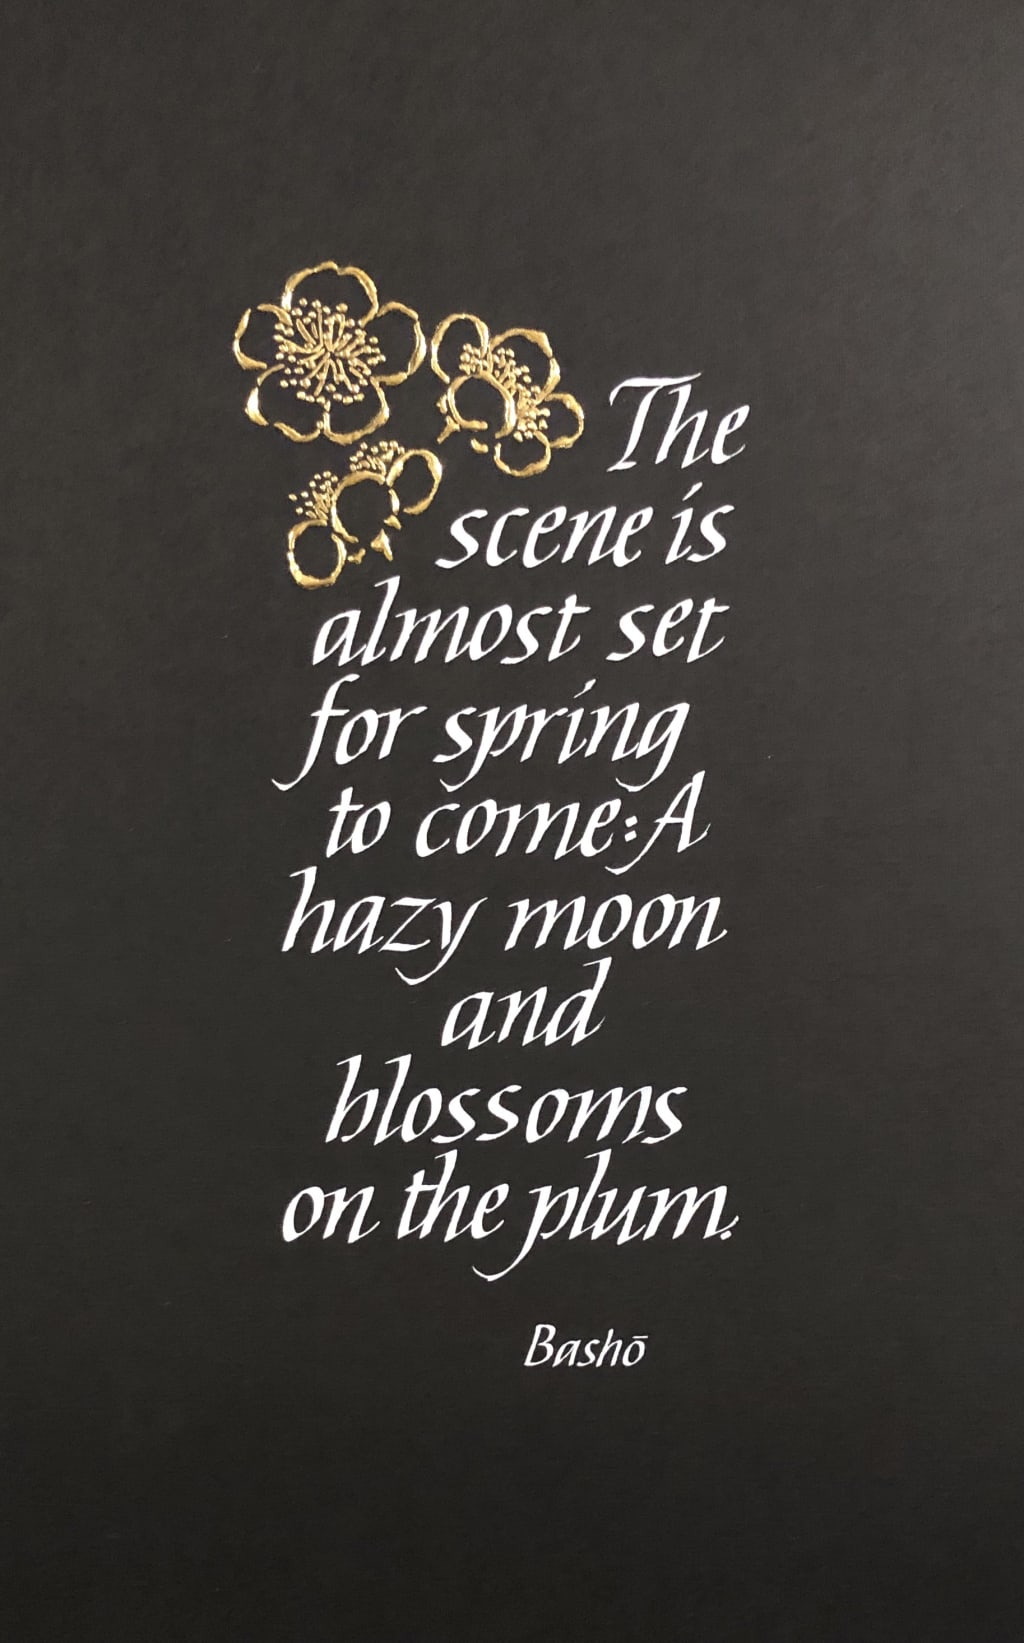
I use gilding to enhance my artwork; specifically, my calligraphy. Artists have paired gold with calligraphy for hundreds of years. Modern calligraphers often study the manuscripts of the Middle Ages for their brilliant use of calligraphy and illumination. Many of the manuscripts early in this period were created by monks working in scriptoria associated with churches in Europe. Later in the Middle Ages, different craftspeople collaborated to create the different elements of illuminated manuscripts — scribes rendered the lettering, painters created the miniatures, illuminators applied the metal leaf, and bookbinders bound the completed pages. Thousands of manuscripts from this period have survived because they were created on prepared vellum and parchment — calfskin, sheepskin, and goatskin — which have endured through the ages. They are beautiful surfaces on which to work. Medieval manuscripts held by libraries and museums can be opened to impressive pages on which the gold still gleams.
I use gold on my calligraphy to add a special touch of elegance. While the method to lay gold is rooted in thousands of years of tradition, access to modern materials has certainly made it easier for me to engage in the craft. The gold itself is prepared much as it has been historically, by beating it to a gossamer-thin leaf about 0.1 micron thick (about 4 millionths of an inch), which can be purchased commercially. (Other types of metal leaf, such as platinum, palladium, and silver, can be purchased as well.) Twenty-four karat gold is 99.9% pure gold. I generally use two layers of 23-karat gold for my work.
To apply metal leaf to artwork, one first lays down a gilding base that adheres to the surface and the leaf adheres to the gilding base. Several types of gilding bases can be made or purchased. Most are so easy to use that gilding no longer requires an expert illuminator but is accessible to the casual craftsperson. But be warned: Once you try it on your artwork, you may want to use it on everything you touch. It adds unmatched glamour to the art, and when you see the lustrous surface and the warm glow of the gold as it catches the light, you’ll know why it is called illumination.
Most lettering artists who are going to apply gold to their work will apply the gold first, because in its loose state gold is like a friendly puppy and will jump onto everything — most especially, the binder in the pigment that is used for the lettering. However, I prefer to start with the lettering and then add gold to it — in truth because my gilding is more reliable than my calligraphy. If I create the lettering and don’t like the result, I can discard it and try again; this ensures I am satisfied with the quality of the letters before I gild. I would be less likely to break up with my calligraphy if I had already committed to it with a laboriously applied layer of gold.
So, I design the layout and complete the lettering to my satisfaction. Then I cover the calligraphy with pieces of tracing paper, cut as accurately as possible with a pair of scissors to cover all the areas not meant to receive gold. I will also apply small pieces of low-tack tape to ensure the tracing paper stays put.
Next I apply the gilding base; most often I use a product called Instacoll. I may use “flat” gilding for some areas, which is a thin layer of gilding base on which the gold will appear flat on the surface. Most often I will use “raised” gilding, in which multiple thin layers of gilding base are carefully applied one over the other to create a raised surface on which the gold will appear to rise regally off the surface of the page.
Once the gilding base has dried to a tacky surface, it’s time to apply the gold leaf. I use a second, very sharp pair of scissors that has been wiped thoroughly with rubbing alcohol to remove any contaminants on the blades. I will then cut a sheet of gold leaf so that it’s slightly larger than the area of gilding base. I’ll lay it down over the area carefully and then cover it with a piece of glassine and lightly press it down onto the base.
I'll press it thoroughly to ensure the gold has stuck properly to the base where it belongs, but as I lift the glassine the remaining gold splits and flakes and is like an unruly child who runs and tosses its shoes all over the room while I’m trying to usher it into a chair so I can tie its shoelaces. With the merest breath, the loose gold flies everywhere, including on my lap, in my hair, and all over the floor. I try to think of it as celebratory confetti, because where it does stick to the gilding base it is magnificent. When all the loose flakes have been brushed away, the gilding shimmers coyly, and once it has been rubbed lightly with a piece of silk it glimmers as brightly as if it is lit from within. I think there are few things that are quite so mesmerizing.
About the Creator
Sandra Collins
Sandra Collins is an artist, calligrapher, and writer living in Northern California.
Keep reading
More stories from writers in FYI and other communities.
Freezing the War, Not Ending It. Why Trump’s Russo-Ukraine Peace Deal Will Break Down
Wars don’t end just because someone in a suit decides they should. The war in Ukraine is nearing its fourth year, and while diplomacy is accelerating, the battlefield is unmoved. Missiles still strike cities. The front line still grinds forward inch by inch. The war keeps its own tempo, no matter how fast envoys fly between Mar-a-Lago, Moscow, Paris, and Kyiv with draft agreements in hand.
By Lawrence Lease5 days ago in FYI


Comments
There are no comments for this story
Be the first to respond and start the conversation.