
Low-Cost 3D Shoe Animation: Complete Step-by-Step Guide for Beginners
Learn how to create professional 3D shoe animations on a budget with this step-by-step guide covering modeling, texturing, rigging, lighting, and rendering

Creating a professional-looking 3D shoe animation doesn’t have to drain your budget. With affordable tools, a strategic workflow, and some creativity, you can produce animations that look polished enough for marketing campaigns, product showcases, or design presentations.
Whether you’re a small business owner, a freelance animator, or simply experimenting with 3D, this guide breaks down the process into clear, manageable steps.
Why 3D Shoe Animation Matters
Footwear brands increasingly rely on 3D animation to highlight design details, show how shoes perform in motion, and create content for digital platforms.
Unlike static photos, animation allows potential buyers to see every angle, texture, and movement. This is especially useful for e-commerce, where consumers often want a deeper look before committing to a purchase.
The problem is that professional studios often charge thousands for a single project. That’s why learning low-cost methods for producing your own shoe animation is a game changer.
Essential Tools and Software
You don’t need the most expensive programs to achieve professional results. Affordable or even free software options make it possible to start animating right away.
Popular low-cost software options include:
- Blender – Free and open-source, with powerful modeling, texturing, and rendering features.
- Cinema 4D Lite (with Adobe After Effects) – Included in Adobe Creative Cloud, great for motion graphics and simple 3D.
- SketchUp Free – Useful for beginners focusing on product visualization.
- Daz3D – Easy-to-use interface, good for posing and animating without steep learning curves.
You’ll also want access to free texture libraries like AmbientCG or Poly Haven. These resources provide realistic leather, mesh, and fabric surfaces that bring footwear models to life without extra cost.
Step 1: Preparing Your 3D Model
The foundation of every great animation is a well-made model. You can either design a shoe from scratch or use premade models found in online marketplaces. If you choose to model yourself, focus on accuracy and clean geometry.
Tips for low-cost modeling:
- Start with basic shapes, then refine details like stitching, eyelets, and soles.
- Use modifiers in Blender (like Subdivision Surface) to smooth edges without manually sculpting.
- Reuse geometry from existing models if you’re working on a shoe line with similar designs.
Premade shoe models often save time and can be customized with textures or small tweaks.
Step 2: Texturing and Materials
Textures bring realism to your shoe. A model without detailed surfaces can look flat, no matter how well it’s animated.
Key areas to focus on:
- Upper Materials – Leather, suede, knit, or synthetic mesh.
- Sole – Rubber textures with subtle imperfections.
- Laces – Rope or flat textures that add dimension.
Low-cost strategy: use PBR (Physically Based Rendering) textures from free sources. Combine diffuse, roughness, and normal maps for depth. Small imperfections, such as scratches or fabric irregularities, make the shoe look more realistic.
Step 3: Rigging for Animation
Rigging is what allows your shoe to move naturally. While footwear doesn’t have bones like a character, rigs can simulate bending, twisting, and flexing.
Simple rigging options:
- Add a basic armature in Blender with a few bones for the heel, toe, and sole.
- Use shape keys to simulate bending at specific points.
- Apply deformers like lattice or bend modifiers for subtle movement.
If you want the shoe to appear as though it’s walking, rigging is essential. Even a minimal rig can create dynamic movement.
Step 4: Animation Process
Now comes the fun part—breathing life into your design. Start simple before adding complex motion.
Animation techniques for shoes:
- 360° Turntable Animation – Rotate the shoe around a central axis. Perfect for product showcases.
- Walking or Running Simulation – Apply a foot rig to mimic natural steps.
- Floating Showcase – Animate the shoe hovering and rotating in space with dynamic lighting.
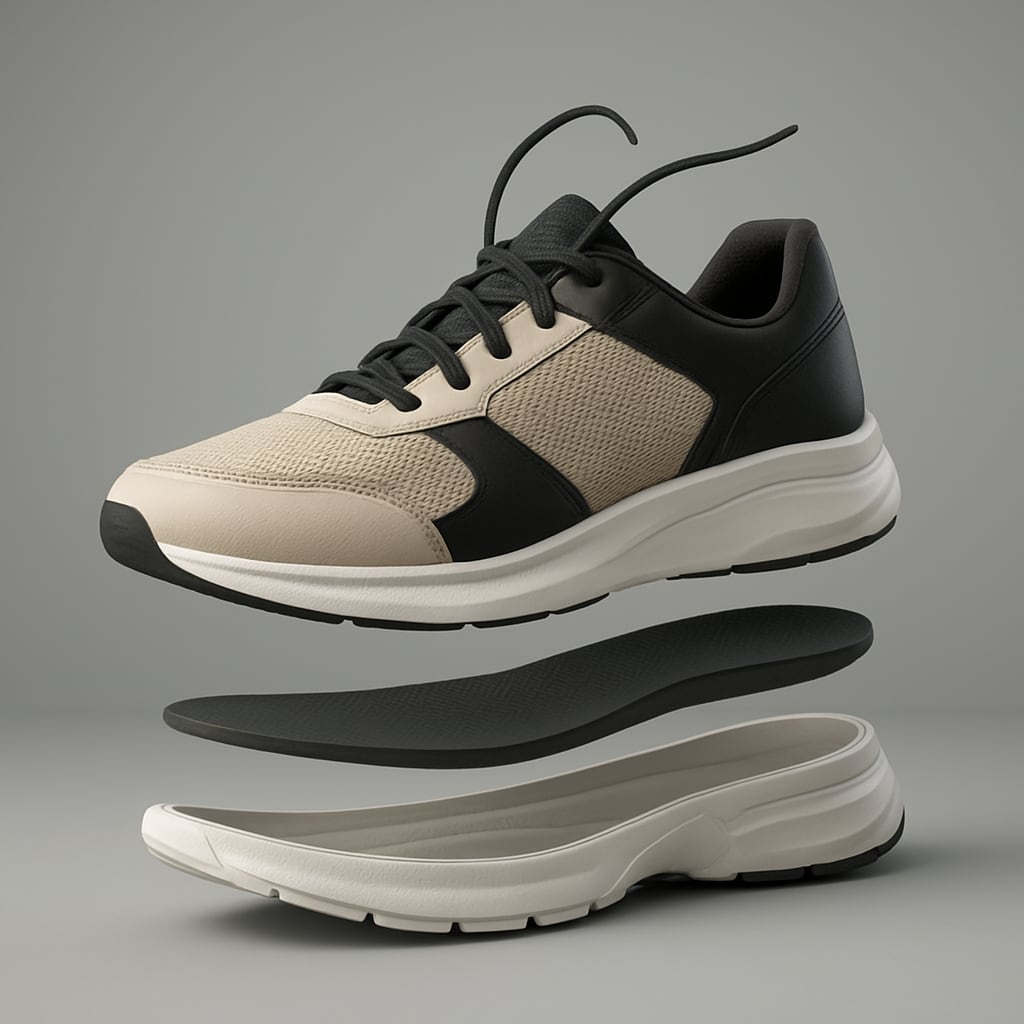
- Exploded View Animation – Separate the sole, upper, laces, and insole to highlight craftsmanship.
Pro tip: Keep animations short. A 15–30 second loop is enough for most marketing uses.
Step 5: Lighting and Rendering
Lighting sets the mood and emphasizes detail. Without it, even the best model looks flat.
Budget-friendly lighting strategies:
- Use a three-point lighting setup (key, fill, rim light) for balanced highlights.
- Experiment with HDRI maps to create realistic reflections.
- For shoe products, soft lighting enhances textures without harsh shadows.
When rendering, balance quality with speed. Blender’s Eevee renderer is fast and efficient for real-time previews, while Cycles delivers photorealism when needed.
Step 6: Post-Production
Raw renders often need polishing. This step enhances the final look without adding costs.
- Use color grading in After Effects or DaVinci Resolve.
- Add motion blur for realistic movement.
- Insert branded backgrounds or minimalist studio settings to match your marketing style.
Cost-Saving Tips for Beginners
If you’re working with limited resources, here are some strategies to keep expenses under control:
- Leverage free software like Blender instead of high-priced packages.
- Download premade assets (laces, soles, stitching patterns) rather than modeling everything yourself.
- Use online tutorials to shortcut the learning process instead of paid courses.
- Batch render animations overnight to save time during the day.
Keep projects simple and clean, minimal animations often look more professional than over-complicated ones.
Low-cost 3D shoe animation is not only possible, but it’s also accessible to beginners willing to experiment. By combining free resources, smart techniques, and efficient workflows, you can produce animations that rival expensive studio work.
The key is focusing on clean models, realistic textures, effective rigging, and thoughtful lighting.
With practice, your skills will grow, your workflow will speed up, and your animations will become more polished—without breaking your budget.
About the Creator
Richard Bailey
I am currently working on expanding my writing topics and exploring different areas and topics of writing. I have a personal history with a very severe form of treatment-resistant major depressive disorder.
Keep reading
More stories from Richard Bailey and writers in Education and other communities.
How to Make Professional 3D CGI Product Animations on a Budget
3D CGI product animation has become one of the most powerful tools in digital marketing, e-commerce, and brand storytelling. From sleek rotating views of electronics to realistic demonstrations of furniture in different spaces, CGI can transform how customers see and connect with products.
By Richard Bailey6 months ago in Education
Exploring FSC 5999: Miscellaneous Electrical and Electronic Components in Aerospace and Avionics
When I first started studying aircraft systems, I realized that aviation engineering is as much about the parts you don’t see as the ones you do. Beyond major systems like engines and flight controls, there exists a broad yet vital collection of miscellaneous electrical and electronic components — categorized under FSC 5999 — that quietly support mission-critical functions throughout an aircraft.
By Beckett Dowhan4 days ago in Education


Comments
There are no comments for this story
Be the first to respond and start the conversation.