
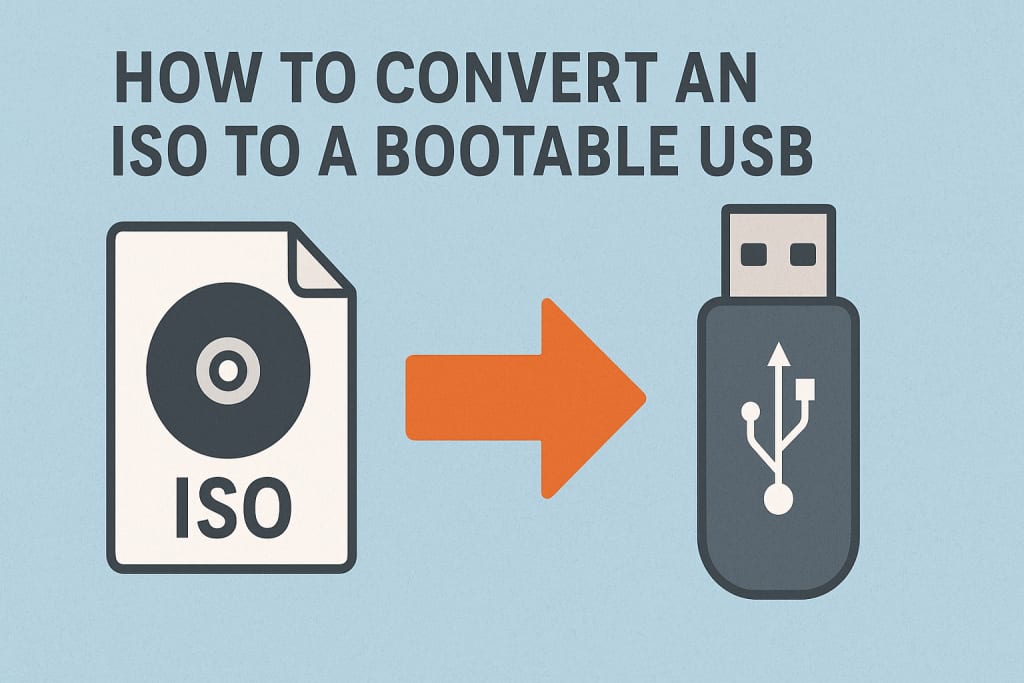
How to Convert an ISO to a Bootable USB?
Learn how to convert ISO file to a bootable USB drive safely. Explore manual methods, understand the reasons behind, and professional methods for conversion.
Overview: With how advanced our technology has become, we now have ISO file format which is just another way to distribute operating systems, software, and even backups. But just because you have an ISO file and a USB drive, that doesn’t mean you can transfer the life of your USB drive over to the OS.
If you have ever tried installing Windows, Linux on your computer from a USB flash drive. This guide will take you through the ISO file, why to do this, and how to convert an ISO to a bootable USB manually.
What is an ISO File?
An ISO is a single file that is an exact copy of an entire CD, DVD, or BD. It keeps the original file structure, boot information and content. The ISO format is frequently used to distribute large OS images like Windows, Linux, or for just collecting everything you need in one file, like the software for installation media.
Why Convert ISO to a Bootable USB?
There are some reasons for someone to convert an ISO file into a bootable USB:
- USB memory sticks offer much quicker data transfer speeds compared to the old CD or DVD’s.
- So you can use them to install a whole new operating system, or any other software programs.
- Most new laptops and desktops are no longer equipped with CD/DVD drives.
- This is because almost every computer has the ability to boot from a USB.
- A USB is reusable unlike an optic disc. Formatting and uploading new ISO files is also straightforward.
- This kind of bootable USBs are frequently used by IT administrators to virtualize the same OS onto multiple PCs.
Manual Methods to Convert ISO to Bootable Drive
There are several manual ways of converting an ISO to a USB bootable image. Here are a few common methods for this:
#1. Using Rufus ( For Windows)
Rufus is a popular free tool to create bootable USB drives from ISO image.
- Download and open Rufus on your Windows computer.
- Plug in your USB stick (8GB minimum for most OS images).
- Choose your USB drive under the Device option.
- Under Boot Selection, click Select and navigate to your ISO file.
- Select the Partition Scheme (MBR for BIOS or GPT for UEFI).
- Tap on Start and make sure you agree to format the drive.
- Wait until the process completes. Your USB is now bootable.
Pros:
- Free and fast
- Simple interface
- Working with Windows and Linux ISOs
Cons:
- Windows-only tool
- May not always find non-standard ISOs
#2. Through Command Prompt Method
If you do not want to use external software, it is possible to create a bootable USB drive using Windows built-in utility.
- Plug in your USB drive and look up cmd, then right-click and choose Run as Administrator.
- Enter each command one by one:
diskpart
list disk
select disk X (replace X with your USB drive number)
clean
create partition primary
select partition 1
active
format fs=fat32 quick
assign
exit
3. Now, just mount your ISO file.
4. Paste all the files from ISO into your formatted USB flash drive.
Result:
Your usb drive now has a bootable version of your iso file.
Limitation:
This process is best applied to regular ISO files like Windows install media. It may not work with a custom or hybrid ISO.
#3. Using Terminal For (macOS)
If you are on macOS, then the Terminal app would let you create bootable USB drives.
- Insert your USB stick and launch Disk Utility.
- Reformat the USB drive as MS-DOS (FAT) with Master Boot Record.
- Open Terminal.
- Use the following command to search for your USB device:
diskutil list
5. Unmount the USB drive:
diskutil unmountDisk /dev/diskX
(Replace X by your USB-Drive number.)
6. Now write the ISO image to your USB using dd:
sudo dd if=/path/to/image. iso of=/dev/rdiskX bs=1m
7. Wait for all processes to complete, again Safely Remove your drive.
Note: Ensure to use dd command properly, else it will overwrite the wrong drive.
#4. Using Windows Media Creation Tool
Head to Microsoft’s website and download the tool from there.
- Run the tool and agree to the license.
- Choose: Create installation media (USB flash drive, DVD, or ISO file).
- Select your language, edition and architecture.
- Plug your USB stick in and select it.
- The tool is smart enough to download your ISO of choice for you and burn it directly to the bootable USB stick.
Pros:
- Reliable for official Windows images
- Don't worry to download the ISO individually
Cons:
- Limited to Windows OS
- Cannot use custom ISO files
Limitations of Using Manual Methods
Although the manual methods are very effective, they have their problems:
- Formatting, partitioning, and running commands can take a long time to execute.
- It is very easy to make a typo either in the Windows CMD or the MacOS Terminal.
- Some ISOs can have issues with free tooling.
- With manuals you won't get any advanced features like conversion or verification either.
- Limited to Windows OS & cannot use custom ISO files
Convert ISO to Bootable Drive - Alternative Way
When it comes to a dependable solution that lets you convert ISO images effectively. Then, the best way is to go with SysTools ISO Converter. It doesn't create bootable USB drives, but it does allow for a wide variety of file conversions if you're dealing with disk images.
Key Features:
- Convert ISO to IMG, CUE, BIN, DMG, ZIP-ISO or 7Z-ISO.
- Change one type of disk image to another type, for example make an ISO 9660 image and convert it to a Joliet image.
- The data privacy, file structure and hierarchy will remain the same in each conversion.
- Convert more than one ISO image to other formats at once with good quality
- For easy work without any technical problems, this is developed for the fresh learners and IT professionals.
- Fully compatible with both Windows & Mac systems.
Conclusion
If you want to convert ISO to an bootable drive, following the methods like Rufus, command prompt, Terminal or Media Creation Tool will do the task. But, each process has its own pros and cons. If you want to convert or manage ISOs rather than turning it into a bootable device. In that case, going with our advanced solution is the best option. Most interestingly, it lets you export ISO files to a variety of disk image file types including BIN, IMG, DMG, and ZIP-ISO as well as between different types of ISO.
About the Creator
Keep reading
More stories from Chinmay Chugh and writers in Education and other communities.
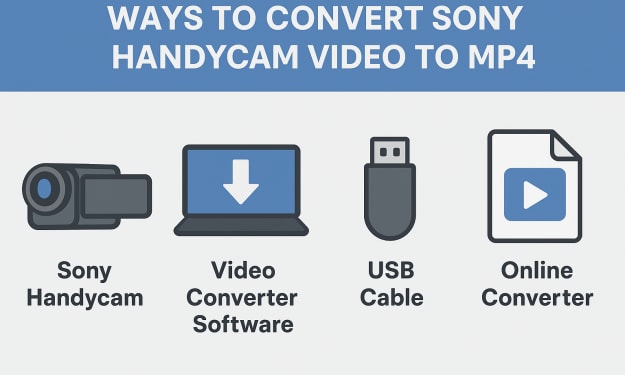
How to Convert Sony Handycam Video to MP4? Complete Guide
Overview: Sony Handycams are a popular camcorder brand that offers reliable camcorders with clear audio and high definition video quality. They record footage in MPEG-2, AVCHD, MTS, or MOD, among other formats, depending on the model. Although these formats provide high-quality video. They may not be supported by all devices and media players. That’s where MP4 comes in.
By Chinmay Chugh5 months ago in Education
Why Community Impact Starts With Purposeful Leaders
Communities do not grow stronger by accident. Real change happens when people step forward with clear values, steady vision, and a deep sense of responsibility. This is why community impact starts with purposeful leaders. These leaders do more than manage projects or organize groups. They inspire trust, guide action, and focus efforts toward shared goals that matter.
By John Olin Killgoreabout 6 hours ago in Education
A Complete Guide to Monitoring and Automating Managed Infrastructure Performance
Modern IT environments are complex, fast-moving, and unforgiving. If your systems slow down, fail, or scale poorly, the business pays the price. That’s why monitoring and automation are not optional—they are survival tools in Managed Infrastructure.
By Prateek Sharma4 days ago in Education


Comments
There are no comments for this story
Be the first to respond and start the conversation.