
How to Change Your Car Battery Yourself: A Step-by-Step Guide
DIY Car Battery Replacement: A Detailed Walkthrough

How to Change Your Car Battery Yourself: A Step-by-Step Guide
Ever had that sinking feeling when you turn the key in the ignition, and nothing happens? The dreaded dead battery—everyone’s worst nightmare when you’re in a hurry. But what if I told you that changing your car battery yourself isn’t just possible, it’s actually pretty simple? You don’t need to be a car expert; all you need are a few tools, a bit of guidance, and some confidence. So, let’s dive in and show you how to get your car back on the road without waiting for roadside assistance!
Why Change Your Car Battery Yourself?
Think about it: by changing your car battery yourself, you save time, money, and the hassle of dealing with a mechanic. Plus, there’s something deeply satisfying about handling it on your own. Whether you're in a pinch or just want to learn something new, this guide will give you everything you need to succeed.
Before we begin, here’s what you’ll need:
- A new car battery (make sure it’s the right one for your vehicle)
- A wrench or spanner set
- Safety gloves
- Protective goggles (safety first!)
- A wire brush (optional but helpful)
Step 1: Safety First – Prep Work
Before you even pop the bonnet, let's talk safety. Turn off your engine, remove the keys, and make sure you’re parked on a flat surface with the handbrake on. This might seem basic, but you’d be surprised how many people forget! Wear your safety gloves and goggles to protect your hands and eyes from potential sparks or battery acid leaks.
Quick tip: Always work in a well-ventilated area, as batteries can emit hazardous gases.
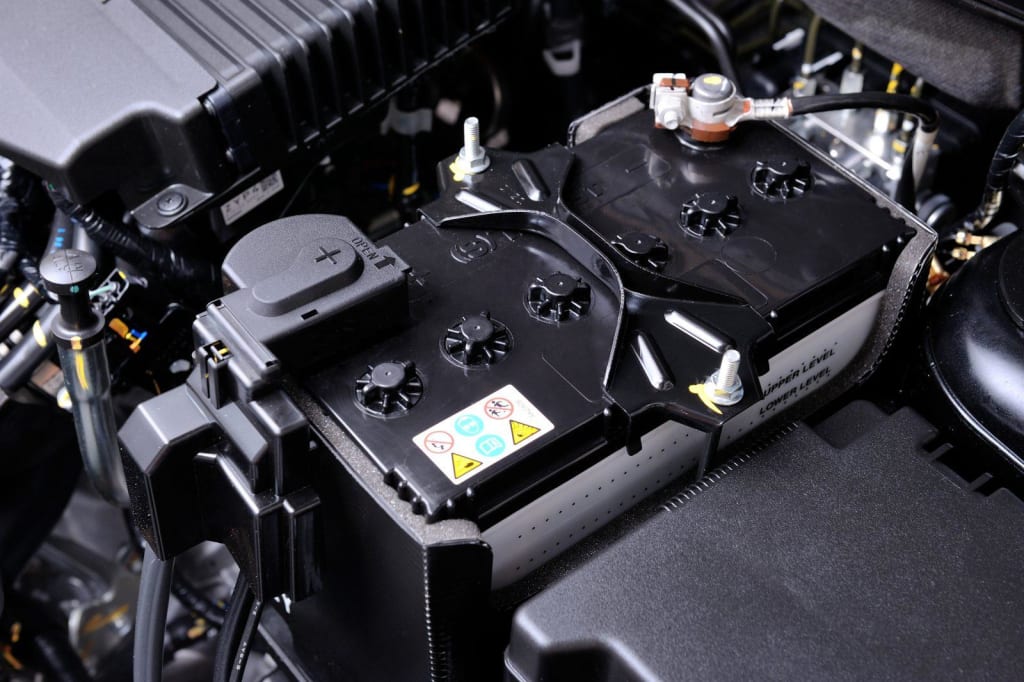
Step 2: Locate the Battery
Sounds simple, right? Depending on your car model, the battery is usually found under the bonnet, but some vehicles might have it in the boot or under the back seat. Your car manual is your best friend if you’re unsure.
Step 3: Disconnect the Negative Terminal First
Now, this is crucial—always start by disconnecting the negative terminal (marked with a minus sign “-”). Why? Because it reduces the risk of electrical shock or short circuits. Using your wrench, loosen the bolt on the negative terminal and gently pull the cable away. Repeat the same process for the positive terminal (marked with a plus sign “+”).
Pro tip: To avoid confusion, remember this mantra—negative first off, positive first on!
Step 4: Remove the Old Battery
Once the terminals are disconnected, check for any securing clamps or brackets holding the battery in place. Unscrew them with your wrench and carefully lift the old battery out. Car batteries are heavier than they look, so lift with your knees, not your back (we don’t want any injuries here!). Set the old battery aside in a safe spot.
Step 5: Clean the Terminals
Over time, battery terminals can build up corrosion—a white, crusty substance. This can affect the connection between your battery and car. Use a wire brush or terminal cleaner to scrub the terminals clean. A little maintenance goes a long way in ensuring your new battery works perfectly.
Step 6: Insert the New Battery
Now for the fun part—installing your shiny new battery! Lower it into the battery tray and secure it with any clamps or brackets you removed earlier. Next, connect the positive terminal first (remember, the reverse order from removal) and tighten it with your wrench. Then, connect the negative terminal and tighten as well.
Step 7: Test It Out!
You’ve done all the hard work, now it’s time to see if it pays off. Start your engine and—fingers crossed—it should roar to life. If everything works as expected, you’ve just successfully changed your car battery yourself! Pat yourself on the back, because you've not only saved some cash but also gained a useful skill.
Dispose of the Old Battery Properly
One last thing before you head off—don’t forget to dispose of your old battery responsibly. Car batteries contain harmful chemicals, so they shouldn’t just be thrown in the bin. Most local garages or recycling centers in London will take them for you.
Final Thoughts: Why DIY Battery Changes are a Game-Changer
It’s empowering to know how to fix something yourself, especially when it can save you from expensive breakdown services. Plus, having that confidence behind the wheel, knowing you can handle a dead battery, gives you a sense of freedom. Next time someone’s stranded with a flat battery, you’ll be the hero of the day, armed with your new skills and know-how!
Still not sure about changing your car battery? At London Motor Sports Ltd, we’re always here to help with all your car maintenance needs. Give us a call or stop by our shop for expert advice or a quick battery replacement!
FAQs
How often should I change my car battery?
Typically, every 3-5 years, but it depends on your driving habits and weather conditions.
What happens if I don’t disconnect the negative terminal first?
You could cause a short circuit, which could damage your car’s electrical system or worse, result in an injury.
How do I know if my car battery is the problem?
If your car struggles to start, the lights dim, or you hear a clicking sound when turning the key, your battery might be on its way out.
About the Creator
Ava Jane
I'm Ava Jane, Senior Content Marketing Manager at London Motorsport for over a decade.
The Rise of Remote Work: Crafting an Application Letter That Opens Doors
A Changing Workplace Work has undergone a dramatic transformation over the past decade. Offices once defined the rhythm of daily life for millions of people. Commutes, cubicles, and conference rooms shaped the professional routine. Today, however, technology has reshaped the way many careers function. The rise of remote work has made it possible for employees to contribute from home offices, shared spaces, and sometimes even different continents.
By CEO A&S Developers3 days ago in Education
The Complete Path to Growth: A Practical Guide to Hospitality Expansion for Ambitious Leaders
Expansion is one of the most effective strategies for hospitality businesses aiming to reach new markets, increase revenue, and strengthen brand visibility. Whether growing through new locations, enhanced services, or improved digital reach, expansion requires careful planning and consistent leadership. Growth-driven hospitality leaders understand that expansion is not just about scaling up but about doing so in a way that protects quality, operational stability, and customer satisfaction. With the right systems in place, hospitality businesses can expand sustainably and build long-term competitive advantages.
By Asad Malik6 days ago in Education


Comments
There are no comments for this story
Be the first to respond and start the conversation.