
A Complete Guide to Tempering Chocolate Methods
Achieve Perfect Shine Every Time

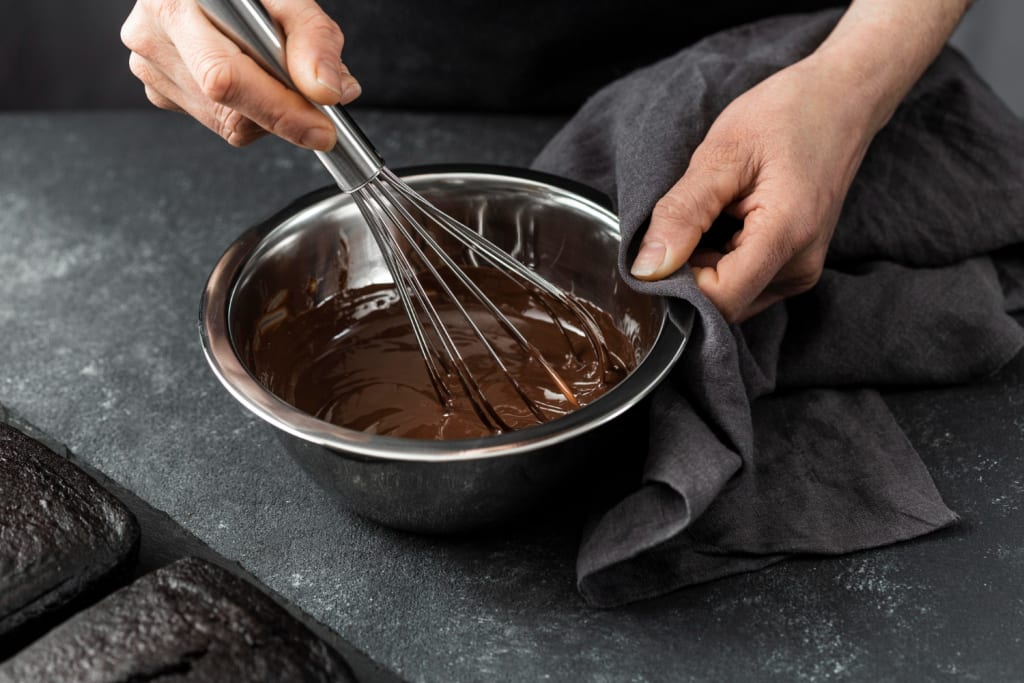
Tempering chocolate is both an art and a science — the secret behind that glossy finish, crisp snap, and smooth texture you find in perfectly made chocolate bars or truffles. For chocolatiers and home bakers alike, mastering tempering can transform ordinary melted chocolate into a professional-quality confection. Whether you’re working with dark, milk, or white chocolate, understanding the tempering chocolate methods is essential to achieve that flawless result every time.
What Is Chocolate Tempering?
Tempering is the process of carefully heating and cooling chocolate to stabilize the cocoa butter crystals it contains. Cocoa butter, a natural fat in chocolate, can form different types of crystals when melted and solidified. Only one of these crystal types — known as Form V crystals — gives chocolate its ideal texture: glossy, smooth, and firm at room temperature.
When chocolate isn’t tempered properly, it can look dull, feel soft, and develop white streaks or spots (called “bloom”). While it’s still edible, it doesn’t have that professional appearance or satisfying snap we all love.
Why Tempering Matters
Tempering serves several important purposes beyond aesthetics:
Glossy Finish: Proper tempering ensures your chocolate looks shiny and appealing.
Crisp Snap: When you break tempered chocolate, it produces a clean, sharp snap — a hallmark of high-quality chocolate.
Stable Texture: Tempered chocolate stays firm at room temperature and melts smoothly in your mouth.
Extended Shelf Life: Proper tempering prevents fat bloom, keeping chocolate fresh and attractive for longer.
Understanding the Methods of Tempering Chocolate
There are several methods of tempering chocolate, each suited to different skill levels and equipment availability. The goal remains the same — to align the cocoa butter crystals perfectly for the best texture and appearance.
1. The Seeding Method
The seeding method is one of the most beginner-friendly approaches. It involves melting chocolate and then “seeding” it with small pieces of unmelted chocolate to help form stable crystals.
Steps:
Melt two-thirds of your chocolate over a double boiler until it reaches 45°C (for dark), 43°C (for milk), or 40°C (for white chocolate).
Remove from heat and add the remaining one-third of finely chopped chocolate (the “seeds”).
Stir continuously until the chocolate cools to about 31°C (dark), 30°C (milk), or 29°C (white).
Test by dipping a spoon — if it sets quickly with a glossy finish, it’s ready to use.
Why it works: The solid chocolate pieces introduce stable crystals into the melted chocolate, guiding it into proper temper.
2. The Tabling Method
The tabling method is a more traditional technique often used by professional chocolatiers. It involves cooling the chocolate on a marble slab.
Steps:
Melt your chocolate to its highest temperature as before.
Pour about two-thirds onto a marble surface.
Use a scraper and spatula to spread and fold the chocolate repeatedly until it thickens slightly and cools to around 27°C.
Return it to the bowl with the remaining warm chocolate and mix until the entire batch reaches working temperature.
Why it works: The constant motion and cooling on the marble surface encourage the formation of uniform cocoa butter crystals.
3. The Microwave Method
Perfect for home cooks, this method skips the double boiler.
Steps:
Place chopped chocolate in a microwave-safe bowl.
Heat in short 15–20 second bursts, stirring between each interval.
Stop heating when about two-thirds of the chocolate is melted. Continue stirring until the rest melts through residual heat.
Why it works: The gentle heating process prevents the chocolate from overheating, maintaining the right crystal structure without special tools.
4. The Mycryo (Cocoa Butter) Method
A more modern and precise approach involves using cocoa butter for tempering chocolate in powder form (often sold as Mycryo).
Steps:
Melt your chocolate to 40–45°C.
Cool it to 34°C, then add 1% Mycryo (1g per 100g of chocolate).
Stir well to distribute evenly and allow the chocolate to cool to working temperature.
Why it works: Mycryo is pre-crystallized cocoa butter, which helps stabilize the chocolate quickly and efficiently. This method is ideal for larger batches or professional settings.
Tips for Perfect Tempering
Avoid Moisture: Even a drop of water can cause chocolate to seize, turning it grainy.
Use a Thermometer: Temperature precision is key to success.
Keep Stirring: Continuous stirring helps distribute crystals evenly.
Test Before Using: Dip a knife or spoon — if it sets within a few minutes with a glossy finish, you’ve done it right.
Maintain Temperature: Keep tempered chocolate warm (around 31–32°C for dark, slightly less for milk and white) while working.
Common Tempering Mistakes (and Fixes)
Chocolate Bloom: If your chocolate develops white streaks, it’s likely out of temper. Remelt and temper again.
Overheating: Chocolate that exceeds 50°C can burn. Always heat gently and slowly.
Cooling Too Quickly: Rapid cooling leads to unstable crystals — take your time.
Skipping Testing: Always test your chocolate before dipping or molding.
Final Thoughts
Tempering may seem intimidating at first, but with practice and patience, it becomes second nature. Each of the tempering chocolate methods offers a reliable way to achieve beautifully finished chocolate with that perfect glossy shine and satisfying snap. Whether you choose the seeding, tabling, microwave, or Mycryo technique, the key is precision and attention to temperature.
Once mastered, tempering opens the door to professional-quality desserts — from truffles and bonbons to chocolate decorations that impress every time. So, grab your thermometer, melt that chocolate, and start creating magic — one glossy piece at a time.
About the Creator
Candy Desouza
If you’re eager to learn, join Edariyo Chocolate Academy in Mumbai to explore the art of chocolate-making.
Keep reading
More stories from Candy Desouza and writers in Education and other communities.
Tempering Chocolate with Cocoa Butter
When you picture the perfect chocolate bar, you probably imagine a smooth, glossy surface that snaps cleanly when broken — the kind of finish that professional chocolatiers achieve effortlessly. The secret behind that flawless texture and shine lies in the delicate art of tempering chocolate with cocoa butter. Mastering this process ensures your chocolate has the perfect structure, sheen, and melt-in-the-mouth feel. Whether you’re a home baker or a chocolate enthusiast, learning how to temper chocolate properly is essential for creating professional-quality confections.
By Candy Desouza2 months ago in Lifehack
Why More Companies Are Seeking ISO Consultancy in Abu Dhabi Before Expanding Operations
Business expansion sounds exciting. New markets, larger teams, bigger contracts. But behind the scenes, expansion also introduces operational pressure that many companies underestimate. Processes that worked for a small or mid-size organization often begin to fail when scale increases. And that’s exactly why many companies in Abu Dhabi are turning to structured management systems before they grow further.
By Umar Quality Jounal7 days ago in Education
Smart Growth Strategies for Long-Term Wealth
Expanding a diverse portfolio in real estate and beyond is one of the smartest ways to build long-term wealth. Markets can shift without warning, and relying on one type of asset can expose you to high risk. When you focus on expanding a diverse portfolio in real estate and beyond, you spread your investments across different areas, helping protect your capital and generate steady returns. This balanced approach gives investors more control and more confidence during uncertain times.
By Adam Adler7 days ago in Education
A Historic Declaration
We the People of the Husbands of the United States of America, in Order to form a more perfect Union, and I mean you...with me...establish Justice, insure domestic Tranquility, provide for the common defence, promote the general Welfare, and secure the Blessings of Liberty to ourselves, after Puberty, do ordain and establish this Declaration of Co-Dependence.
By Gerard DiLeo5 days ago in Humans


Comments
There are no comments for this story
Be the first to respond and start the conversation.