
How to Use a Canvas Mockup
How to Use a Canvas Mockup: A Step-by-Step Guide
Canvas mockups are an essential tool for artists, designers, and businesses to present their designs in a professional and realistic way. Whether you are an artist showcasing your work online, a business promoting custom prints, or a designer creating a portfolio, learning how to use canvas mockups can elevate your presentation game. This article explains what a canvas mockup is, why it's useful, and how to use it effectively.
What Is a Canvas Mockup?
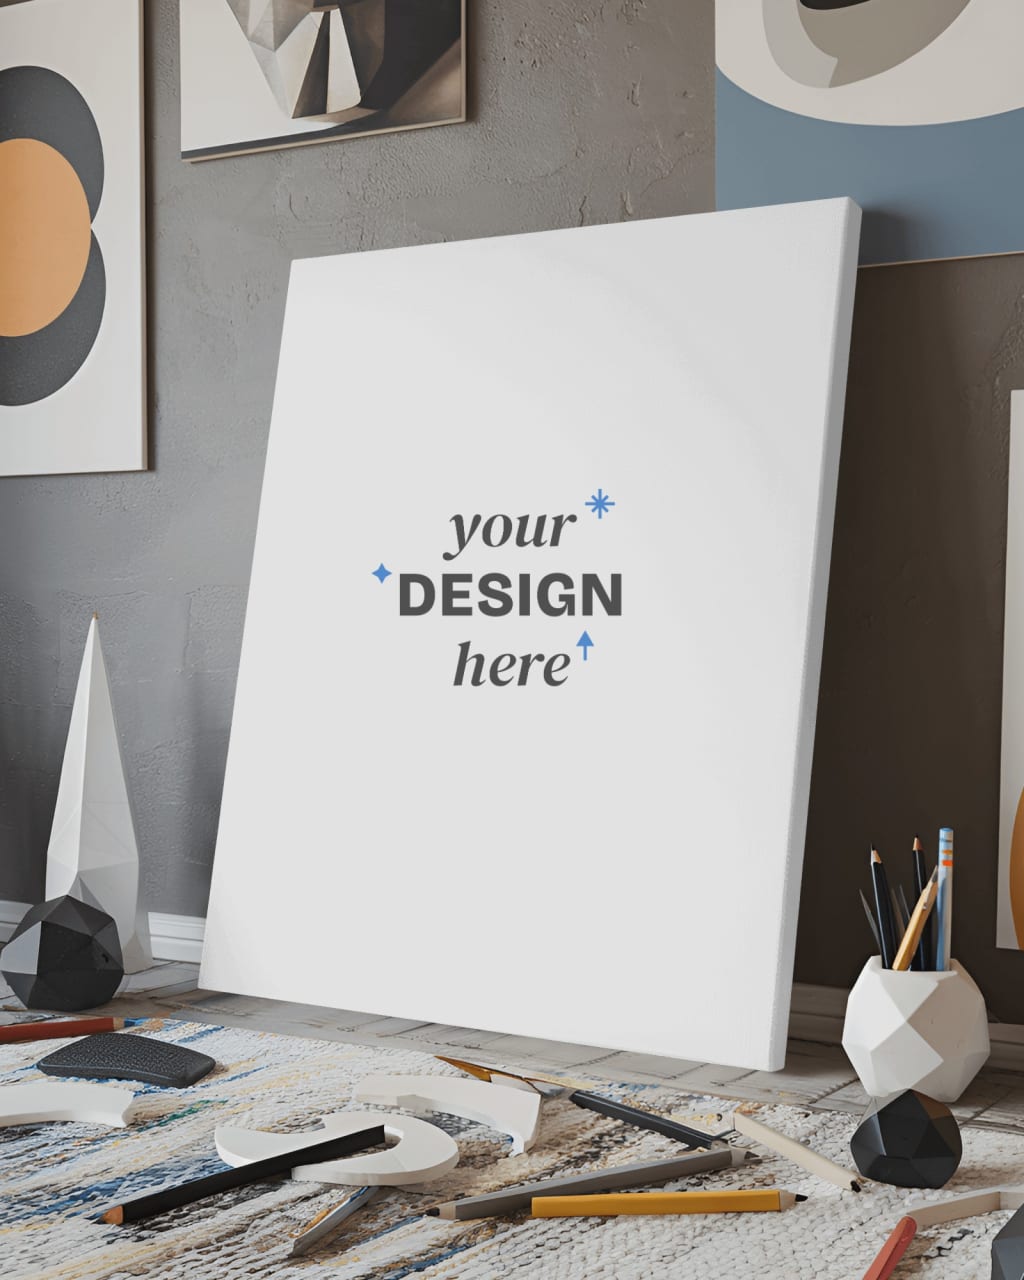
A canvas mockup is a digital template that allows you to overlay your design, artwork, or graphic on a realistic image of a canvas. These mockups can range from plain canvas backgrounds to complex setups with frames, shadows, and textured details.
Using a mockup gives your design a polished and professional appearance, making it easier for clients, customers, or audiences to visualize the final product.
Why Should You Use Canvas Mockups?
Here are some reasons why canvas mockups are invaluable:
Professional Presentation: They make your designs look professional and ready for display.
Time-Saving: Instead of staging and photographing your artwork, mockups provide a quicker alternative.
Versatility: Mockups can be used for portfolios, social media posts, or e-commerce listings.
Cost-Effective: No need to spend on physical canvases or photo shoots.
How to Use a Canvas Mockup
Using a canvas mockup is simple once you know the steps. Follow this guide to use one effectively:
Step 1: Choose the Right Mockup
Start by selecting a canvas mockup that suits your design and purpose. Mockups are available in various formats and styles, such as:
Square, rectangular, or circular canvases.
Framed or unframed designs.
Minimalist setups or decorative backgrounds.
You can find free or paid mockups on platforms like Mockey.ai, Freepik, and Creative Market.
Step 2: Open the Mockup File
Most mockups come as Photoshop files (.PSD) or editable files compatible with design tools like Canva or Figma. If you're using Photoshop:
Open the mockup file in Photoshop.
Locate the layers panel, which contains the editable sections.
Step 3: Insert Your Design
Look for a layer labeled "Insert Design Here" or "Smart Object."
Double-click the smart object layer. It will open a new window.
Paste your design into this window. Adjust the size and position to fit the canvas.
Save the changes (Ctrl+S or Command+S). The main mockup file will automatically update.
Step 4: Customize the Mockup
Depending on the mockup, you can:
Adjust background colors or textures.
Add shadows or highlights to make the design look more realistic.
Resize or crop the mockup for specific dimensions.
Step 5: Export the Final Image
Once satisfied with the mockup, export it in the desired format (JPEG, PNG, etc.). Ensure the resolution is high enough for its intended use, such as web display or print.
Tips for Using Canvas Mockups
Keep It Simple: Avoid cluttered backgrounds that distract from your design.
Maintain Realism: Use shadows and highlights to make your design look natural.
Experiment with Angles: Try different mockup styles to find the best presentation.
Optimize for Platforms: Resize and format the mockup for platforms like Instagram, Etsy, or your portfolio.
Best Tools for Canvas Mockups
Here are some popular tools and platforms to create canvas mockups:
Photoshop: The most versatile tool for working with mockups.
Mockey.ai: A user-friendly platform offering high-quality canvas mockups.
Canva: Ideal for beginners who want to use simple mockup templates.
Placeit: Offers a wide range of customizable mockup templates online.
Conclusion
Canvas mockups are a powerful way to showcase your designs in a professional and visually appealing manner. By following the steps outlined in this guide, you can easily use a canvas mockup to elevate your presentations and attract more attention to your work.
Whether you're a designer, artist, or business owner, mastering the art of using canvas mockups will help you stand out in the competitive world of digital design. So, start exploring, experimenting, and presenting your creations with confidence!
About the Creator
Keep reading
More stories from Backlink Wizard and writers in Art and other communities.
How to Create a Canvas Mockup: A Step-by-Step Guide
Canvas mockups are an essential tool for designers, artists, and entrepreneurs who want to showcase their artwork or designs in a realistic way. Whether you’re creating a portfolio, selling prints online, or simply presenting ideas to clients, a professional-looking canvas mockup can elevate your project.
By Backlink Wizardabout a year ago in Art
Crossing Into Darkness
Bold and breathtaking, yet somehow subdued and intimate, Crossing Into Darkness is the most stunning small art show I have seen in a long time. It combines astonishing, and sometimes atypical works, from some of the most important artists you know, with equally important work from artists you have never heard of.
By Raymond G. Taylor3 days ago in Art


Comments
There are no comments for this story
Be the first to respond and start the conversation.