
Install Membrane Switch in 6 Steps: A Simple Guide
6 simple steps, that's all it takes to install a membrane switch for any equipment

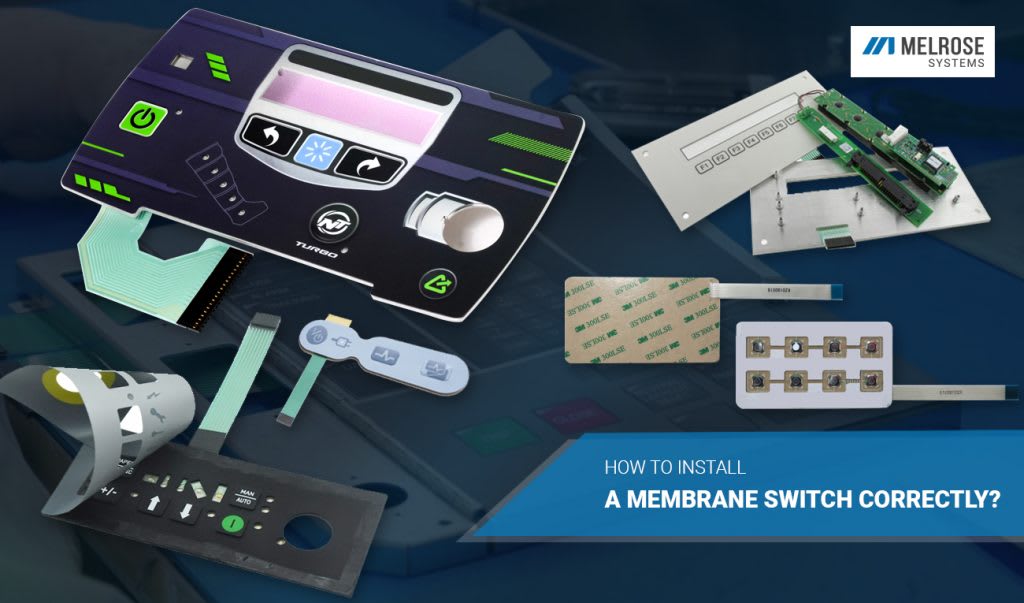
Membrane switches and keypads have been extensively used in a wide area of human-machine applications since its inception date. We can see the membrane switches in medical applications, space, defense, aviation, and similar industries.
Well, do we need an expert manufacturer to install a membrane switch to the application? The answer is a deadly combination of dual tones, a dichotomous pair- yes and no. It's an engineering job and they excel in what they do. However, if they can achieve it, so can others by gaining electronics-related industry experience.
This simple guide will explain to both the engineers and other people to install the membrane switch without damaging the switch with the unit.
6 Steps, that's all it takes for membrane switch installation
Step 1: Carefully cut & remove 1/8 of the adhesive layers; you can find this layer at the bottom side of the membrane switch.
Step 2: Pass the flex cable through the tail exit slot & position it on the back support recess. You may find the tail exit slot by turning the switch over. Adhere your switch to the unit’s surface with the exposed adhesive.
Step 3: Position the membrane switch at 30° & peel the rest of the adhesive liner. Make sure to keep the setup exactly as in step 2.
Step 4: Laminate the switch from the side, where you've removed the adhesive liner. For best results, it is recommended to use a soft roller by applying slight pressure while rolling it on the top surface of the switch.
Step 5: Gradually, lower the angle of the membrane switch while rolling on its surface. Continue this step until the lamination is completed.
Caution: At this point, don't bend the circuit or the dome. Make sure that you keep a minimal angle in front of your roller, which will help to complete the lamination by avoiding the air bubbles from forming in between the switch layers.
Step 6: Lamination is over and can bend the circuit carefully without damaging the switch. However, you need to be careful while doing so. Make sure the metal domes aren't inverted or else it will no longer be functional.
If it is in place, don’t lift or reposition the membrane switch. By doing that, you might invert the domes/buttons and render them nonfunctional.
Caution: Avoid creasing the cable when positioning the flex tail to create the final electrical connection. This might change the resistance or in the worst-case scenario, break the electrical contact altogether.
Final thoughts
That's it, membrane switch installation is completed in just 6 steps. Make sure, the membrane switch is supreme quality; quality matters, kid! Search around both offline and online to find the best membrane switch manufacturers and suppliers. If you need extra assistance or clarification regarding any of the above instructions, comment below, if available, or contact the experts.
About the Creator
Keep reading
More stories from writers in 01 and other communities.
How to Choose the Best Mobile App Development Company in Canada 2026
Choosing the right app development partner in 2026 isn’t just a procurement decision—it’s a strategic move that can define whether your digital product scales or stalls. The Canadian tech ecosystem has matured rapidly, with agencies offering everything from rapid MVP builds to enterprise-grade platforms powered by AI and cloud-native architectures.
By alan michael5 days ago in 01


Comments
There are no comments for this story
Be the first to respond and start the conversation.